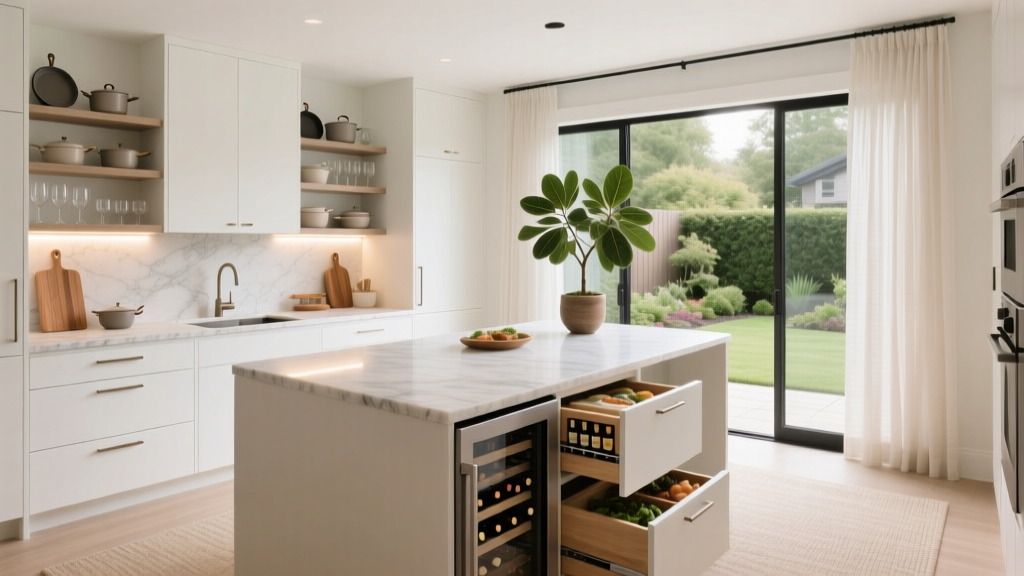
Meal Prep Kitchen Design: Functional Ideas (2026)
Meal prep isn’t just a health trend—it’s a lifestyle system that saves time, reduces stress, and makes weeknight cooking feel effortless. But even the best intentions can fall apart in a kitchen that doesn’t support the workflow: a cramped counter, a poorly placed trash pull-out, dim lighting, or a sink that’s miles from the prep zone.
Designing a meal-prep-friendly kitchen is less about buying more gadgets and more about building an efficient, comfortable setup. Whether you’re planning a full kitchen renovation or simply upgrading organization, the goal is the same: create a space where washing, chopping, cooking, and storing happen smoothly with minimal steps and minimal clutter.
This guide breaks down layouts, measurements, materials, and organization strategies that make meal prep faster and cleaner—along with budget ranges, common mistakes to avoid, and practical next steps you can implement this weekend.
Start with the Meal Prep Workflow (Not the Appliances)
Efficient kitchen design begins with how you move. A meal-prep kitchen should support a repeatable workflow:
- Unload groceries (landing zone + pantry + fridge)
- Wash (sink + colander + compost/trash)
- Prep (largest uninterrupted counter + knife storage)
- Cook (range + spices + oils + utensils)
- Portion and store (containers + labels + fridge/freezer access)
- Clean up (dishwasher + drying area + waste)
Design principle: reduce steps and reduce “backtracking”
- Keep sink, prep counter, and trash/compost within a few steps of each other.
- Place cutting boards, knives, mixing bowls, and sheet pans in drawers adjacent to the main prep area.
- Make sure there’s a landing zone beside the fridge and oven for unloading and hot trays.
Choose a Layout That Supports Batch Cooking
Most homeowners can dramatically improve meal prep by refining the layout—even without moving plumbing. The right kitchen layout prioritizes long counters, clear circulation, and accessible storage.
Best layout options for meal prep
- L-shaped kitchen: Excellent for a dedicated prep run of counter space; easy to add a pantry wall.
- U-shaped kitchen: Maximizes counter area; can create a strong prep “command center,” but avoid tight corners.
- Galley kitchen: Highly efficient if aisle width is correct and storage is well planned.
- Kitchen with island: Ideal for prep and assembly; can include prep sink, trash pull-out, and seating.
Key measurements (these make or break usability)
- Walkway/aisle width:
- Minimum: 36 inches (tight but workable for one cook)
- Preferred: 42 inches for one cook, 48 inches for two cooks (especially during meal prep)
- Landing space:
- Beside fridge: aim for 15 inches of counter (or a tall pull-out surface)
- Beside cooktop/range: 12–15 inches on one side, 15–24 inches on the other if possible
- Main prep counter: target at least 36 inches of uninterrupted space; 48 inches is a sweet spot for batch chopping and assembling trays.
- Counter height: standard is 36 inches. If you’re tall or spend hours prepping, consider a slightly higher prep zone (up to 38 inches) during renovation.
Create a Dedicated Prep Zone (Your “Chop, Mix, Assemble” Station)
If you only change one thing, make it this: build a prep zone that has space, tools, and easy cleanup. This zone should be located between the sink and the cooktop when possible.
What a strong prep zone includes
- Largest counter stretch in the kitchen
- Knife drawer or in-drawer block (safer and cleaner than a countertop block)
- Cutting board storage (vertical dividers or a wide drawer)
- Trash + compost pull-out directly below the prep counter
- Mixing bowls, measuring tools, and prep utensils in the nearest drawers
- Paper towel holder (under-cabinet or inside a cabinet to free counter space)
Recommended products and features
- Pull-out waste system: double-bin (trash + recycling) or triple (add compost). Look for soft-close slides and a removable liner.
- Drawer organizers: adjustable dividers for utensils, plus a dedicated spice drawer insert near the cooktop.
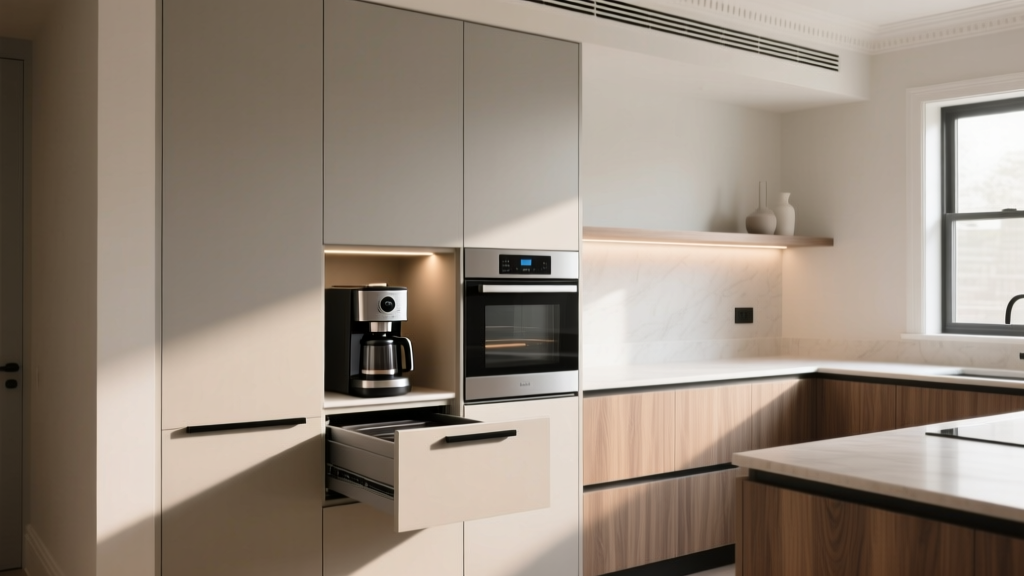
- Appliance garage: hides blender/food processor while keeping them accessible—great for smoothie prep and sauces.
Surfaces and Materials That Handle Real Meal Prep
Meal prep is tough on materials. You want surfaces that resist stains, tolerate heat, wipe clean easily, and don’t require constant babying.
Countertop comparisons (practical pros/cons)
- Quartz (engineered stone):
- Pros: non-porous, stain-resistant, low maintenance, consistent look
- Cons: can be damaged by high heat; use trivets for hot pans
- Typical cost: $60–$120 per sq. ft. installed
- Granite:
- Pros: heat-resistant, natural variation, durable
- Cons: needs periodic sealing; some stones stain if neglected
- Typical cost: $50–$120 per sq. ft. installed
- Butcher block:
- Pros: warm, forgiving on dishes, great for a dedicated chopping zone (with proper care)
- Cons: requires oiling; can stain and warp near sinks if unprotected
- Typical cost: $40–$100 per sq. ft. installed
- Porcelain slab/sintered stone:
- Pros: highly heat-resistant, scratch-resistant, stain-resistant; popular in current kitchen design trends
- Cons: higher cost; edge chipping possible if impacted
- Typical cost: $80–$150+ per sq. ft. installed
Backsplash and wall finishes (easy-clean wins)
- Porcelain tile with a mid-tone grout hides splatters better than bright white.
- Full-height slab backsplash (quartz or porcelain) reduces grout lines and speeds cleanup.
- Satin or semi-gloss washable paint for non-splash zones is practical and budget-friendly.
Maintenance advice that actually helps
- Use cutting boards even on “scratch-resistant” counters—micro-scratches trap grime over time.
- Wipe acidic spills (lemon, vinegar, tomato) quickly on natural stone.
- Choose grout rated for kitchens and seal it if needed; epoxy grout costs more but resists staining.
Lighting That Makes Prep Safer and Faster
Meal prep involves sharp knives and careful cooking, so lighting is a functionality feature—not just ambiance.
Layered lighting plan (the renovation-friendly approach)
- Ambient lighting: recessed lights or a flush mount for overall brightness
- Task lighting: under-cabinet LED strips to eliminate shadows on counters
- Accent lighting: pendants over an island, toe-kick lighting for a modern touch and nighttime navigation
Specs to look for
- Color temperature: 2700K–3000K for warm, inviting light; 3000K–3500K if you prefer a cleaner, brighter prep feel.
- CRI (color rendering index): aim for 90+ so food looks natural (helpful for doneness and plating).
- Under-cabinet placement: mount toward the front of the cabinet underside to reduce shadows.
Storage That Supports Batch Cooking and Smart Organization
A meal prep kitchen needs storage that’s easy to access with messy hands, heavy pots, and stacks of containers.
Upgrade to drawer-forward base cabinets
Deep drawers are a timeless functionality principle in modern kitchen renovation: they bring cookware and containers to you instead of forcing you to crouch into a dark cabinet.
- Best for: pots, pans, mixing bowls, small appliances, food storage containers
- Ideal drawer widths: 24–36 inches depending on layout
Pantry design for meal prep
- Tall pull-out pantry: excellent in tighter kitchens; everything is visible at once.
- Walk-in pantry: great for bulk buying, but needs lighting and clear zones to avoid becoming a clutter room.
- Best shelf depth: 12–16 inches so items don’t disappear in back.
Container, lid, and label system
- Choose one primary container family (stackable, same footprint) to reduce chaos.
- Store lids vertically in a divider bin.
- Add a small “meal prep drawer” for:
- Labels and a marker
- Kitchen scale
- Measuring tape (for portioning bags)
- Clips and silicone bands
Appliances and Fixtures That Make Meal Prep Easier
The best kitchen design upgrades are the ones you feel every day. For meal prep, prioritize capacity, reliability, and workflow.
Sink and faucet choices
- Single-bowl undermount sink (30–33 inches wide): fits sheet pans and big prep bowls.
- Workstation sink: includes ledges for cutting boards and colanders—helpful if you’re short on counter space.
- Faucet features: pull-down sprayer, high arc, and a reliable docking head. Touchless can be convenient during prep, but choose a reputable brand to avoid sensor frustration.
Refrigeration and freezer capacity
- If meal prep is a weekly habit, prioritize a strong freezer layout (drawers or bins that keep portions visible).
- Consider a counter-depth fridge for a sleek look, but note: it often reduces interior capacity. For big-batch prep families, standard depth may function better.
Oven and cooktop features worth paying for
- Convection oven: faster, more even roasting for sheet-pan meals.
- Warming drawer (if you host or batch cook large volumes).
- Induction cooktop: a current trend with real benefits—fast boiling, precise control, and easier cleanup. Budget range: $900–$3,000+ depending on brand and size.
Budget Planning: What to Spend for the Biggest Meal Prep Payoff
You can create a meal-prep-friendly kitchen at almost any budget by focusing on the upgrades that remove daily friction.
Low-cost improvements ($50–$500)
- Drawer dividers and container organizers
- Quality cutting boards (one large board changes everything)
- Under-cabinet LED strip lighting (plug-in or hardwired)
- Shelf risers and labeled pantry bins
Mid-range upgrades ($500–$5,000)
- Pull-out trash/compost system installed in a base cabinet: $200–$800
- Replace sink and faucet: $400–$1,800 installed (varies by plumbing and fixture choice)
- Add or improve a pantry system: $300–$2,500
- Replace lighting (recessed + under-cabinet): $800–$3,000
Renovation-level changes ($5,000–$60,000+)
- Cabinet refacing vs. new cabinets: refacing can refresh a kitchen for $8,000–$20,000, while new semi-custom cabinets often start around $15,000–$35,000+.
- Countertops: depending on material and square footage, expect $3,000–$12,000+.
- Layout changes: moving plumbing/gas/electrical can add $2,000–$15,000+, but may be worth it if the current workflow is fundamentally flawed.
Common Mistakes to Avoid in a Meal Prep Kitchen
- Not leaving enough uninterrupted counter space. Too many small appliances and decor items steal the very space you need.
- Forgetting the trash/compost location. If it’s across the kitchen, prep becomes a constant drip-and-walk routine.
- Overbuilding the island. Oversized islands can choke aisle widths. Keep 42–48 inches of clearance where possible.
- Choosing high-maintenance materials for a high-use kitchen. A porous countertop might look stunning, but it can punish busy households.
- Too few outlets. Meal prep often uses multiple appliances at once (blender, rice cooker, air fryer). Add outlets along the prep run and on the island as code allows.
- Ignoring ventilation. Batch cooking creates heat and odors. A properly sized range hood improves comfort and protects finishes.
FAQ: Meal Prep Kitchen Design and Organization
How much counter space do I need for meal prep?
Aim for at least 36 inches of uninterrupted counter for a workable prep zone. If you batch cook regularly, 48 inches (or more) makes chopping, mixing, and tray assembly dramatically easier.
What’s the best countertop material for a busy meal prep kitchen?
Quartz is a top choice for low-maintenance, stain resistance, and everyday durability. If you want higher heat resistance, consider granite or porcelain/sintered stone, keeping cost and edge durability in mind.
Where should the trash and compost go?
Place a pull-out system directly under or immediately beside the main prep counter. If you compost, a triple-bin setup (trash/recycling/compost) or a countertop compost caddy that empties into a pull-out works well.
Is an island necessary for meal prep?
No. An island is helpful if it provides a true prep surface and storage without reducing aisle clearance. A well-planned galley or L-shaped kitchen can be just as efficient for meal prep.
What lighting is best for chopping and prep work?
Under-cabinet task lighting is the biggest upgrade because it removes shadows on countertops. Look for LEDs in the 3000K range and a CRI of 90+ for accurate color.
How do I keep meal prep from making my kitchen look cluttered?
Use appliance garages or dedicate a cabinet to prep appliances, switch to drawer storage for containers and tools, and keep counters “mostly clear” with only one or two daily-use items.
Next Steps: Build Your Meal Prep Kitchen Plan
Start by observing one typical meal prep session and writing down every moment you feel friction—no landing zone, not enough outlets, awkward trash placement, or a shortage of containers. Then prioritize fixes that reduce steps and increase usable counter space.
- This week: Clear and define a 36–48 inch prep zone, add organizers, and relocate tools to nearby drawers.
- This month: Upgrade lighting and install a pull-out waste system if possible.
- For renovations: Adjust layout for proper aisle widths, choose durable materials, and design storage around how you actually cook.
For more kitchen renovation guidance, organization ideas, and timeless design inspiration, explore the latest on thedecormag.com.
More Articles
 Best Essentials Inspiration: Building a Thoughtful, Functional, and Joyful Kitchen
 Kitchen Hidden Appliance Drawer Ideas - The Decor Mag
 Kitchen Marble Countertop Pros and Cons - The Decor Mag
 Kitchen Shaker Cabinet Timeless Appeal - The Decor Mag
 Kitchen Appliances Compared on a Budget: Smart, Reliable Choices Under $300
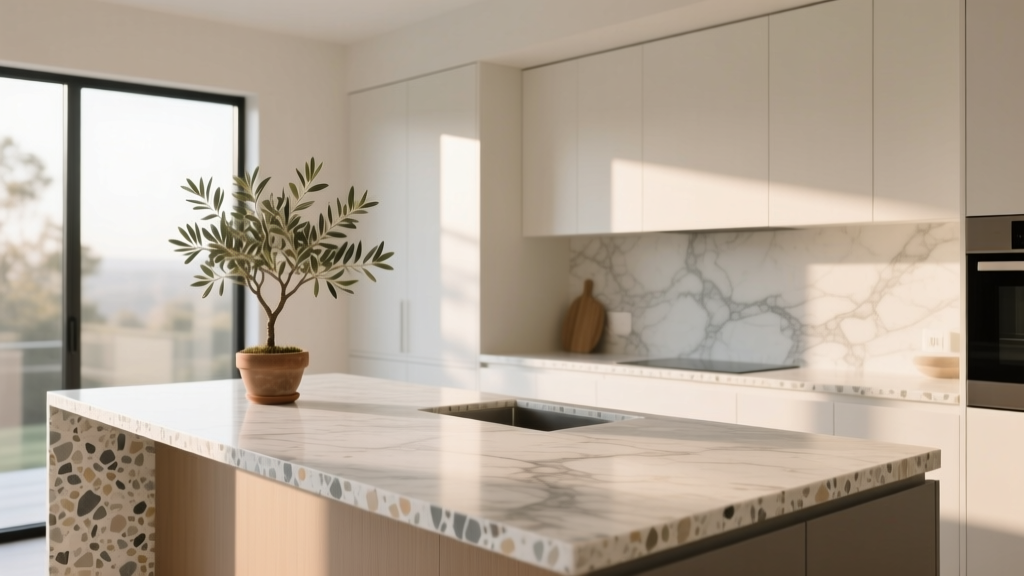 Kitchen Terrazzo Countertop Trends - The Decor Mag
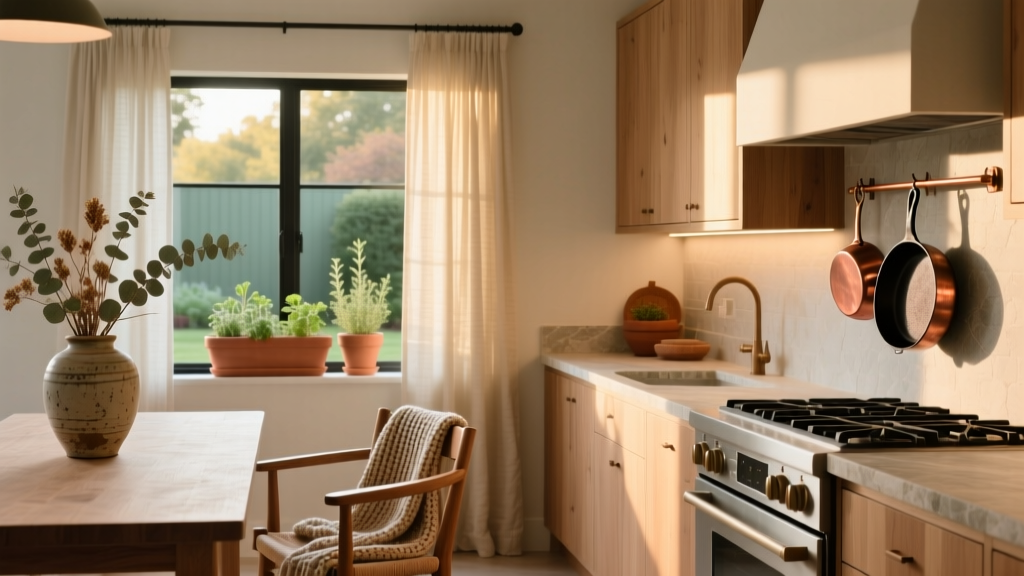 Warm & Inviting Kitchens: Design Tips (2026)
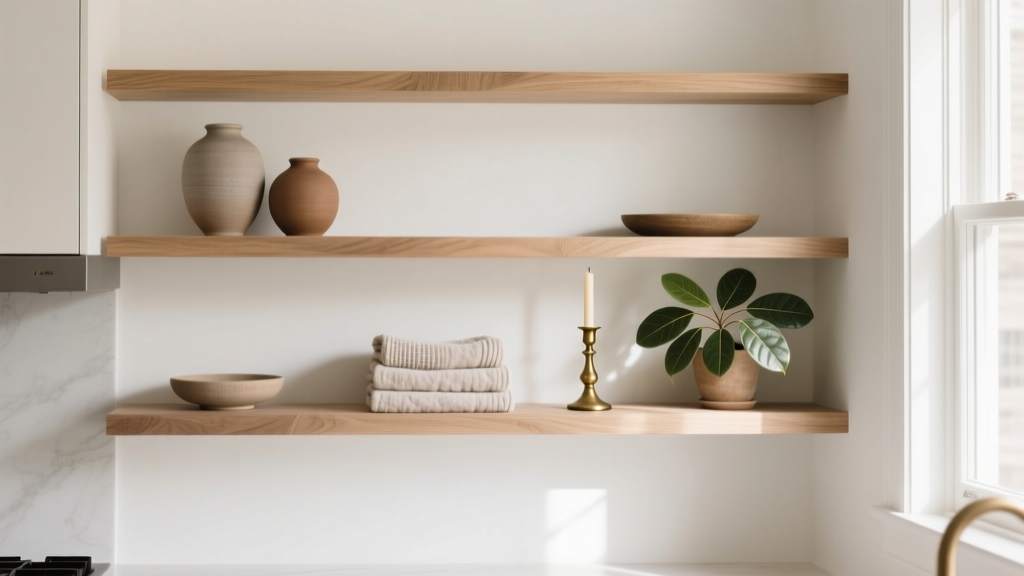 How to Style a Kitchen Open Shelf Display - The Decor Mag
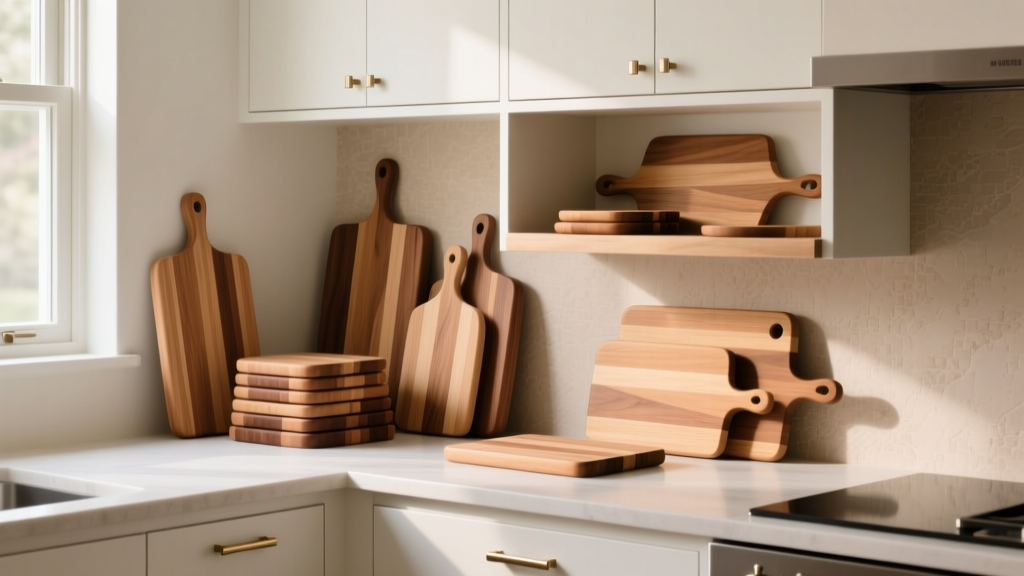 Best Kitchen Cutting Board Storage - The Decor Mag
 Best Kitchen Oil and Vinegar Storage - The Decor Mag