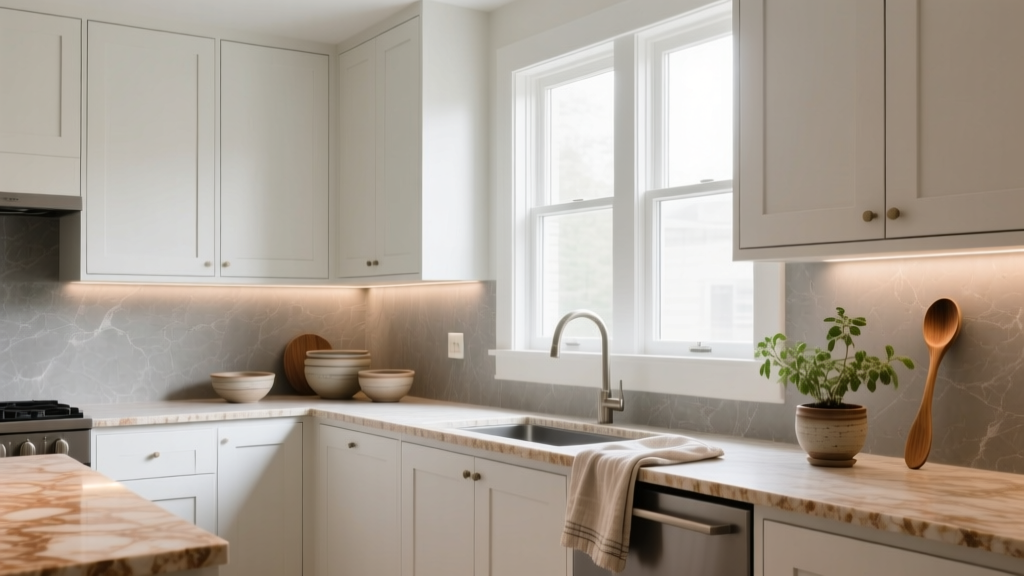
Kitchen Shaker Cabinet Timeless Appeal - The Decor Mag
Few kitchen elements influence the entire look and feel of a renovation like cabinetry. Because cabinets take up the most visual (and physical) space, the door style you choose can make your kitchen feel classic, contemporary, warm, minimal, or busy—often all before you pick paint, countertops, or hardware.
Shaker cabinets have stayed at the top of kitchen design for decades for a simple reason: they work. Their clean frame-and-panel profile feels tailored without being fussy, pairing as easily with modern quartz as with traditional butcher block. For homeowners planning a kitchen renovation, Shaker-style cabinetry offers a reliable foundation that adapts to changing trends, supports smart kitchen organization, and keeps resale appeal strong.
This guide breaks down why Shaker cabinets feel timeless, how to choose the right materials and finishes, what they cost, and how to design a Shaker kitchen that looks intentional—now and years from now.
What Makes Shaker Cabinets “Timeless”?
Shaker cabinet doors are defined by a simple five-piece construction: a recessed center panel framed by clean rails and stiles. That geometry is the magic—it’s structured enough to feel high-quality, but simple enough to stay out of the way of your other design choices.
Why Shaker Works Across Styles
- Minimal ornamentation: No heavy carving or raised details, so it won’t date quickly.
- Balanced proportions: The frame adds dimension and shadow lines, avoiding the “flat slab” feeling while still reading modern.
- Easy to update: Swap hardware, change lighting, or repaint for a fresh look without replacing cabinets.
- Pairs with most materials: Works with stone, wood, stainless, matte black, and mixed metals.
Current Kitchen Design Trends That Still Respect Timeless Function
Shaker cabinetry adapts beautifully to today’s kitchen trends, especially those rooted in function:
- Warm whites and creamy neutrals (instead of stark bright white)
- Greige, taupe, and mushroom tones for a softer, lived-in look
- Two-tone kitchens: darker island (navy, charcoal, olive) with lighter perimeter cabinets
- Fluted glass or reeded glass in a few upper doors for visual relief
- Uncluttered countertops supported by better storage: drawer stacks, pull-outs, appliance garages
- Mixed hardware finishes (e.g., brushed nickel + matte black) kept cohesive through consistent shapes
Choosing the Right Shaker Cabinet Materials
Not all Shaker cabinets are built the same. The material choice affects durability, paint finish quality, long-term maintenance, and cost. If you’re renovating, think in layers: door material, box construction, and interior components.
Door Materials: Wood vs MDF vs Thermofoil
- Solid wood (painted or stained): Classic and durable. Wood can expand/contract with humidity, so painted doors may show hairline cracks at joints over time—more common in very dry or very humid climates.
- MDF (medium-density fiberboard) for painted doors: A top choice for a smooth, modern painted Shaker look. MDF doesn’t have wood grain telegraphing through paint and is less prone to joint cracking. It can swell if water penetrates—good edge-sealing and careful sink-area protection matter.
- Thermofoil (vinyl-wrapped): Budget-friendly and wipeable, but can peel near heat sources (dishwashers, ovens) and is harder to repair. Best for low-cost refreshes, rentals, or secondary spaces.
Cabinet Box Construction: Where Quality Really Shows
Even beautiful Shaker doors won’t feel premium if the boxes and drawers are flimsy. Look for:
- 3/4-inch plywood boxes (or high-quality furniture-grade particleboard in some European-style lines)
- Plywood or solid wood drawer boxes with dovetail or sturdy lock joints
- Full-extension undermount slides (soft-close preferred)
- Soft-close hinges with easy adjustment
- Finished interiors (natural maple, white melamine, or matching finish)
Finish Options and Performance
- Painted Shaker cabinets: Most popular for kitchen renovations. Choose a factory finish when possible for consistent durability. Semi-gloss or satin is easier to clean than matte.
- Stained Shaker cabinets: Ideal for showcasing wood species like oak, walnut, or maple. White oak is trending, especially in natural finishes.
- “Painted-look” laminates: Some modern laminates mimic paint well and resist scratches—great for busy family kitchens.
Design Recommendations: Layouts, Proportions, and Storage That Feel Custom
Shaker cabinets look their best when the layout is efficient and the detailing is intentional. These practical design moves elevate both function and resale value.
Shaker Cabinets in Common Kitchen Layouts
- Galley kitchens: Keep uppers consistent and consider taller cabinets to the ceiling to reduce visual clutter. Use a 24-inch-deep base and maximize drawer storage.
- L-shaped kitchens: Add a tall pantry run at one end to anchor the space. Use corner solutions thoughtfully (see below).
- U-shaped kitchens: Great for storage, but avoid too many uppers in a small footprint—mix in open shelves or glass-front uppers strategically.
- Island kitchens: A Shaker island in a contrasting color is a timeless trend. Add deep drawers and a trash pull-out to make the island a true workhorse.
Key Measurements for a Comfortable, Functional Kitchen
- Walkway clearance: 36 inches minimum; 42 inches is more comfortable for one cook; 48 inches works best for two cooks passing behind each other.
- Island size: A practical minimum is about 24 inches deep by 48 inches long, but 30–36 inches deep and 60–84 inches long is often more useful if the room allows.
- Counter height: Standard 36 inches. Consider a 34–35 inch prep section if you’re shorter or do lots of baking (custom base heights needed).
- Upper cabinet height: 30–42 inches tall. Going to the ceiling (with a small scribe or crown) looks more custom and reduces dust-catching ledges.
- Toe-kick height: Typically 4 inches high and 3 inches deep.
Storage Upgrades That Make Shaker Kitchens Feel High-End
Shaker style is about calm, orderly lines—so storage that hides mess is the perfect match. Prioritize these upgrades:
- Wide drawer stacks: Use 30-inch or 36-inch drawer bases for pots, pans, and dishes. Drawers are easier than doors + shelves.
- Trash and recycling pull-out: Place within 18 inches of the sink if possible for efficient cleanup.
- Spice pull-out: A 6-inch or 9-inch pull-out near the range keeps cooking streamlined.
- Tray divider cabinet: A 9–12 inch wide vertical divider for baking sheets and cutting boards.
- Corner solutions: Prefer a blind corner pull-out or a “LeMans”-style shelf. Lazy Susans can work, but measure carefully for door swing and accessibility.
- Appliance garage: A great way to keep countertops clear while maintaining easy access to toaster/coffee gear.
Color, Hardware, and Countertop Pairings That Always Look Right
Timeless Color Ideas for Shaker Cabinetry
- Soft white and warm off-white: Pairs with brass, nickel, or black hardware. More forgiving than bright white.
- Greige and taupe: Great for open-concept homes—blends with living spaces and hides smudges better.
- Navy and deep blue: Works beautifully on islands or lowers with white uppers.
- Sage and olive green: On-trend, but grounded in nature-inspired design—especially strong with white oak accents.
- Natural oak Shaker: A current favorite that still reads timeless, especially in simple slab backsplash tile and restrained hardware.
Hardware Choices: The Shortcut to the Right Style
Shaker cabinets shift style dramatically with hardware. Choose based on your overall direction:
- Modern Shaker: long bar pulls (5–8 inches), matte black or brushed stainless
- Classic/transitional: simple knobs + cup pulls in brushed nickel or unlacquered brass
- Farmhouse: bin pulls, ceramic knobs, or aged finishes (use sparingly to avoid theme-y looks)
Placement tip: For drawers, center pulls horizontally. For doors, place knobs/pulls 2.5–3 inches from the corner on the stile for a clean, consistent line.
Countertop and Backsplash Pairings
- White quartz + Shaker cabinets: Bright, clean, and low maintenance. Choose subtle veining for longevity.
- Quartzite (natural stone): Higher cost, but unmatched depth. Seal regularly for stain resistance.
- Butcher block: Warm and inviting; best for islands or dedicated prep zones. Needs oiling and careful water management.
- Classic subway tile: Still a winner when executed thoughtfully—consider a slightly larger size (3x12) or a handmade-look for softness.
- Full-height slab backsplash: Modern and streamlined, especially with Shaker doors for a balanced look.
Cost Ranges and Budget Planning for Shaker Cabinets
Cabinet pricing varies by region, brand, construction, and finish. Use these general ranges as a starting point for your kitchen renovation budget.
Typical Price Tiers (Cabinets Only)
- Stock cabinets: $150–$400 per linear foot (good for straightforward layouts; fewer size options)
- Semi-custom cabinets: $300–$900 per linear foot (more sizes, better storage options, more finishes)
- Custom cabinets: $800–$1,800+ per linear foot (built to your exact dimensions; best for unique layouts)
Installation and “Hidden” Budget Items
- Professional installation: commonly $2,000–$8,000 depending on kitchen size and complexity
- Hardware: $200–$1,200+ (premium pulls add up quickly)
- Organizers (pull-outs, trash units): $300–$2,500+ depending on how many upgrades you choose
- Panels and fillers: $200–$1,500+ (end panels, refrigerator panels, tall fillers for a built-in look)
Practical budgeting rule: If you’re renovating the whole kitchen, cabinetry often lands around 25–35% of the total project cost. Spending a bit more on box quality and drawer hardware usually pays back in daily use.
Maintenance and Longevity: Keeping Shaker Cabinets Looking New
Shaker cabinets are relatively easy to maintain, but small habits prevent premature wear—especially around sinks and trash pull-outs.
Cleaning and Care Tips
- Weekly wipe-down: Use a soft microfiber cloth with mild dish soap and warm water; dry immediately.
- Avoid harsh cleaners: Skip abrasive pads, bleach, ammonia-heavy sprays, and magic erasers on painted finishes.
- Protect sink-base cabinets: Use a waterproof mat under cleaning supplies and address leaks quickly.
- Vent heat and steam: Always run the range hood when boiling or sautéing to reduce moisture stress on doors and finishes.
- Touch-up kit: Ask your cabinet supplier for matching paint for quick fixes on chips.
Durability Notes by Finish
- Painted finishes: Most prone to chips at edges; choose quality factory finishes and avoid slamming doors (soft-close helps).
- Stained wood: Better at hiding small dings; can be more forgiving in high-traffic family kitchens.
- Thermofoil: Keep away from high heat; use heat shields near ovens if recommended by the manufacturer.
Common Mistakes to Avoid with Shaker Cabinets
- Choosing Shaker without a plan for the whole kitchen: Door style is just one piece. Align cabinet color, countertop, backsplash, and flooring early to avoid expensive mismatches.
- Ignoring proportion and scale: Oversized crown molding or heavy decorative elements can fight Shaker’s clean lines.
- Too many competing finishes: Limit yourself to 2–3 main finishes (e.g., cabinet color, hardware metal, faucet metal) for a cohesive look.
- Underestimating storage needs: Skipping drawer bases and pull-outs often leads to cluttered countertops—one of the fastest ways a new kitchen feels “messy.”
- Not extending uppers to the ceiling: Short cabinets create dust ledges and can make the kitchen feel less finished. If ceiling height is awkward, use a taller cabinet plus a small top trim.
- Prioritizing door style over box quality: Invest in good drawers and hardware; you’ll feel the difference every day.
FAQ: Shaker Cabinets for Kitchen Renovations
Are Shaker cabinets considered modern or traditional?
Both. Shaker cabinets are a transitional staple. With simple bar pulls, flat lighting, and minimal trim, they read modern. With classic knobs, warmer tones, and traditional details, they lean more traditional.
What’s the best material for painted Shaker cabinets?
MDF doors with a high-quality factory paint finish are a strong choice for a smooth look and reduced joint cracking. If you prefer solid wood, choose a reputable maker and expect minor seasonal movement over time.
Do Shaker cabinets work in small kitchens?
Yes. Their clean profile keeps a small kitchen from feeling visually busy. Pair them with lighter colors, good lighting, and smart storage like drawer bases and tall pantry cabinets to maximize organization.
How do I make Shaker cabinets look more custom?
Use ceiling-height uppers, add matching end panels, choose consistent hardware, and build in practical upgrades (trash pull-out, tray dividers, deep drawers). A contrasting island color also adds a tailored, designer look.
What cabinet colors are most timeless for resale?
Warm whites, soft neutrals (greige/taupe), and natural wood tones are consistently strong for resale. If you love bold color, consider using it on the island or lower cabinets to keep the overall look balanced.
Are Shaker cabinets easy to keep clean?
They’re generally easy to maintain. The recessed panel can collect a bit of dust or splatter at the inner edge, but regular wiping with mild soap and water keeps them looking crisp.
Next Steps: Plan a Shaker Kitchen That Lasts
Start by choosing your Shaker door profile (narrow or standard stile width), then lock in a durable cabinet construction and finish. From there, design your kitchen layout around how you cook: prioritize drawer storage, clearance measurements that fit your household, and a hardware-and-color palette that feels calm and cohesive.
If you’re early in the process, bring these items to your first cabinet appointment:
- Rough kitchen measurements (wall lengths, ceiling height, window and door locations)
- Appliance list with sizes (especially refrigerator depth and range width)
- 3–5 inspiration images showing cabinet color, countertop style, and hardware direction
- A realistic budget range for cabinets, installation, and storage upgrades
For more practical kitchen renovation ideas, cabinet comparisons, and kitchen organization tips, explore the latest guides and inspiration on thedecormag.com.
More Articles
 Small Alternatives to Spaces: Smart, Space-Saving Kitchen Solutions That Actually Work
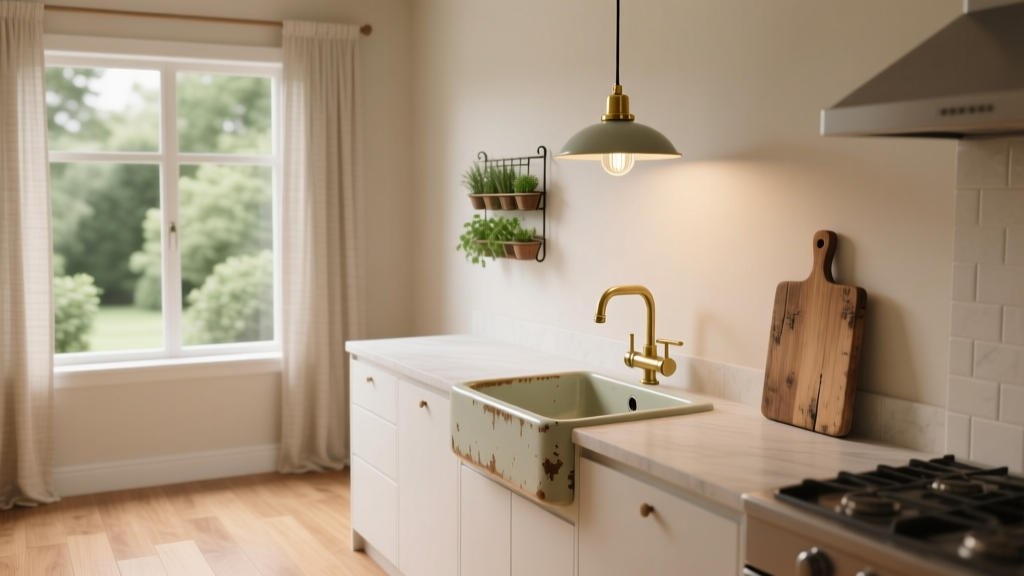 Vintage Kitchen Decor: Ideas & Tips (2026)
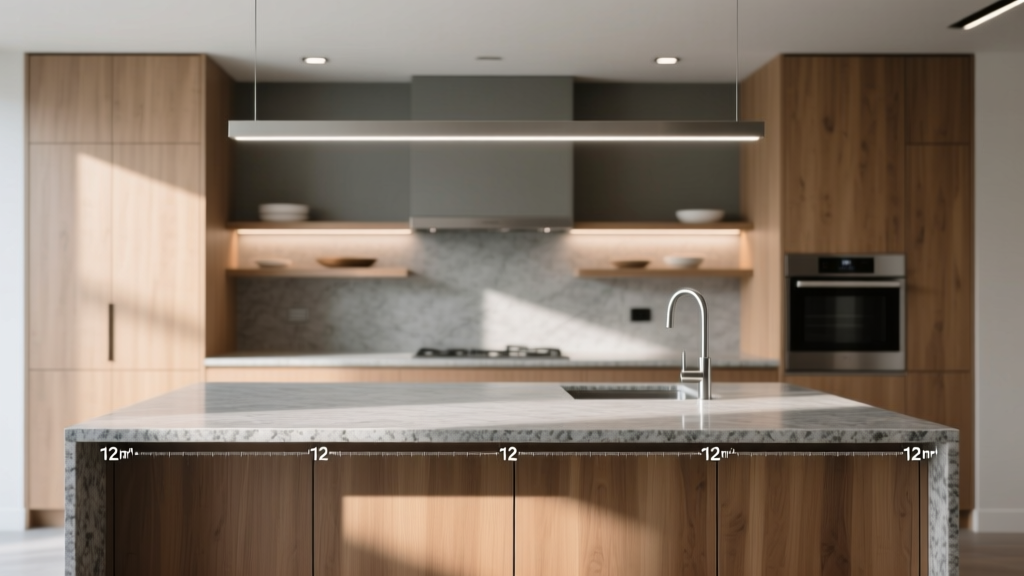 Kitchen Countertop Overhang Rules (2026)
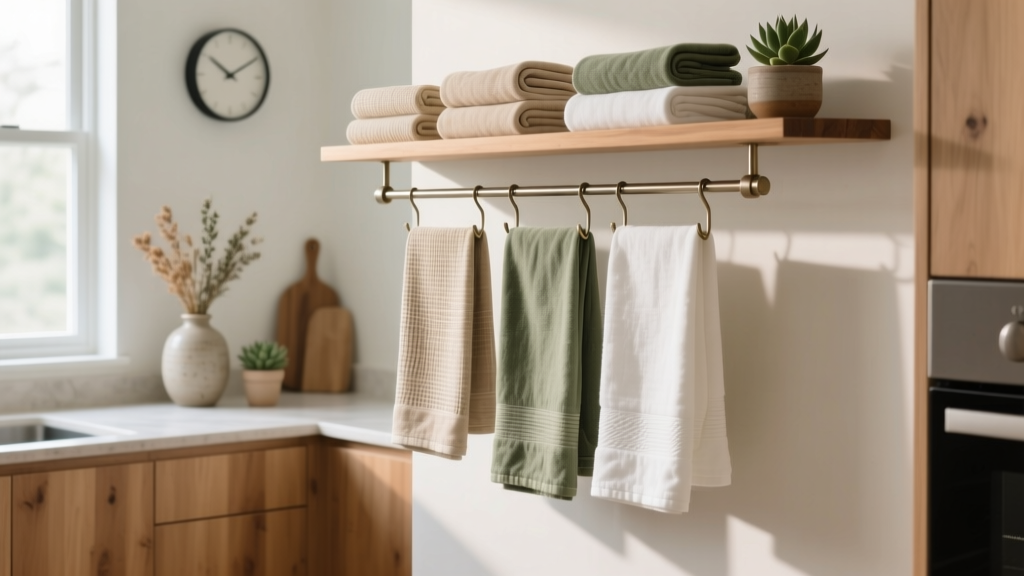 Best Kitchen Towel Storage Ideas - The Decor Mag
 The Actually For Checklist: A Precision-Driven Kitchen Readiness System for Home Cooks and Professionals
 How to Choose Kitchen Counter Depth - The Decor Mag
 Smart Kitchen Tech: How to Incorporate in 2026
 Chef Kitchen Design: Transform Your Space (2026)
 Kitchen Sink Styles and Materials Compared - The Decor Mag
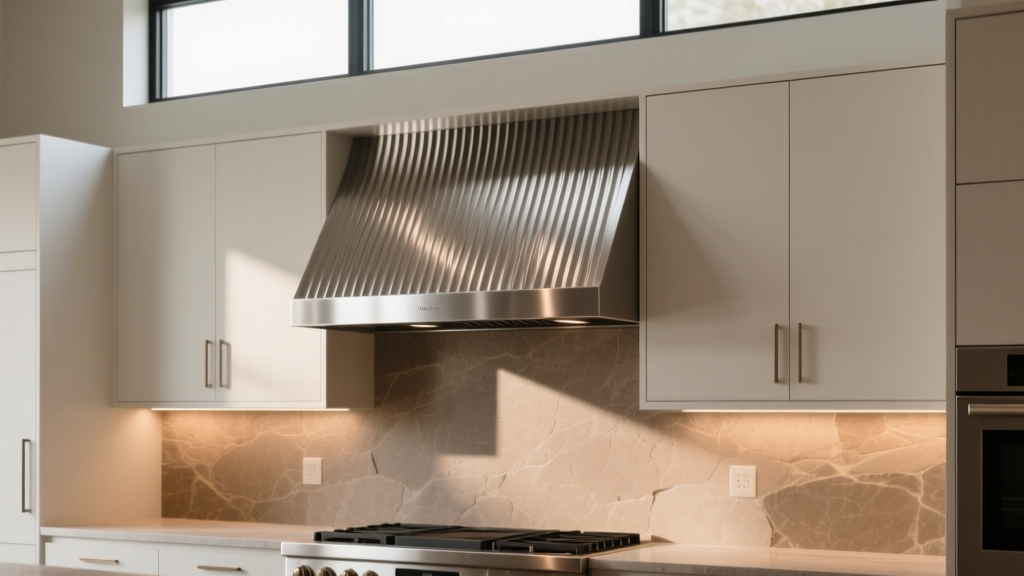 Kitchen Fluted Range Hood Cover Ideas - The Decor Mag