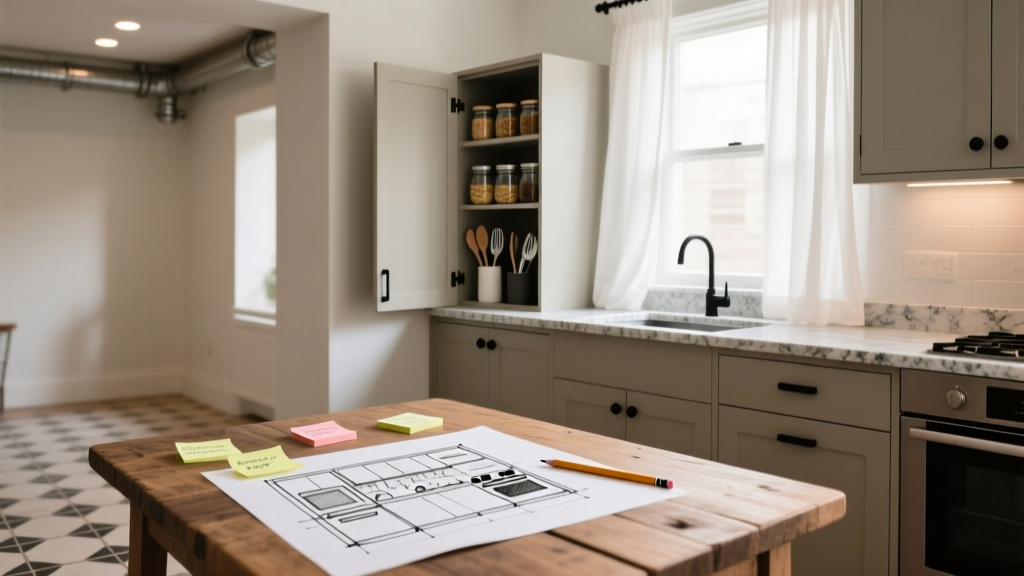
How to Plan a Kitchen Renovation on a Budget - The Decor Mag
A kitchen renovation can quickly become the most expensive project in the home—yet it’s also the space where smart planning pays off the fastest. A well-designed kitchen improves daily routines, adds resale value, and makes even small homes feel more functional. The challenge is getting the look and performance you want without letting costs spiral.
Budget-friendly kitchen design isn’t about settling for “cheap.” It’s about choosing where to invest, where to save, and how to avoid costly mistakes that force rework. With the right layout decisions, durable materials, and a realistic timeline, you can create a kitchen that feels custom—without the custom price tag.
This guide walks you through practical steps, cost ranges, and design strategies used by pros to keep a kitchen remodel on budget, while still delivering a stylish, organized, modern kitchen.
1) Start With a Clear Budget (and a Realistic Contingency)
Before selecting cabinets or scrolling tile inspiration, define your maximum spend. Most homeowners underestimate the “hidden” costs—delivery fees, disposal, patching walls, code upgrades, and small hardware add-ons that add up.
Typical budget ranges for kitchen renovations
- Cosmetic refresh: $2,000–$10,000 (paint, lighting, hardware, faucet, minor updates)
- Mid-range renovation: $15,000–$45,000 (semi-custom cabinets, new counters, appliances, flooring, some electrical/plumbing)
- Major remodel: $50,000–$120,000+ (layout changes, structural work, custom cabinetry, premium finishes)
A practical budget split (mid-range example)
- Cabinetry: 25–35%
- Labor/installation: 20–35%
- Countertops: 8–15%
- Appliances: 10–20%
- Flooring: 5–10%
- Lighting/electrical: 5–10%
- Plumbing: 3–8%
Contingency: Set aside 10–15% for surprises (water damage, uneven subfloors, out-of-date wiring). If your home is older than 30 years, bump that to 15–20%.
2) Decide: Refresh, Replace, or Reconfigure
The fastest way to blow a kitchen renovation budget is moving plumbing, gas lines, or walls. The most budget-friendly remodel keeps the “wet zone” (sink/dishwasher) and cooking zone (range/hood) in roughly the same locations.
Budget-friendly approach: keep the layout, upgrade the experience
- Keep sink, dishwasher, and range locations if possible
- Improve storage with smarter interiors (roll-outs, dividers)
- Update lighting and add under-cabinet task lighting
- Refresh finishes: paint, backsplash, hardware, faucet
When a layout change is worth it
Consider a reconfiguration only if your kitchen has a major functional problem (no prep space, poor traffic flow, unsafe cooking zone). Even then, try to:
- Move either plumbing or electrical—not both
- Limit new plumbing runs to under 3–6 feet when feasible
- Avoid relocating a window or exterior door (often a major cost multiplier)
3) Measure Like a Pro: Key Kitchen Dimensions That Prevent Mistakes
Accurate measurements lead to accurate quotes—and fewer expensive change orders. Use a laser measure if possible and record everything.
Core clearances and ergonomic guidelines
- Walkways: 36 inches minimum; 42 inches is comfortable for one cook; 48 inches works well for two cooks
- Work aisles (between counters): 42 inches recommended (48 inches for multi-cook kitchens)
- Counter height: typically 36 inches; consider 38 inches for taller homeowners if customizing
- Upper cabinet height: commonly 30–36 inches tall; leave 18 inches between countertop and uppers
- Island seating clearance: allow 24 inches width per seat; 12–15 inches knee space overhang (check countertop material limits)
- Dishwasher clearance: 21–24 inches in front of dishwasher for loading access
Tip: Map your “work triangle”—then modernize it
The classic work triangle (sink, range, fridge) still matters, but today’s kitchens benefit from defined zones:
- Prep zone: 24–36 inches of uninterrupted counter near the sink
- Cooking zone: landing space of 12–15 inches on one side of the range and 15–18 inches on the other if possible
- Clean-up zone: trash/recycling pull-out near sink; dishwasher next to sink
- Snack/coffee zone: keeps traffic out of the cook’s path
4) Cabinets on a Budget: Where to Save and Where to Spend
Cabinets are often the biggest line item in a kitchen remodel. The goal is to spend on what you touch daily (hardware quality, drawer function) and save on what’s mostly visual.
Cabinet options and cost ranges
- Stock cabinets: $100–$300 per linear foot (best for tight budgets; limited sizes)
- Semi-custom: $200–$650 per linear foot (more sizing flexibility; better storage options)
- Custom: $500–$1,200+ per linear foot (highest cost; best for unusual spaces)
High-impact, budget-friendly cabinet upgrades
- Refacing: Replace doors/drawer fronts, keep boxes (often 30–50% cheaper than full replacement)
- Painting: Professional spray finish typically costs less than new cabinets; choose durable cabinet-grade coatings
- Keep the boxes, change the look: add crown molding, light rails, or new panels on island backs
What to prioritize for longevity
- Plywood boxes or high-quality engineered wood (better screw holding than low-grade particleboard)
- Soft-close hinges and full-extension drawer slides
- More drawers, fewer doors: drawers increase usability and reduce “lost space”
5) Countertops: Material Comparisons and Smart Splurges
Countertops are a visual anchor, but you don’t need the most expensive stone to get a polished look. Choose based on lifestyle, maintenance tolerance, and how long you plan to stay in the home.
Popular countertop materials (cost + maintenance)
- Laminate: $20–$50/sq. ft. installed; budget-friendly, many modern patterns; avoid direct heat
- Butcher block: $40–$100/sq. ft.; warm and trending; needs regular sealing and careful moisture control
- Quartz: $60–$120/sq. ft.; low maintenance, consistent patterns; avoid prolonged high heat from pans
- Granite: $50–$120/sq. ft.; natural variation; requires periodic sealing depending on stone
- Solid surface: $50–$100/sq. ft.; seamless look; can scratch but often repairable
Budget trick: mix materials strategically
Use a premium material where it matters most and a budget option elsewhere:
- Quartz on perimeter + butcher block on an island
- Quartz on main prep run + laminate in a laundry-adjacent kitchenette
Maintenance advice
- Use cutting boards consistently to prevent micro-scratches
- Wipe spills quickly, especially near seams and sink cutouts
- Use trivets—most “heat resistant” materials still discolor with repeated direct heat
6) Flooring That Looks High-End Without the High Price
Kitchen flooring must handle water, grit, and constant traffic. Current kitchen design trends lean toward warm wood tones, large-format tile, and durable “quiet luxury” finishes that don’t feel flashy but last.
Flooring options and cost ranges
- Luxury vinyl plank (LVP): $2–$7/sq. ft. + installation; water-resistant, budget-friendly, great for busy homes
- Porcelain tile: $3–$10/sq. ft. + installation; durable and timeless; grout maintenance required
- Engineered wood: $4–$12/sq. ft.; warmer feel; choose a strong wear layer and wipe spills fast
- Sheet vinyl: $1–$5/sq. ft.; affordable and easy to clean; less premium look depending on pattern
Pro tip: prioritize slip resistance
Look for tile with a DCOF of 0.42+ for wet areas when possible, and avoid high-gloss finishes near sinks and exterior doors.
7) Backsplash and Paint: Affordable Updates With Big Visual Payoff
If you want a kitchen to feel “new” on a budget, spend thoughtfully on the surfaces at eye level. This is where you can bring in current trends—like handmade-look tile, zellige-inspired textures, or slab-style backsplashes—without committing to expensive materials everywhere.
Backsplash cost ranges
- Ceramic subway tile: $2–$10/sq. ft. (tile only); classic, flexible, timeless
- Porcelain tile: $3–$15/sq. ft.; durable with great stone looks
- Peel-and-stick: $5–$15/sq. ft.; best for short-term refreshes or rentals (prep surface carefully)
Paint choices that last
- Walls: scrubbable eggshell or satin; choose mildew-resistant paint for humid kitchens
- Ceilings: flat ceiling paint to hide imperfections
- Trim/cabinet paint: use cabinet-grade enamels and allow proper cure time before heavy use
8) Appliances, Lighting, and Fixtures: Spend Where You Feel It
Homeowners often overspend on appliances and underspend on lighting—then wonder why the kitchen still feels dated. Lighting is one of the most effective “budget luxury” upgrades in modern kitchen design.
Appliance budgeting tips
- Choose a cohesive finish (stainless, panel-ready, or matte) rather than chasing the most expensive brand
- Look for package deals during holiday sales; savings can be $500–$2,000+ depending on the set
- Verify sizes: standard ranges are typically 30 inches wide; counter-depth fridges reduce protrusion but can cost more
Lighting plan (layered and practical)
- Ambient: recessed lights or a ceiling fixture for general illumination
- Task: under-cabinet LED strips (a top-value upgrade)
- Accent: pendants over an island or a statement fixture over a table
Budget ranges: Under-cabinet lighting can run $150–$800 depending on DIY vs electrician and product type. New fixtures vary widely, but stylish pendants often land in the $75–$300 range each.
Fixtures that elevate the kitchen
- Pull-down faucet: choose solid brass construction if possible; expect $150–$500 for reliable models
- Hardware refresh: new pulls/knobs can modernize cabinets fast; budget $3–$15 per piece
- Workhorse sink: stainless steel is durable and timeless; look for thicker gauge and sound-dampening pads
9) Smart Storage and Organization: The “Renovation” You Use Every Day
Trendy finishes look great, but functionality is what makes a kitchen feel expensive. Built-in organization helps small kitchens live larger and keeps countertops clear—one of the most enduring principles of timeless kitchen design.
High-value storage upgrades
- Trash/recycling pull-out: place near sink or prep zone
- Deep drawer bases: for pots, pans, and plates (more ergonomic than lower cabinets)
- Spice pull-out: near the cooktop for easy access
- Lazy Susan or corner pull-out: improves corner cabinet usability
- Tray divider: store baking sheets vertically; reduces clutter and scratches
Measurements that make organization work
- Plan 18–24 inches of drawer width for utensils and daily tools
- Allocate a 12–18 inch pull-out for spices/oils if space allows
- Leave at least 15 inches of landing counter near the fridge for grocery drop-off
Common Budget-Killing Mistakes to Avoid
- Changing the layout without a plan: moving plumbing and electrical is expensive and can trigger permit upgrades.
- Underestimating labor and lead times: cabinets, tile, and specialty appliances can take weeks to arrive.
- Choosing trendy materials that don’t fit your lifestyle: high-maintenance surfaces quickly feel like a regret purchase.
- Skipping lighting upgrades: a beautiful kitchen can still feel dull with poor task lighting.
- Not ordering extra materials: buy 10–15% extra tile/flooring for cuts, repairs, and future matching.
- Forgetting the small stuff: trim, fillers, toe kicks, vents, disposal, and delivery fees add up.
Sample Budget Plan: A Practical Path to a High-Impact Remodel
If you want maximum change with controlled spending, this approach works well for many homeowners:
- Keep the existing layout (avoid moving sink/range)
- Upgrade cabinets strategically (paint or reface; add soft-close hinges and more drawers)
- Choose a durable mid-range countertop (quartz or quality laminate)
- Install LVP or porcelain tile flooring (depending on budget and comfort needs)
- Add under-cabinet lighting and update fixtures
- Finish with a backsplash that adds texture and personality
FAQ: Kitchen Renovation on a Budget
How can I renovate my kitchen cheaply without it looking cheap?
Focus on visible, high-impact changes: updated cabinet hardware, a modern faucet, improved lighting, and a cohesive color palette. Keep the layout, choose durable finishes (like quartz-look porcelain or quality LVP), and invest in organization so the kitchen stays clutter-free.
Is it cheaper to reface or replace kitchen cabinets?
Refacing is often cheaper than replacing because you keep the existing cabinet boxes. It’s a strong option when cabinet boxes are solid and the layout works. Replace cabinets if boxes are damaged, the layout is inefficient, or you need different sizes for better storage.
What’s the best countertop for a tight budget?
Laminate offers the lowest cost with a surprisingly modern range of designs. Butcher block is mid-range and warm-looking, but requires sealing and careful moisture control. If you can stretch the budget, quartz is a low-maintenance upgrade that performs well long-term.
How do I budget for unexpected costs during a kitchen remodel?
Set aside 10–15% of the total budget as a contingency (15–20% for older homes). Common surprises include subfloor repairs, outdated wiring, plumbing leaks, and wall patching after demolition.
Which kitchen upgrades add the most value?
Value tends to come from functional improvements and durable finishes: efficient layout, quality cabinetry (or well-executed refacing), good lighting, and reliable appliances. A timeless backsplash and easy-care countertop also help with resale appeal.
Can I renovate a small kitchen without removing walls?
Yes. Use space-saving design moves: more drawers, pull-out pantry storage, light-reflecting finishes, under-cabinet lighting, and a streamlined appliance plan. Keep walkways at least 36 inches and prioritize a dedicated prep zone to make the kitchen feel larger.
Next Steps: Plan Your Budget Kitchen Renovation With Confidence
Start by measuring your space, listing your must-haves, and choosing the least expensive path to a better layout—often by keeping plumbing and appliances in place. Build a realistic budget with a contingency, then select materials that match how you cook and clean. When in doubt, spend on daily touchpoints: lighting, storage, and surfaces you use constantly.
If you’re ready for more kitchen design inspiration, smart organization ideas, and renovation planning guides, explore the latest at thedecormag.com.
More Articles
 Kitchen Textured Cabinet Door Trends - The Decor Mag
 Best Kitchen Under-Sink Organization - The Decor Mag
 Kitchen Stainless Steel Appliance Guide - The Decor Mag
 Friendly vs. Solutions: A Practical, Kitchen-Tested Comparison of Two Leading Countertop Materials
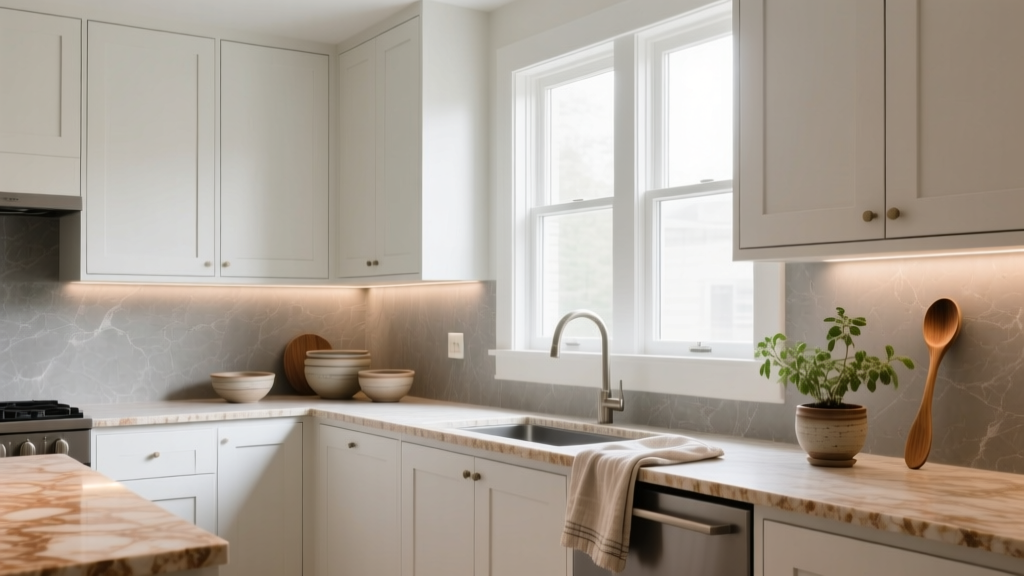 Kitchen Shaker Cabinet Timeless Appeal - The Decor Mag
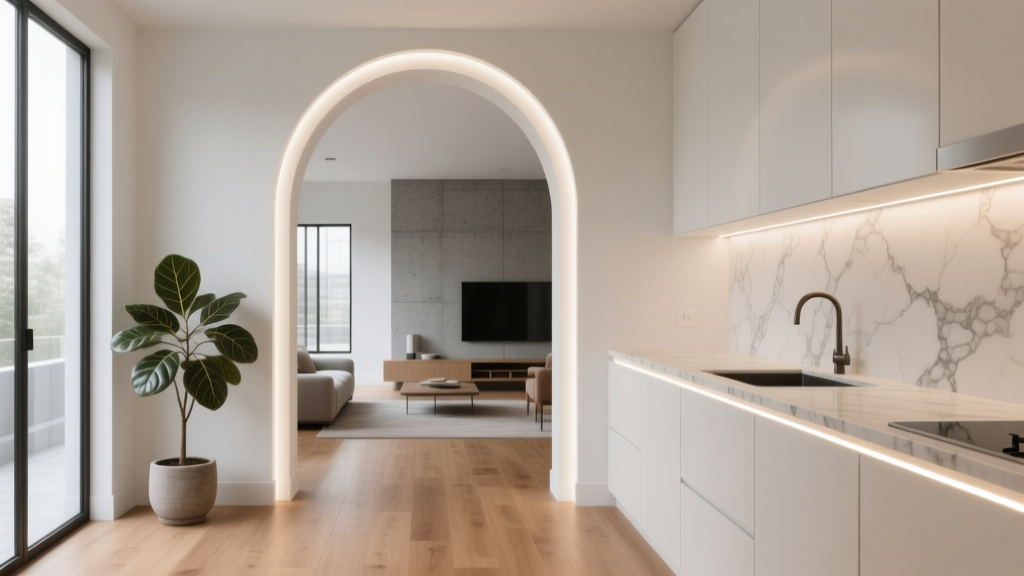 Kitchen Arched Doorway to Kitchen Design - The Decor Mag
 Safety-First Bedroom Inspiration: Essential Design Principles, Verified Products, and Measured Layouts
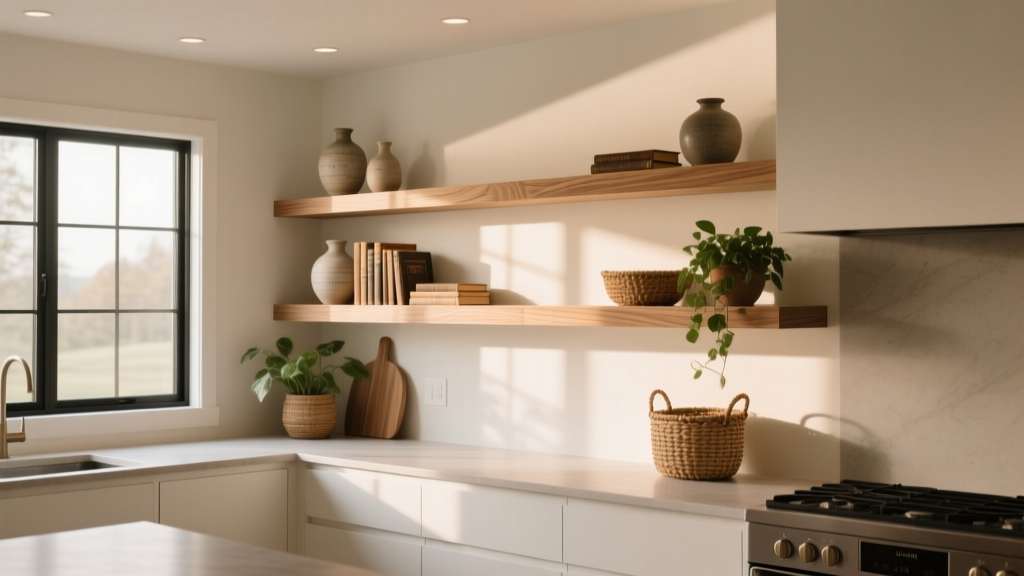 Open Shelf Kitchen Styling Tips - The Decor Mag
 Blue and Fluted Cookware Compared: A Kitchen Specialist’s Deep-Dive Analysis of Le Creuset vs. Staub
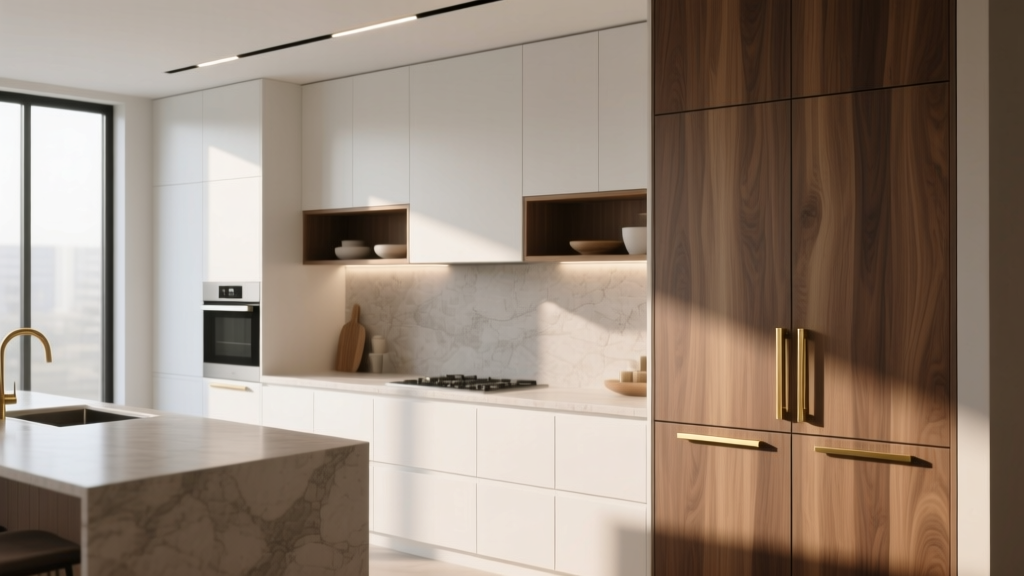 How to Mix Cabinet Finishes in a Kitchen - The Decor Mag