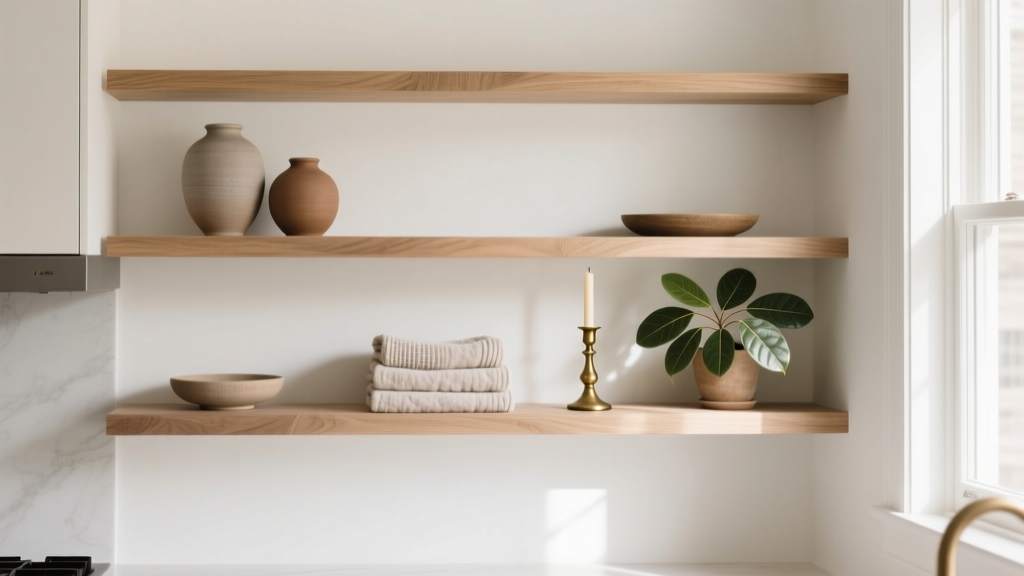
How to Style a Kitchen Open Shelf Display - The Decor Mag
Open shelving has become one of the most requested features in kitchen renovation planning—and for good reason. A well-styled open shelf display can make a kitchen feel lighter, more spacious, and more personal than a wall of upper cabinets. It’s also a practical opportunity to keep daily-use items within reach while showcasing materials and finishes that elevate the entire room.
That said, open shelves aren’t automatically “easy.” They require intentional layout, consistent styling, and a maintenance plan that fits your lifestyle. The goal is timeless functionality (easy to grab, easy to clean, easy to live with) paired with current kitchen design trends like warm woods, handcrafted ceramics, mixed metals, and layered lighting.
This guide covers shelf placement, measurements, materials, styling formulas, budget ranges, and the most common mistakes homeowners make—so you can design an open shelf display that looks curated and stays that way.
Plan Before You Style: Function First, Then Beauty
Decide what your shelves are for
The fastest way to create a cluttered open shelf display is to treat shelves as “extra storage.” Instead, assign a clear purpose based on your cooking habits and kitchen workflow.
- Everyday zone: plates, bowls, mugs, water glasses, breakfast items
- Prep zone: mixing bowls, oils, salt cellar, cutting boards, measuring tools
- Entertaining zone: wine glasses, serving platters, bar items
- Decorative zone: a few cookbooks, artwork, plants, ceramics (kept minimal)
Choose the right wall and location
Open shelving works best where it supports daily routine and doesn’t fight the messiest parts of cooking.
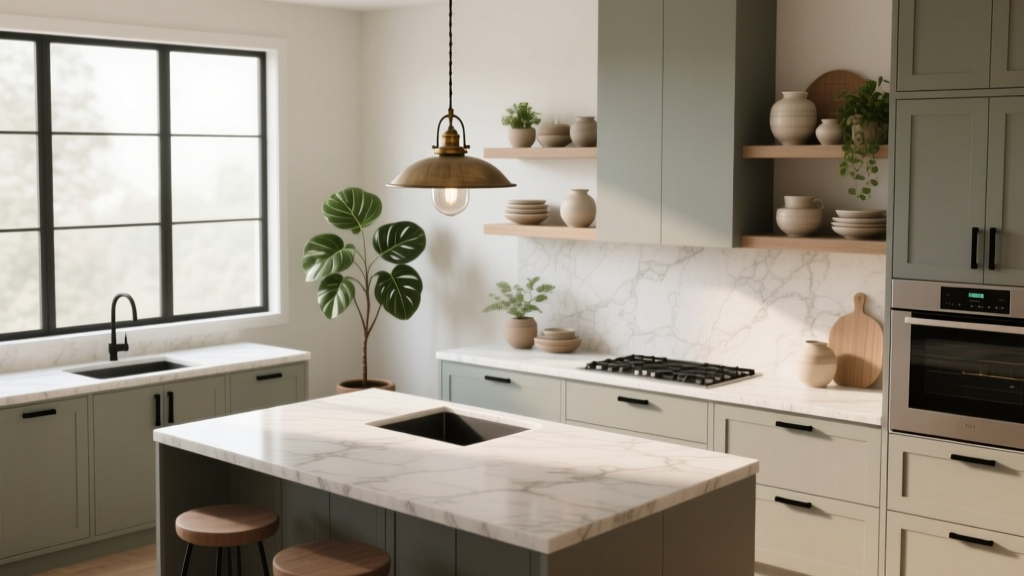
- Best placements: over a coffee station, on a focal wall, near the dishwasher for easy unloading, flanking a range hood (with heat considerations)
- Avoid: directly beside the cooktop without adequate ventilation (grease buildup), above a sink without planning for water splash, and on walls that get intense direct sun (can fade wood and textiles)
Measurements That Make Open Shelves Look Custom
Recommended shelf depth
- 8–10 inches deep: ideal for most plates, bowls, and mugs without looking bulky
- 10–12 inches deep: works for larger dinner plates and serving pieces, but can feel heavy in smaller kitchens
- 6–8 inches deep: best for spice displays, small art, or a narrow coffee shelf
Spacing between shelves
Plan spacing based on what will live there. If you’re renovating, mock up heights with painter’s tape before drilling.
- 10–12 inches: mugs, small bowls, low stacks of plates
- 12–15 inches: dinner plates, pitchers, medium canisters
- 15–18 inches: tall vases, large canisters, stand mixer accessories
Height from countertop
- 18–20 inches above the countertop: a comfortable starting point for the first shelf (similar to standard upper cabinet clearance)
- 24 inches: can work for a more open feel, but may reduce daily convenience
Length and proportion tips
- Keep shelves aligned with lower cabinet runs where possible for a built-in look.
- For a balanced layout, shelves often look best when they are 2/3 to 100% of the counter length beneath them.
- In smaller kitchens, two longer shelves typically look calmer than multiple short ones.
Materials and Hardware: What Looks Good and Holds Up
Best shelf materials (with pros and cons)
-
Solid wood (oak, walnut, maple): warm, timeless, and durable. Oak is a current trend for its grain and natural tone.
Maintenance: seal with a quality clear coat; wipe spills quickly. -
Plywood with hardwood veneer: stable and often more budget-friendly than solid wood while still looking high-end.
Tip: choose furniture-grade plywood; finish edges cleanly with matching veneer or a solid wood nosing. -
Painted MDF: smooth and affordable; best for a crisp, classic look.
Watch for: moisture damage if edges aren’t sealed well (avoid near a steamy kettle zone). -
Metal (steel/aluminum): modern, durable, and thin-profile; can feel cold if not balanced with warm accents.
Maintenance: fingerprint-prone; choose powder-coated finishes. - Stone (quartz, marble): stunning but heavy and costly; requires professional installation and strong wall support.
Bracket styles and load capacity
Brackets are not just decoration—they determine safety and long-term performance.
- Hidden brackets (floating shelves): clean, modern look; must be installed into studs or solid blocking.
- Decorative metal brackets: farmhouse to industrial styles; easier to install and typically more forgiving for heavy loads.
- Rail-and-upright systems: adjustable and practical for changing needs; can look more utilitarian.
Rule of thumb for strength: aim for brackets or supports at every 24–32 inches of shelf length, and always anchor into studs when possible. If you’re displaying stacks of dinner plates or heavy stoneware, prioritize engineering over minimalism.
Design Approaches That Always Look Good
Choose a color story (3–5 colors max)
Open shelves look most “designed” when they repeat a limited palette. Pull colors from your kitchen finishes: cabinet color, countertop, backsplash, and hardware.
- Timeless neutrals: white ceramics + clear glass + warm wood + black accents
- Current trend: creamy whites + greige stoneware + brass details + natural oak
- Bold but livable: matte black dishware + clear glass + one strong accent color (like cobalt or terracotta)
Use the 60/30/10 styling balance
- 60% functional items: plates, bowls, mugs, glasses
- 30% storage pieces: canisters, baskets, trays, small bins
- 10% decorative: a small framed print, plant, sculptural vase, or a beautiful cookbook
Build height and rhythm
A flat row of identical objects reads as storage, not style. Vary heights and shapes while keeping the palette consistent.
- Stack plates horizontally for calm structure.
- Add 1–2 taller items (pitcher, vase, olive oil bottle) per shelf section.
- Use odd-number groupings (3 or 5) for small objects.
Layer like a designer
- Back layer: framed art, cutting boards, trays leaning against the wall
- Middle layer: canisters, bowls, short stacks of plates
- Front layer: a small plant, salt cellar, or a small bowl for daily items
What to Put on Open Shelves (and What to Keep Behind Doors)
Best items for open shelves
- Everyday dishware in a cohesive set (or coordinated neutrals)
- Clear glassware (wine glasses and tumblers look lighter visually)
- Matching canisters for staples (flour, sugar, coffee, tea)
- Cookbooks (2–6 max, rotated seasonally)
- Wood cutting boards and serving boards (adds warmth)
- A small piece of art or a framed recipe (wipeable glass frame works well)
Items better stored in cabinets
- Plastic containers with mismatched lids
- Bright packaging and pantry overflow (unless decanted into matching jars)
- Greasy tools (deep-fryer parts, splatter screens) that collect residue
- Anything you rarely use and don’t want to dust
Budget and Cost Ranges for Open Shelving
Open shelving can be cost-effective compared to upper cabinets, but quality hardware and finishing matter.
- DIY basic shelves: $50–$200 per shelf (common for pine or primed boards + basic brackets)
- Mid-range, renovation-ready: $200–$600 per shelf (solid wood or veneered plywood + quality brackets + finishing)
- Custom built-in look: $600–$1,500+ per shelf run (thicker material, premium brackets, integrated lighting, professional install)
Budget tip: Spend on what you touch and see up close—hardware and finish quality. You can keep costs down by limiting shelf runs to one focal wall and keeping the rest of the kitchen storage in closed cabinetry.
Maintenance and Cleaning: Keep It Beautiful Without Extra Work
Dust and grease strategy
- Weekly: quick microfiber wipe for dust (takes 2–3 minutes if you don’t overcrowd)
- Monthly: remove items and wipe shelves with a gentle cleaner appropriate to the finish
- Near the cooktop: consider a semi-gloss or satin finish for easier wipe-down, and ensure a properly sized vent hood
Finish recommendations
- Water-based polyurethane (satin): durable, low odor, great for most woods
- Hardwax oil finishes: natural look and feel; may require periodic reapplication, but spot repairs are easy
- Paint (cabinet-grade enamel): ideal for a crisp look; cleanable and moisture-resistant when cured properly
Common Mistakes to Avoid
- Installing shelves too high: if you need a stool for daily dishes, the display won’t stay organized.
- Overcrowding: packed shelves look messy quickly. Leave 20–30% empty space so the arrangement can breathe.
- Mixing too many styles: one rustic board, one glossy modern shelf, and mixed dish colors can look accidental. Commit to a cohesive direction.
- Ignoring lighting: open shelves look best with layered kitchen lighting. Add under-shelf LED strips or nearby sconces if the wall feels dark.
- Weak anchoring: drywall anchors alone are risky for heavy dishes. Use studs or add blocking during a kitchen renovation.
- Placing them where grease is unavoidable: without a good hood, shelves near the range become a maintenance headache.
Step-by-Step: A Simple Styling Formula That Works
- Start with your anchor items: stack plates and bowls in 2–3 piles (keep stacks low: typically 6–10 plates).
- Add vertical warmth: lean 1–2 cutting boards or trays behind stacks.
- Bring in glass: line up 4–8 matching glasses or mugs (keep handles facing the same direction for visual calm).
- Introduce a statement piece: a pitcher, vase, or a beautiful canister set.
- Finish with one living or artistic element: a small plant, framed print, or a sculptural bowl.
- Edit: remove 1–2 items. The final pass is what makes it look intentional.
FAQ: Kitchen Open Shelf Display
Are open shelves practical for everyday kitchens?
Yes, when they’re planned around daily-use items and installed at reachable heights (generally 18–20 inches above the counter for the first shelf). Keep the most-used pieces on the lowest shelf and limit decorative items to avoid constant rearranging.
Do open shelves make a kitchen look messy?
They can if the display mixes too many colors, shapes, and packaging. A cohesive palette, matching canisters, and leaving 20–30% negative space keeps open shelving looking organized and intentional.
What’s the best wood for kitchen open shelves?
White oak and walnut are popular in current kitchen design trends for their warmth and grain, while maple is a durable, classic choice. Use a sealed finish (like satin polyurethane) for stain resistance and easier cleaning.
How do I prevent dishes from looking cluttered?
Use consistent dishware, stack items in tidy piles, and repeat shapes (for example, all white bowls and clear glasses). Avoid too many small items; a few larger groupings read calmer.
How much weight can floating shelves hold?
It depends on the bracket system, shelf thickness, and anchoring. Installed into studs with quality hardware, many floating shelves can hold everyday dishware safely. For heavy stoneware stacks, use supports every 24–32 inches and consider visible brackets for extra strength.
Should I replace all upper cabinets with open shelving?
Most homeowners prefer a hybrid approach: open shelving for a focal area and everyday items, with closed cabinetry for pantry storage, plastics, and anything you don’t want to dust. This balances style with long-term kitchen organization.
Next Steps: Make Your Shelves Work as Hard as They Look
Start by choosing one shelf wall or one section of your kitchen—often near a coffee station or a focal backsplash—and plan it like a small design project. Measure your dishware, select a shelf depth that suits your needs (usually 8–10 inches), and invest in sturdy hardware. Then style with a limited color palette, repeat materials (wood, ceramic, glass), and keep editing until the display feels calm and functional.
For more kitchen renovation inspiration, smart organization ideas, and timeless design guidance, explore the latest kitchen content on thedecormag.com.
More Articles
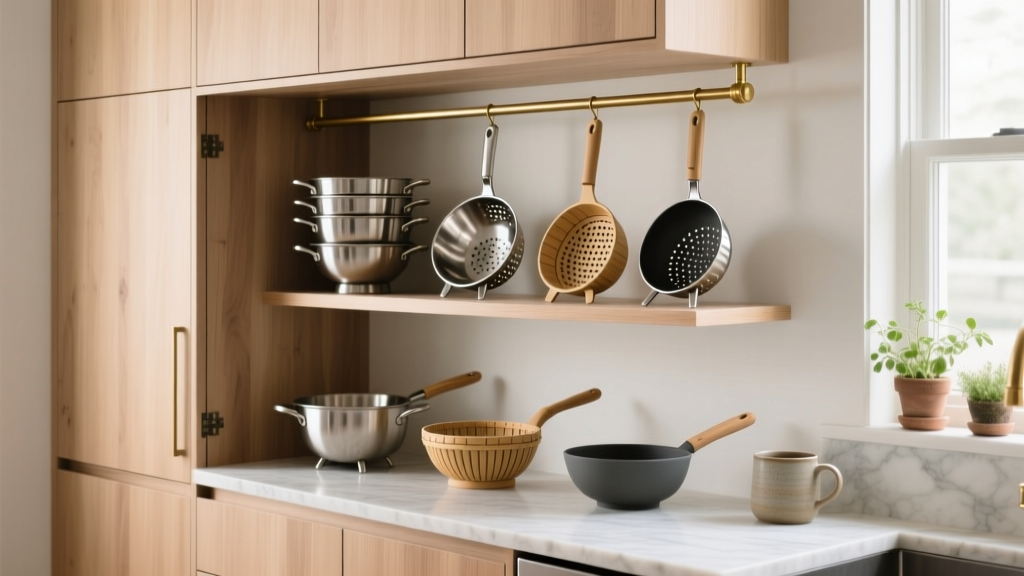 Best Kitchen Colander Storage Solutions - The Decor Mag
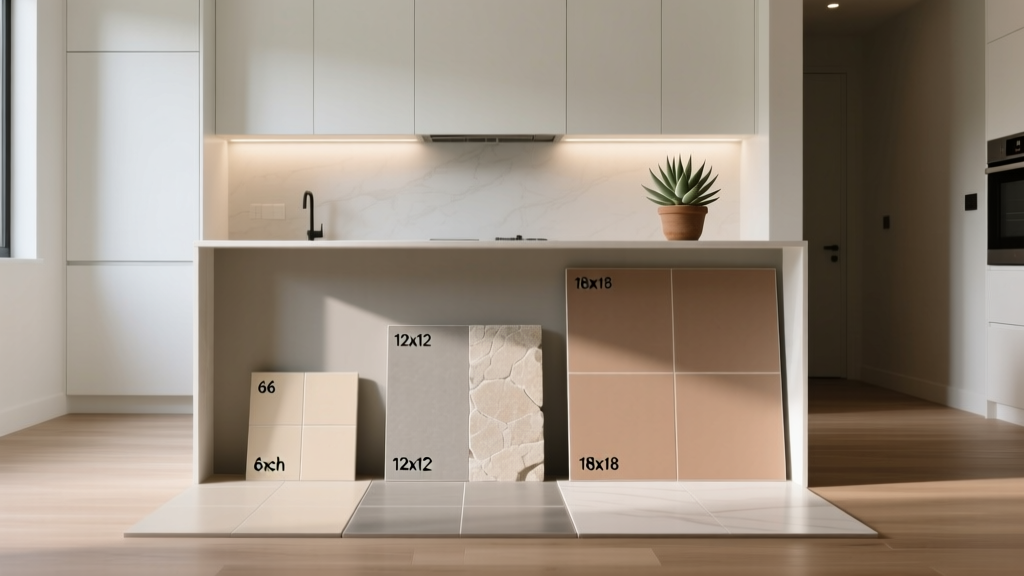 How to Choose Kitchen Floor Tile Size - The Decor Mag
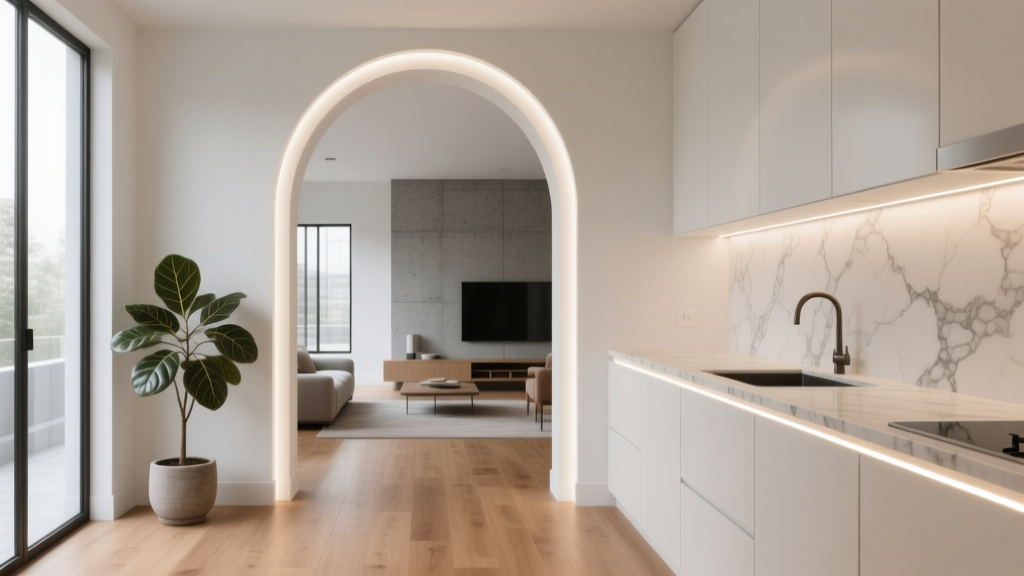 Kitchen Arched Doorway to Kitchen Design - The Decor Mag
 Best Kitchen Flooring Options for Durability - The Decor Mag
 Kitchen Layered Materials Design Guide - The Decor Mag
 Kitchen Brass Hardware Renaissance - The Decor Mag
 Best Kitchen Utensil Holder Picks - The Decor Mag
 Kitchen Style & Function: Design Tips (2026)
 Kitchen Pantry Organization That Saves Time
 Kitchen Patina Brass Faucet Beauty - The Decor Mag