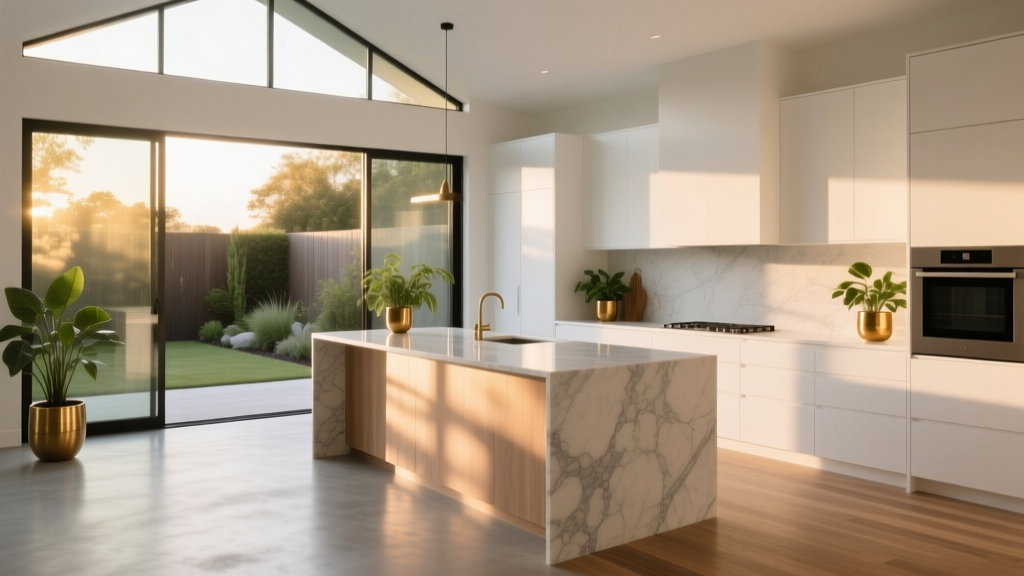
How to Design a Kitchen with Natural Light - The Decor Mag
Natural light changes how a kitchen looks, feels, and functions. It makes finishes read true to color, helps small kitchens feel larger, and turns everyday tasks—making coffee, prepping dinner, helping with homework at the island—into moments that feel calmer and more enjoyable. For homeowners planning a kitchen renovation, daylight is also one of the most valuable “materials” you can add: it elevates the design without taking up square footage.
Beyond aesthetics, designing a kitchen with natural light can reduce reliance on artificial lighting during the day, support healthier indoor rhythms, and highlight the textures that are trending now—warm woods, honed stone, handcrafted tile—while still honoring timeless functionality principles like efficient work zones and easy-clean surfaces.
This guide breaks down practical ways to bring more daylight into your kitchen, shape it so it’s comfortable, and pair it with materials, layouts, and lighting that work year-round. You’ll find measurements to plan around, cost ranges for common upgrades, and the mistakes that most often derail “bright kitchen” goals.
Start with a Daylight Plan (Before You Pick Finishes)
Observe the light you already have
Before choosing cabinets or countertops, spend a few days noticing how sunlight moves through the room. Take quick phone photos in the morning, midday, and late afternoon. Note where glare hits, where shadows fall on prep areas, and which walls are brightest.
- North-facing light: cooler and consistent; great for even illumination but can feel flat without warm materials.
- South-facing light: strongest; ideal for bright kitchens but may require shading to control heat and glare.
- East-facing light: sunny mornings; can create glare at breakfast bars.
- West-facing light: warm afternoon light; can overheat kitchens in summer.
Know your targets: practical measurements
- Work surface lighting: aim for 300–500 lux on countertops for comfortable prep (natural + artificial combined).
- Window sill height: typical is 36–42 inches from floor; keep it coordinated with countertop height (usually 36 inches) for clean sightlines.
- Walkways: maintain 36 inches minimum; 42–48 inches is more comfortable for two cooks.
- Island clearance: plan 42 inches minimum around an island; 48 inches if appliances open into the aisle.
Design Moves That Maximize Natural Light
1) Choose the right window types for kitchens
Windows do more than bring in light—they affect ventilation, maintenance, and layout. These are strong choices for kitchen renovations:
- Casement windows: excellent ventilation, good seal; easy to open over a sink. Great for catching breezes.
- Awning windows: can stay open in light rain; ideal above countertops where you don’t want a sash intruding.
- Picture windows: maximum daylight and views; pair with operable side windows if ventilation is needed.
- Sliding windows: budget-friendly; easier screens, but less airtight than casement options.
Cost range: A standard kitchen window replacement often runs $700–$2,500 per window installed, depending on size, frame material, and region. Enlarging a window opening (structural changes, new header, exterior work) can push costs to $2,500–$7,500+.
2) Add a skylight or solar tube where walls can’t help
For kitchens with limited exterior walls—common in townhomes and interior layouts—overhead daylight can be transformative.
- Fixed skylight: brightens dramatically; best when you already have good ventilation.
- Ventilating skylight: adds airflow; helpful for cooking odors and humidity control.
- Solar tube (tubular daylight device): smaller footprint, lower cost; excellent for targeted daylight over a sink run or pantry zone.
Placement tip: A skylight centered over the main prep zone or island spreads light evenly. Avoid placing it directly above glossy countertops if glare is a concern.
Cost range: Solar tubes often run $700–$2,000 installed. Skylights typically range $1,500–$4,500 installed; larger or motorized units can reach $5,000–$10,000+, especially if roofing work is complex.
3) Borrow light with interior glazing
If your kitchen shares a wall with a brighter room, consider “stealing” daylight instead of rebuilding the exterior.
- Glass doors: replace a solid pantry or kitchen entry door with a full-lite or 3/4-lite glass option.
- Interior window/pass-through: a framed opening or glass transom can bring light deeper into the kitchen while keeping walls partially intact.
- Glass-front uppers (selective): use sparingly to reduce visual weight and reflect light.
Cost range: A glass interior door often lands at $300–$1,200 (door + hardware), plus installation. A larger pass-through or structural opening can range $1,500–$8,000+ depending on whether the wall is load-bearing.
Layouts That Let Daylight Do Its Job
Keep tall elements out of the “light path”
Natural light travels in straight lines. Tall cabinets, refrigerators, and full-height pantry towers can block it quickly—especially in galley kitchens or U-shaped layouts.
- Place tall pantry cabinets on the darkest wall or near the kitchen entry.
- Group tall items together (fridge + pantry bank) so the rest of the kitchen stays open and bright.
- If possible, keep the window wall lower: use base cabinets, a sink run, or open shelves rather than full-height towers.
Island and peninsula positioning
Islands are trending toward being more furniture-like—fluted panels, wood tones, statement legs—yet they can also become light blockers if oversized.
- Island depth: 36–42 inches works well for most kitchens; 48 inches can feel bulky unless the room is large and bright.
- Island length: a practical range is 60–84 inches; longer islands may cast deeper shadows without overhead daylight.
- Clearance: keep 42–48 inches around the island for comfortable circulation and to prevent bottlenecks where light is strongest.
Think in zones, not just triangles
Modern kitchen design favors task zones: prep, cook, clean, coffee/breakfast, and storage. Natural light should support the zones you use most.
- Prep zone: prioritize daylight here (near a window or under a skylight).
- Clean zone: a sink under a window remains a classic for a reason—good light helps you see dishes and keeps the area feeling fresh.
- Storage zone: pantries can tolerate less daylight; use this area for taller cabinetry.
Materials and Finishes That Amplify Daylight
Cabinet colors and sheen: what actually works
Cabinet finishes affect how light bounces around the kitchen. Current trends include warm whites, creamy off-whites, light oak, and soft greige—choices that pair beautifully with daylight.
- Painted cabinets (satin or matte): reduce glare and hide minor fingerprints better than high gloss.
- Light wood (white oak, ash, maple): adds warmth and depth; works especially well with north-facing light.
- High gloss: reflects the most light but can highlight smudges and create hot spots of glare in sunny kitchens.
Budget note: If you’re re-facing or painting existing cabinets, prioritizing lighter tones is one of the most cost-effective ways to improve a kitchen’s brightness.
Countertop comparisons for bright kitchens
- Quartz (light tones): consistent, reflective enough to brighten without looking shiny; low maintenance. Good for busy households.
- Honed granite or quartzite: softer reflection, more natural variation; honed finishes reduce glare.
- Marble: luminous and timeless, but etches and stains more easily; best for homeowners comfortable with patina.
- Butcher block: warm and trendy, great for daylight-rich kitchens; requires sealing and ongoing care.
Cost range (installed): many quartz and granite options fall around $50–$120 per sq. ft.; premium quartzite and marble commonly run $100–$250+ per sq. ft. Butcher block is often $40–$100 per sq. ft. depending on species and thickness.
Backsplash materials that bounce light
- Handmade-look ceramic tile (gloss or satin): adds texture and gentle reflection; very on-trend.
- Large-format tile: fewer grout lines, cleaner look, more continuous reflection.
- Slab backsplash (matching countertop): seamless, modern, easy to wipe; works well behind ranges.
- Mirrored or metallic accents (use sparingly): can double perceived light, but show splatter and fingerprints more easily.
Flooring: choose the right undertone
Floors are a huge visual plane. In bright kitchen design, the goal is balance: light enough to lift the room, warm enough to feel welcoming.
- Light oak or engineered wood: warm, current, and timeless.
- Porcelain tile in warm neutral tones: durable and reflective; good for sunny kitchens where heat can be a factor.
- Matte finishes: reduce glare and hide dust better than glossy floors.
Window Treatments That Control Glare Without Killing the Light
Too much sun can be as challenging as too little. Glare on countertops, overheated rooms, and faded finishes are common complaints in south- and west-facing kitchens.
- Solar shades (3%–10% openness): cut glare while preserving daytime privacy; excellent for modern kitchens.
- Woven wood shades: add texture and warmth; choose a liner if the kitchen gets intense afternoon sun.
- Café curtains: cover the lower half for privacy while keeping upper glass clear for daylight.
- Top-down/bottom-up shades: ideal when you want light but need to block sightlines from neighbors.
Cost range: Stock shades can be $50–$200 per window, while custom treatments often run $200–$800+ per window depending on size and mechanism.
Layer Lighting So Daylight Never Has to Do All the Work
Even the brightest kitchens need artificial lighting for evenings, cloudy days, and task zones that fall in shadow. The best kitchen renovation results come from a layered plan:
- Ambient: recessed lights or a central fixture for general illumination.
- Task: under-cabinet LED strips (highly recommended for prep zones).
- Accent: pendants over an island, toe-kick lighting, or interior cabinet lighting for depth.
Practical specs:
- Use 2700K–3000K for a warm, inviting look that complements wood and stone.
- Choose 90+ CRI LEDs so food colors look accurate in both day and night lighting.
- Plan under-cabinet strips at 300–500 lumens per linear foot for effective prep lighting.
- Add dimmers to balance bright daylight with evening ambiance.
Cost range: Under-cabinet lighting upgrades often land at $200–$1,200 depending on DIY vs. electrician install, transformer needs, and total linear footage. A full lighting refresh in a kitchen renovation can range $800–$4,000+.
Organization and Styling Tricks That Make a Kitchen Feel Brighter
- Clear the window zone: avoid tall decor on sills; keep soap dispensers and plants low-profile near the sink.
- Use glass canisters: they look lighter than bulky packaging and reinforce a clean, organized kitchen aesthetic.
- Limit visual clutter: a few intentional pieces on open shelving reads brighter than mixed small items.
- Reflective accents: consider a stainless range hood, brushed nickel faucet, or lightly reflective backsplash tile to echo daylight.
Maintenance Advice for Bright, Sunlit Kitchens
- Protect from UV: consider UV-filtering window film if your kitchen gets intense sun; it helps reduce fading on wood floors and cabinets.
- Choose washable paint: for walls, use an eggshell or washable matte designed for kitchens to handle splashes without getting shiny.
- Clean glass regularly: a simple monthly routine keeps daylight crisp—especially near cooking zones where grease film builds.
- Control humidity: a properly sized range hood protects windows and skylights from condensation and keeps the kitchen feeling fresh.
Budget Priorities: Where Natural Light Investments Pay Off
If you’re balancing a renovation budget, prioritize changes that deliver the biggest daylight impact per dollar.
- Low cost, high impact: lighter wall paint, swapping heavy window treatments for solar shades, adding under-cabinet lighting to complement daylight ($100–$1,500).
- Mid-range upgrades: replacing a window with a larger unit, adding a glass door, re-facing cabinets in a lighter finish ($1,500–$8,000).
- Higher investment: skylights, structural openings, or reworking layouts to move tall cabinetry and open sightlines ($5,000–$25,000+ depending on scope).
Common Mistakes to Avoid
- Oversizing the island: a massive island can block daylight and create shadows where you prep most.
- Ignoring glare: bright kitchens still need shading; unfiltered sun on glossy counters can be uncomfortable.
- Putting tall cabinets on the brightest wall: it’s a frequent layout error that makes a kitchen feel darker than it should.
- Relying on recessed lighting only: without under-cabinet task lighting, you’ll cast shadows on your own work.
- Choosing high-gloss everything: too much shine can look harsh in strong daylight and highlights fingerprints.
- Skipping ventilation: more sun can mean more heat; pair daylight strategies with a quality range hood and airflow plan.
FAQ: Designing a Kitchen with Natural Light
How do I brighten a kitchen with only one small window?
Start with lighter cabinet and wall colors, swap heavy treatments for solar shades, and add under-cabinet lighting. If renovations are on the table, a solar tube or adding an interior glass door can noticeably increase daytime brightness without a full remodel.
Are skylights a good idea in a kitchen?
Yes, when installed correctly with proper flashing and glazing. Choose low-E glass to manage heat gain, and consider a ventilating model if your kitchen needs better airflow. Plan for easy cleaning access or a self-cleaning coating.
What’s the best countertop finish for a sunny kitchen?
Honed or matte finishes reduce glare and feel more comfortable in direct sun. Light-toned quartz is a popular, low-maintenance choice for bright kitchens, while honed natural stone offers a softer, more organic look.
How can I prevent sun from fading my cabinets and floors?
Use UV-filtering window film or solar shades, and choose finishes with good UV resistance. Rearranging rugs and mats seasonally can also prevent uneven fading in high-sun areas.
Should I use white cabinets if I want more natural light?
White and warm off-white cabinets amplify light well, but they’re not the only option. Light oak, soft greige, and two-tone kitchens (lighter uppers, deeper lowers) can keep the room bright while adding depth and trend-forward style.
What window treatments work best over a kitchen sink?
Solar shades, café curtains, and top-down/bottom-up shades are practical because they manage glare and privacy without blocking all the daylight. Choose moisture-resistant materials and designs that are easy to wipe clean.
Next Steps: Build Your Bright-Kitchen Plan
To design a kitchen with natural light that feels great every day, start by mapping where the sun hits, then make layout decisions that keep tall elements out of the brightest zones. Pair light-amplifying materials—like warm whites, light woods, and softly reflective backsplashes—with window treatments that manage glare. Finish with layered lighting so the kitchen works just as well at 7 p.m. as it does at 10 a.m.
If you’re planning a kitchen renovation, bring a few daylight photos and your wish list (skylight, bigger window, glass door, or layout changes) to your designer or contractor—those visuals make smarter decisions easier and reduce costly revisions.
For more practical kitchen design, renovation, and organization ideas, explore the latest inspiration on thedecormag.com.
More Articles
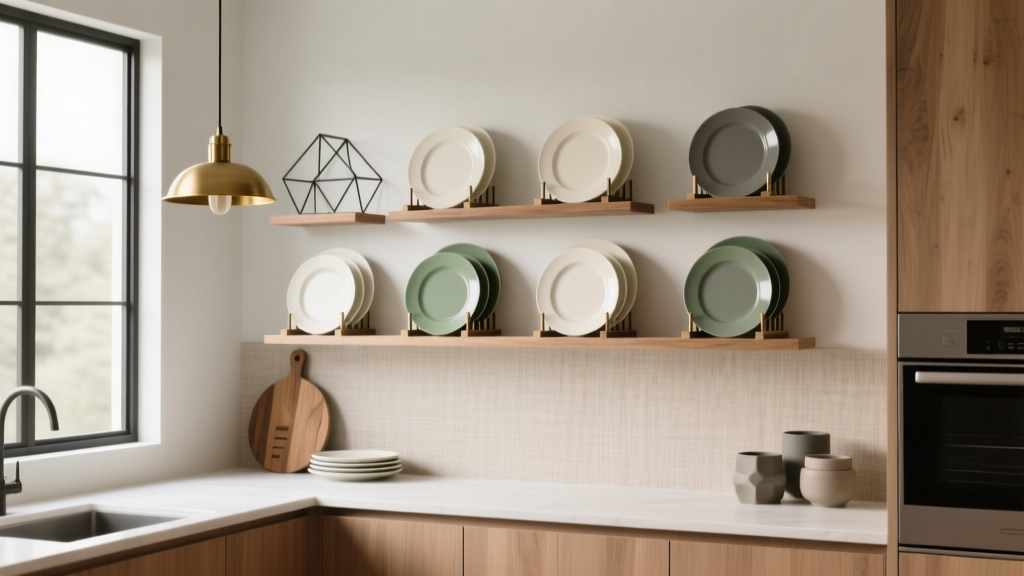 Best Kitchen Plate Rack Display Options - The Decor Mag
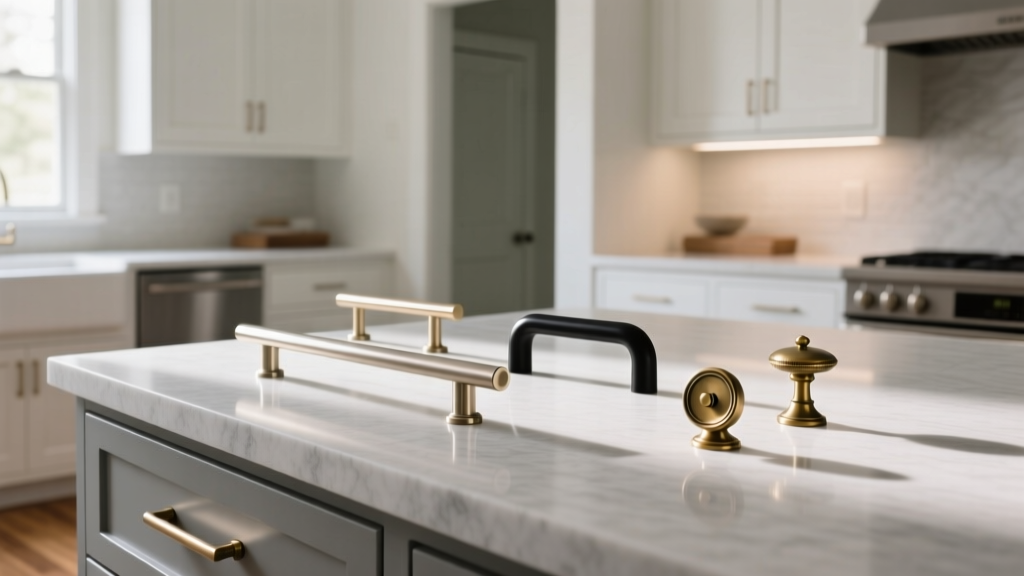 Kitchen Hardware and Pull Trends - The Decor Mag
 How To Match Styling With Fluted Cabinet Doors, Countertops, and Hardware
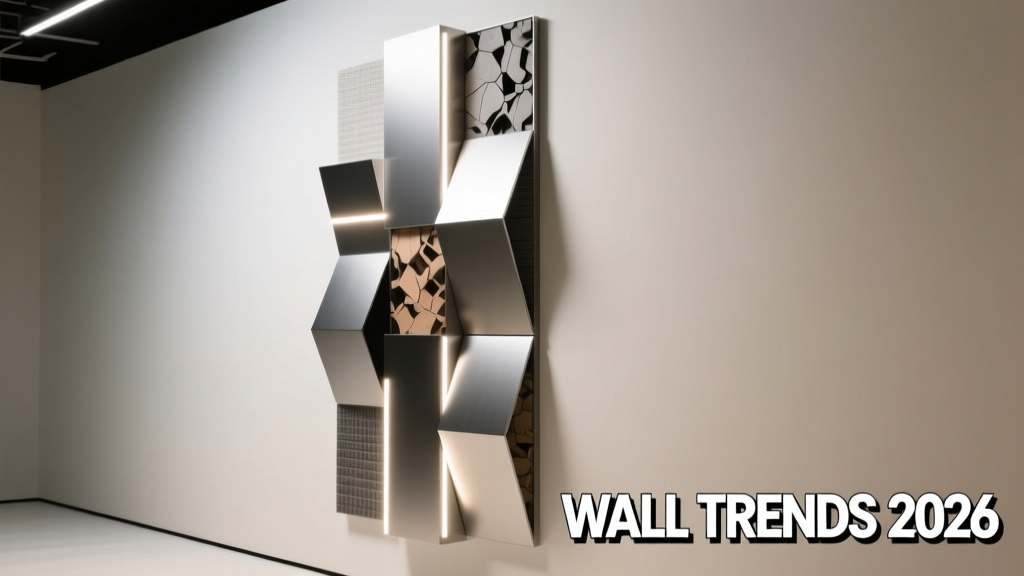 Wall Trends 2026: Material Innovation, Adaptive Surfaces, and Human-Centered Design in Residential Kitchens
 Kitchen Design for Cooking: Functional Ideas (2026)
 Kitchen Warm Neutral Cabinet Colors - The Decor Mag
 Kitchen Vintage Inspired Hardware Guide - The Decor Mag
 Kitchen Pot Filler Faucet Guide - The Decor Mag
 Kitchen Appliances Compared on a Budget: Smart, Reliable Choices Under $300
 Kitchen Warm Wood Cabinet Comeback - The Decor Mag