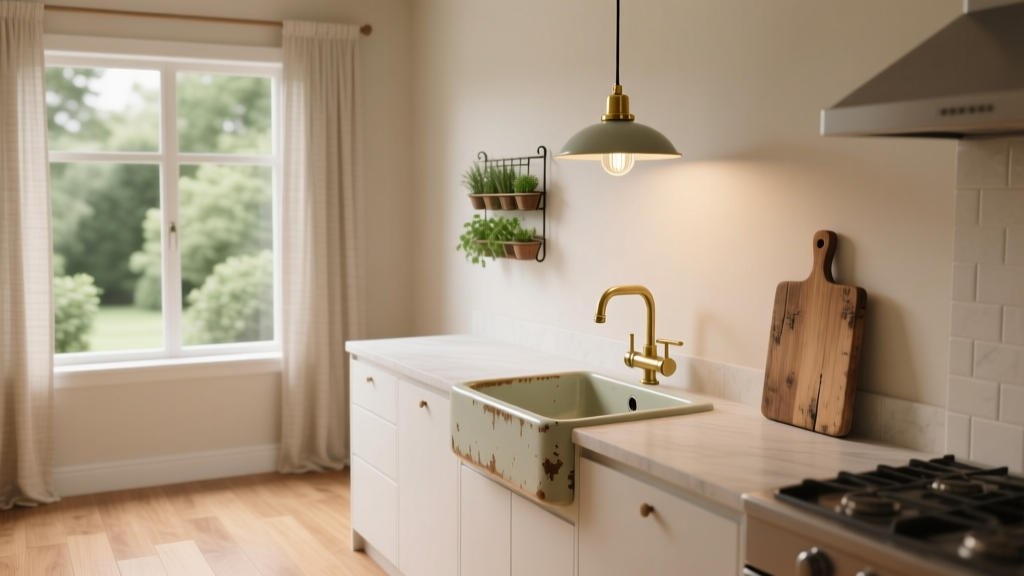
Vintage Kitchen Decor: Ideas & Tips (2026)
Vintage kitchens have a way of feeling instantly welcoming. They remind us of thoughtful craftsmanship, durable materials, and everyday rituals—morning coffee, handwritten recipes, and family meals that linger at the table. As modern kitchen renovation trends lean toward clean lines and minimal clutter, vintage elements bring back warmth and personality without sacrificing function.
For homeowners planning a remodel (or simply refreshing a tired space), adding vintage style can also be a smart design strategy. Well-chosen period-inspired details—like classic tile, unlacquered brass, or a freestanding furniture piece—add visual depth and “built-over-time” character. The key is balance: mixing old and new so your kitchen looks intentional, works efficiently, and stays easy to maintain.
This guide breaks down practical ways to incorporate vintage elements into a kitchen design, with material recommendations, measurements, budget ranges, common mistakes to avoid, and actionable next steps you can start this weekend.
Start with a Plan: Choose Your Vintage Direction
“Vintage” can mean many eras and aesthetics. Narrowing your focus prevents the kitchen from looking like a thrift store collage. A clear direction also helps when selecting finishes, lighting, and cabinetry styles.
Popular vintage kitchen styles (and what they pair well with)
- 1920s–1930s: classic subway tile, hex floors, inset cabinetry, polished nickel. Pairs well with marble-look quartz and modern appliances.
- 1940s–1950s: checkerboard floors, rounded edge counters, pastel accents, chrome details. Pairs well with white cabinetry and simple slab quartz.
- 1960s–1970s: warm wood tones, geometric patterns, globe lighting, earthy colors. Pairs well with contemporary flat-front cabinetry and mixed metals.
- European farmhouse: beadboard, open shelving, apron-front sinks, aged brass. Pairs well with modern storage systems and durable natural stone alternatives.
Rule of thumb: pick one “anchor” era
Choose one dominant vintage influence and then layer in a few complementary touches. A practical ratio for most kitchen renovations is:
- 70% timeless base (cabinet layout, storage, durable surfaces)
- 20% vintage character (fixtures, lighting, tile, furniture pieces)
- 10% personal accents (art, textiles, collected items)
Cabinetry That Feels Vintage (Without Losing Storage)
Cabinets are the visual “bulk” of a kitchen, so small design decisions here create a big vintage impact. You don’t need fully custom woodwork to get the look.
Cabinet door styles that read classic
- Shaker: a timeless bridge between vintage and modern (great for transitional kitchens).
- Inset cabinetry: period-accurate and high-end, but more expensive and needs precise installation.
- Beadboard panels: adds cottage or farmhouse character; best used selectively (island, pantry wall).
- Glass-front uppers: ideal for displaying vintage dishes; use sparingly to avoid visual clutter.
Practical layout recommendations (with measurements)
- Walkway clearance: aim for 42 inches in work zones (48 inches for two cooks).
- Counter depth: standard is 25–26 inches; keep this for functionality even if the style is vintage.
- Upper cabinet height: commonly 18 inches above the countertop; consider slightly higher placement if you’re adding a statement backsplash.
- Island clearance: keep 36–42 inches between island and perimeter cabinets for smooth traffic flow.
Budget expectations
- Stock/semi-custom Shaker cabinets: $6,000–$18,000 for an average kitchen (materials and configuration drive the range).
- Inset or custom detailing: often adds 20–40% to cabinet cost.
- Refacing or repainting (if the boxes are solid): $3,000–$10,000, depending on size and door replacement.
Hardware and Fixtures: Small Changes, Big Vintage Impact
Swapping hardware is one of the most cost-effective ways to introduce vintage style into a kitchen—especially if you’re not ready for a full renovation.
Vintage-friendly hardware picks
- Unlacquered brass: develops a living patina; ideal for classic and farmhouse kitchens.
- Polished nickel: timeless, slightly warmer than chrome, and reads high-end.
- Antique copper: adds warmth, especially with painted cabinets and natural wood.
- Bin pulls and latches: great for a 1930s–1950s vibe on drawers and pantry doors.
Cost ranges
- Cabinet knobs/pulls: $3–$25 each (designer/solid brass can be $30–$80+ each).
- Bridge faucet (period-inspired): $250–$900 (premium brands can exceed $1,200).
- Farmhouse/apron-front sink: $350–$1,500 depending on fireclay vs stainless vs cast iron.
Maintenance advice
- Unlacquered brass: expect fingerprints and patina; clean gently with mild soap and water—avoid harsh metal polishes unless you want to remove aging.
- Chrome: easiest to maintain; wipe with a microfiber cloth to prevent water spots.
- Oil-rubbed bronze: can show wear at edges (often desirable), but avoid abrasive cleaners.
Vintage Tile and Backsplashes That Still Feel Current
Tile is where vintage style shines—yet it’s also where dated choices can happen fast. Today’s kitchen design trends favor a “classic with a twist” approach: traditional shapes, updated grout colors, or a modern layout.
Best vintage tile options
- 3x6 subway tile: the classic. Lay it in a running bond for traditional style, or vertical stack for a fresher twist.
- Hex tile (1" or 2"): ideal for floors or a feature section; works well in 1920s–1930s-inspired kitchens.
- Handmade-look ceramic: imperfect edges and variation add instant age and texture.
- Checkerboard floors: a 1950s classic; consider porcelain for durability and easy cleaning.
Grout and layout tips
- Use 1/8-inch grout joints for a traditional look (or smaller if tile is rectified and very straight).
- For a softer vintage feel, choose a grout color close to the tile tone (warm white grout with creamy tile).
- Keep feature tile to one focal area—behind the range or around a hood—so the kitchen doesn’t feel busy.
Cost ranges
- Basic ceramic subway tile: $2–$8 per sq ft (tile only).
- Handmade/handmade-look tile: $10–$35+ per sq ft.
- Installation: often $8–$25 per sq ft depending on complexity, prep, and region.
Countertops: Vintage Character vs Modern Performance
Countertops are one of the most-used surfaces in the home, so prioritize durability and maintenance. You can still get a vintage look with modern materials that handle everyday cooking.
Material comparisons
- Marble: unmatched classic beauty; prone to etching and staining. Best for bakers or low-mess households willing to maintain it.
- Butcher block: warm and vintage-friendly; needs regular oiling and careful water management around sinks.
- Quartz (marble-look): popular in current kitchen renovation trends for its low maintenance; great if you want classic visuals without sealing.
- Soapstone: historic feel with deep tone; can scratch but is easy to sand and refinish.
Cost ranges (installed, typical)
- Butcher block: $40–$100 per sq ft
- Quartz: $60–$120 per sq ft
- Marble: $80–$200 per sq ft
- Soapstone: $90–$200 per sq ft
Maintenance tips
- Butcher block: oil every 3–6 weeks initially, then monthly; wipe spills quickly to prevent swelling.
- Marble/soapstone: use pH-neutral cleaner; avoid lemon juice and vinegar directly on the surface.
- Quartz: don’t place hot pans directly on it; use trivets to prevent thermal shock.
Lighting That Adds Age and Atmosphere
Vintage lighting creates instant charm and helps a kitchen feel layered rather than showroom-flat. The trend right now is mixing finishes and using lighting as jewelry—while still hitting functional brightness targets.
Best lighting types for a vintage kitchen
- Schoolhouse pendants: perfect over islands and sinks.
- Milk glass fixtures: soft, classic glow; works across many eras.
- Brass or bronze sconces: great for sink walls, coffee stations, or open shelving zones.
- Picture lights: highlight vintage art or a cookbook shelf for a collected look.
Placement and sizing guidelines
- Hang pendants 30–36 inches above the countertop.
- Space island pendants about 24–30 inches apart (adjust based on shade diameter).
- Choose warm bulbs: 2700K for cozy vintage ambiance; use dimmers for flexibility.
Budget range
- Statement pendant: $80–$350 (designer/vintage originals can be $400–$1,500+).
- Hardwired sconce: $60–$250 each plus electrician costs.
Bring in Vintage Furniture and Open Shelving (Without the Clutter)
One of the most authentic ways to add vintage elements is to incorporate a furniture-style piece. This approach is also trending in high-end kitchen design: kitchens that look less built-in and more “room-like.”
Easy vintage furniture swaps
- Freestanding hutch for pantry storage or dish display.
- Vintage work table as a small island (best in larger kitchens with clear walkways).
- Wooden stools with classic silhouettes instead of ultra-modern seating.
Open shelving guidelines for real-life kitchens
- Keep shelves 10–12 inches deep for dinner plates and bowls (shallower shelves can feel decorative, not functional).
- Install shelves 15–18 inches above the countertop for usable clearance.
- Limit open shelving to 4–8 feet total in most kitchens to reduce dust and visual noise.
Organization tips that look vintage and stay practical
- Use labeled glass jars for staples (flour, sugar, pasta) to blend decor with kitchen organization.
- Add drawer dividers so vintage utensils don’t turn into a jumble.
- Group items in threes (for example: oils, salt crock, utensil pot) to keep countertops styled but functional.
Color, Paint, and Finishes That Feel Timeless
Vintage color palettes are back in a big way—especially warm whites, muted greens, dusty blues, and softened neutrals. The most current approach is pairing a classic cabinet color with modern durability and simple, clean trim.
Vintage-inspired colors that work in today’s kitchens
- Creamy whites instead of stark bright white (pairs well with brass and warm wood).
- Sage and olive greens for lower cabinets or islands (a strong current trend with vintage roots).
- Dusty blue for a 1930s–1950s feel, especially with nickel hardware.
- Soft black or charcoal for a moody, heritage look that still feels modern.
Finish tips
- Choose satin or eggshell for walls: easier to clean than flat and softer than semi-gloss.
- Use semi-gloss on trim and cabinets for wipeable durability.
- Bring in patina through metals and wood rather than faux “distressing” paint techniques.
Common Mistakes to Avoid
- Going too theme-y: Signs, novelty decor, and overly literal motifs can make the kitchen feel staged rather than elevated.
- Ignoring workflow: Vintage style should never compromise layout basics—clearances, landing zones, and storage planning.
- Overloading open shelving: Too many small items look cluttered and collect grease and dust.
- Mixing too many metal finishes: Two finishes (sometimes three) is plenty. Pick a dominant metal, then one accent.
- Choosing delicate materials in high-splash zones: For example, unsealed porous stone around the sink or behind the range without proper protection.
- Buying true vintage without checking specs: Especially for ranges and refrigerators—measure openings, confirm electrical/gas requirements, and plan for service/parts.
Budget-Friendly Ways to Add Vintage Style Fast
If a full kitchen renovation isn’t on the table, these upgrades deliver a noticeable shift with manageable cost.
- Swap hardware and faucet ($150–$1,200 total depending on quantity and brands).
- Update lighting ($150–$900 for a couple of fixtures; more if adding sconces and wiring).
- Add a vintage runner and textiles ($50–$300; choose washable options for kitchens).
- Style a coffee station with a tray, jars, and a small vintage art print ($40–$200).
- Paint cabinets or an island ($200–$800 DIY; $2,500–$8,000 professional depending on kitchen size and prep needs).
FAQ: Incorporating Vintage Elements in Kitchen Design
How do I make a kitchen look vintage without remodeling?
Focus on high-impact swaps: cabinet hardware, a period-inspired faucet, vintage-style lighting, and a classic backsplash runner behind the range. Add a furniture-style piece (like a small hutch) to create instant character.
Are vintage appliances worth it?
True vintage appliances can be charming, but factor in energy use, parts availability, and repair support. Many homeowners choose retro-inspired modern appliances for the look with current performance and easier servicing.
What’s the most durable “vintage-looking” countertop?
For most households, marble-look quartz offers the best mix of classic style and low maintenance. If you love darker, heritage kitchens, soapstone is also a strong choice, with the ability to refinish minor wear.
Can I mix modern cabinets with vintage tile?
Yes—this is a common approach in today’s kitchen design trends. Keep cabinet lines simple, then use classic tile shapes (subway, hex) and warm metals to add vintage personality.
How do I keep open shelves from looking messy?
Limit open shelving length, repeat similar materials (white dishes, clear jars, wood boards), and leave breathing room. A good guideline is keeping shelves about 70% filled so they look styled rather than stuffed.
What vintage elements add value in a kitchen renovation?
Timeless finishes tend to age well: quality cabinet hardware, classic tile, a well-chosen sink and faucet, and layered lighting. Avoid overly specific themed decor that may not appeal to future buyers.
Next Steps: Build Your Vintage Kitchen, One Layer at a Time
Start by choosing a vintage direction, then anchor the space with one or two lasting upgrades—tile, lighting, or a statement faucet. From there, layer in warmth through metals, wood, and a furniture-style piece, while keeping kitchen organization and workflow front and center. If you’re renovating, confirm clearances (42-inch walkways, proper pendant heights, and usable shelf depths) so the kitchen functions as beautifully as it looks.
For more kitchen renovation ideas, storage solutions, and design inspiration that blends trend-forward style with timeless practicality, explore the latest on thedecormag.com.
More Articles
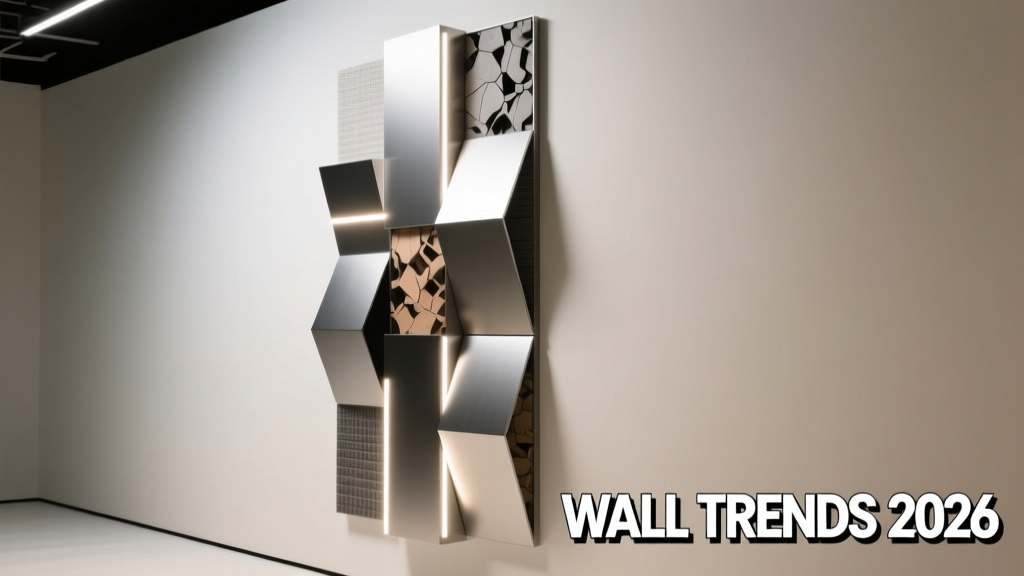 Wall Trends 2026: Material Innovation, Adaptive Surfaces, and Human-Centered Design in Residential Kitchens
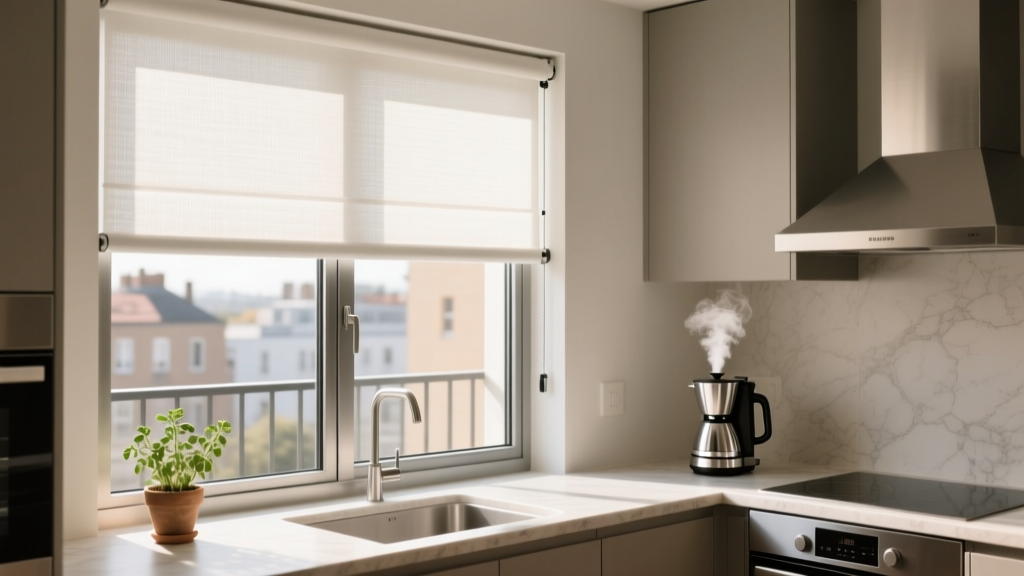 Kitchen Window Treatments for Steam & Grease (2026)
 Create Care and Maintenance: A Practical, Brand-Specific Guide for Modern Kitchens
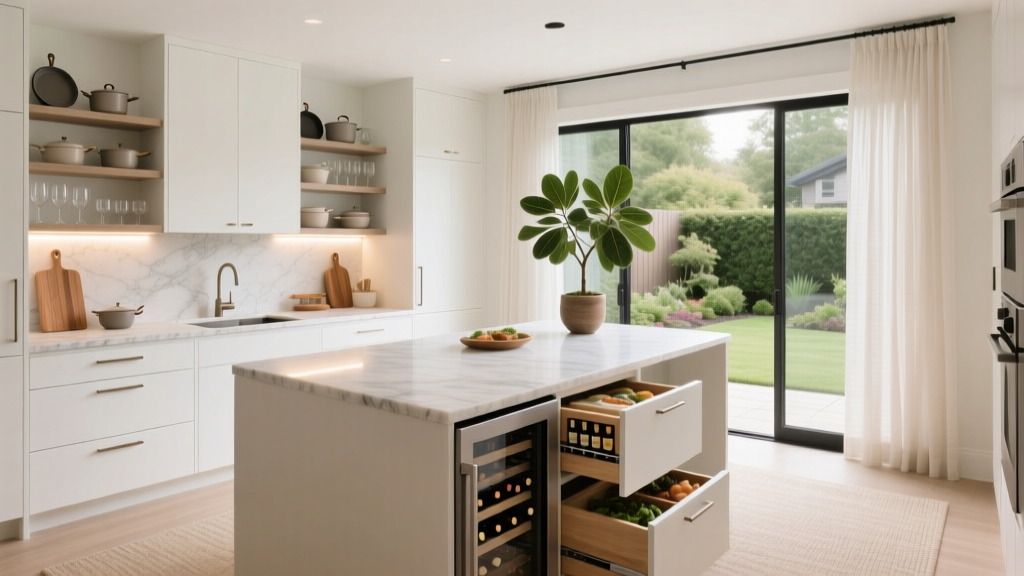 Meal Prep Kitchen Design: Functional Ideas (2026)
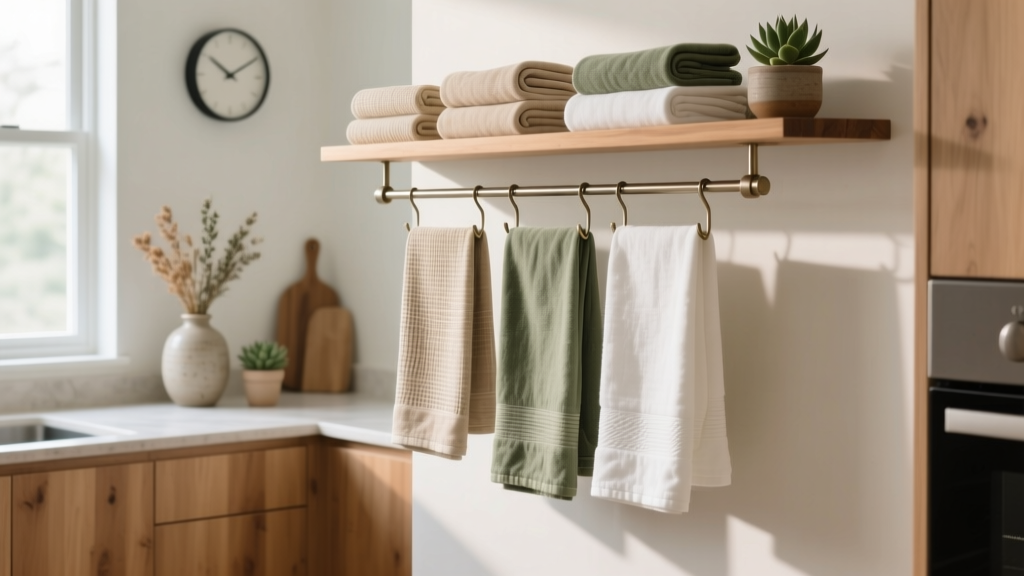 Best Kitchen Towel Storage Ideas - The Decor Mag
 Textiles on a Budget: Smart, Stylish, and Sustainable Kitchen Linen Solutions
 The Practical Kitchens Kitchen Design & Buying Guide: Space, Function, and Real-World Value
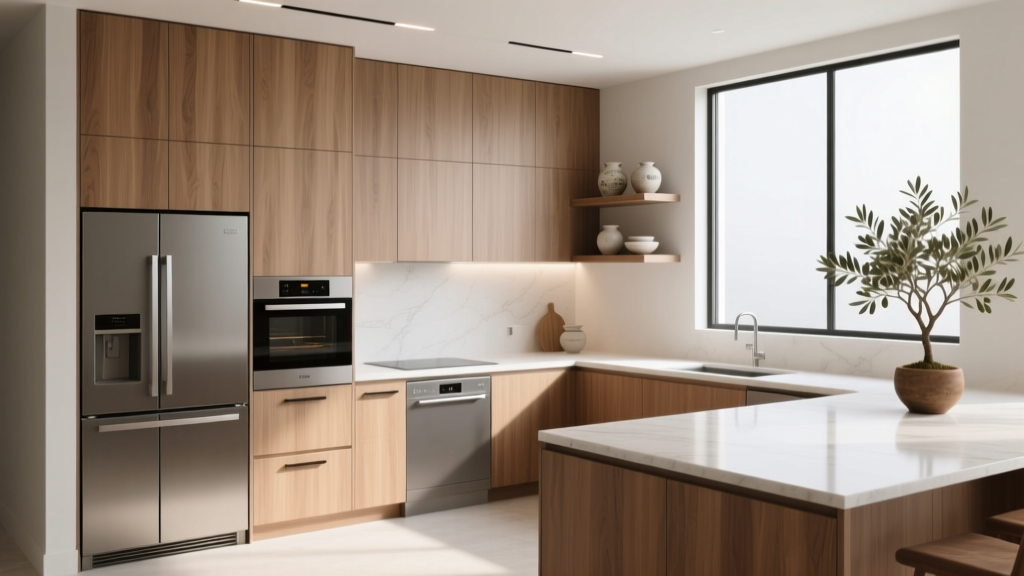 Kitchen Integrated Look Appliance Paneling - The Decor Mag
 Kitchen Fluted Detail Cabinet Trend - The Decor Mag
 Best Kitchen Cutting Board Care Products - The Decor Mag