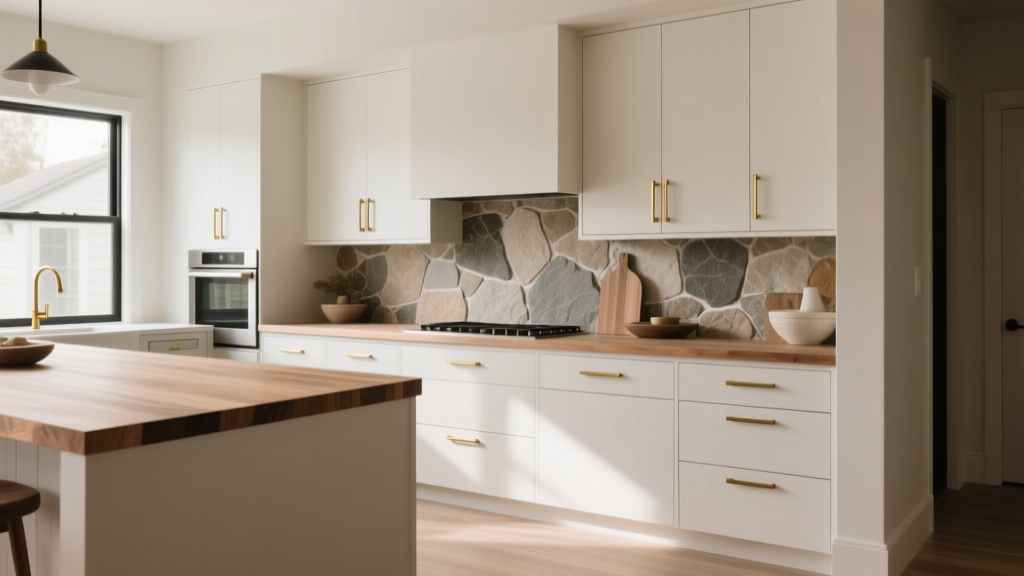
Kitchen Layered Materials Design Guide - The Decor Mag
A great kitchen doesn’t rely on one “perfect” finish. The most inviting, high-functioning spaces are built through layering—mixing materials, textures, and sheens so the room feels intentional, durable, and lived-in (in the best way). Whether you’re planning a full kitchen renovation or upgrading in phases, a layered materials strategy helps you make confident decisions that look cohesive now and still work years from now.
Layering also solves a practical problem: kitchens are hard-working environments. Heat, moisture, grease, high-touch zones, and constant cleaning demand surfaces that can take a beating. When you thoughtfully layer cabinetry finishes, countertops, backsplash materials, hardware, lighting metals, and flooring, you can place premium durability where it matters most and use budget-friendly options elsewhere—without sacrificing style.
This guide breaks down how to combine kitchen materials like a pro, with specific recommendations, cost ranges, measurements, maintenance tips, and common mistakes to avoid. Use it as a roadmap for timeless functionality with current kitchen design trends woven in.
What “Layered Materials” Means in Kitchen Design
Layered materials design is the intentional combination of multiple surface types and finishes to create depth, contrast, and performance. Instead of matching everything, you build a hierarchy:
- Foundation materials: cabinetry and flooring (largest visual areas)
- Work surfaces: countertops and sink zones (highest wear)
- Vertical protection: backsplash and wall finishes (splash + heat zones)
- Accents: hardware, lighting, plumbing fixtures, open shelving, stools
- Softening layers: textiles, runners, window treatments, and decor
Well-layered kitchens tend to feel richer even when the budget is modest because the eye has multiple places to land—matte next to glossy, warm wood against cool stone, brushed metals balancing sleek surfaces.
Start with a Materials Plan (Before You Shop)
Step 1: Choose Your “Anchor” Finish
Pick one anchor that sets the tone and stays consistent. Common anchors include:
- Cabinet color/finish: warm white, greige, natural oak, walnut, charcoal
- Countertop: quartz look, natural stone, butcher block on an island
- Flooring: wide-plank wood, wood-look porcelain tile, classic stone
Practical tip: If your kitchen is open to living/dining, let flooring be the anchor so transitions feel seamless.
Step 2: Build a 60/30/10 Mix
A simple ratio helps keep the look balanced:
- 60% dominant material (e.g., cabinet finish)
- 30% secondary material (e.g., countertops + backsplash family)
- 10% accent material (e.g., hardware + lighting metal)
Step 3: Decide Your Contrast Level
- Low contrast (calm, modern): tone-on-tone woods, soft whites, matte metals
- Medium contrast (classic): light perimeter cabinets + darker island, subway tile + stone
- High contrast (bold, trend-forward): black + white, veined stone, mixed metals, statement backsplash
Layering the Big Three: Cabinets, Counters, and Backsplash
Cabinet Materials and Finishes: What Works Best
Cabinetry is the largest visual layer, so prioritize durability and a finish you won’t tire of.
- Painted wood (maple/poplar): Smooth, classic; can chip at high-traffic edges. Great for timeless white or color.
- Stained wood (oak, walnut, maple): Excellent for warmth and trend longevity. White oak and walnut are current favorites.
- Thermofoil: Budget-friendly, easy to wipe; can peel near heat sources if low quality.
- Laminate/European slab doors: Clean, modern lines; very consistent; good for contemporary kitchens.
Cost range (installed):
- Stock/semi-custom: $150–$600 per linear foot
- Custom: $500–$1,200+ per linear foot
Trend + timeless pairing: Warm wood base cabinets or island + soft white uppers. This adds depth without making the space feel heavy.
Countertop Layering: Use More Than One Surface When It Helps
Mixing countertops is a practical way to layer materials. Examples:
- Quartz perimeter + butcher block island: Easy maintenance where you prep; warmth where you gather.
- Quartzite or granite on the main run + stainless around the range: Chef-forward and heat-ready.
- Same material, different thickness: 2cm on perimeter + a thicker mitered edge on island for a furniture feel.
Cost range (material + fabrication):
- Laminate: $25–$60/sq ft
- Butcher block: $50–$150/sq ft
- Quartz: $60–$120/sq ft
- Granite: $50–$150/sq ft
- Quartzite: $90–$250/sq ft
- Porcelain slab: $80–$200/sq ft
Measurements that matter:
- Standard countertop depth: 24 inches (deeper counters, 25–26 inches, help hide small appliances)
- Standard height: 36 inches (consider 34–35 inches if you’re tall and prefer lower strain only if custom cabinetry allows)
- Counter overhang for seating: 12–15 inches minimum (15 inches is more comfortable for adults)
Backsplash Layering: The Most Visual “Connector”
Your backsplash bridges countertop and cabinetry. Layering here can elevate the entire kitchen without changing the layout.
- Ceramic subway tile: Timeless, easy to clean; consider a handmade-look for depth.
- Porcelain: Durable, low porosity; can mimic marble without maintenance worries.
- Natural stone tile: Beautiful, but needs sealing and careful cleaning.
- Full-height slab backsplash: A top trend for sleek kitchens; minimal grout lines, strong visual impact.
Cost range (installed):
- Basic ceramic tile: $10–$30/sq ft
- Mid-range tile (porcelain, zellige-style, patterns): $25–$70/sq ft
- Slab backsplash (stone/quartz/porcelain): $80–$200+/sq ft
Practical tip: If you’re using a busy countertop pattern, keep the backsplash simpler (solid, smaller movement). If counters are quiet, your backsplash can be the statement layer.
Layering Texture and Sheen: The Pro-Level Difference
Even a neutral kitchen can look flat if everything is the same sheen. A smart, easy formula:
- Matte or satin cabinets (hides fingerprints better than high gloss)
- Polished or honed counters depending on your lifestyle (polished is easier to wipe; honed hides etching on some stones but may show oils)
- Gloss or crackle tile accents for light bounce
- Brushed or satin metals for durability and fewer water spots
Trend watch: Honed stone, brushed metals, and natural woods are dominating current kitchen design trends because they feel warm and organic while still looking refined.
Metals, Hardware, and Fixtures: Mixing Without Clashing
Mixed metals are a lasting trend when done with restraint. Pick a “primary” metal and one supporting metal.
Easy, Reliable Metal Pairings
- Brushed nickel + matte black: Balanced, modern, forgiving
- Brass (satin) + brushed nickel: Warm + classic (great with white oak)
- Matte black + aged brass: Bold, high contrast
Rule of thumb: Keep your faucet finish aligned with either cabinet hardware or lighting. If you have three metals, repeat each at least twice so it looks intentional.
Cost range:
- Cabinet pulls/knobs: $3–$20 each (designer options can be $30–$80+)
- Kitchen faucet: $150–$900+
- Sink (undermount stainless): $200–$800; workstation sinks $600–$1,500+
Flooring and Wall Layers: Durable Foundations That Still Feel Designed
Flooring Comparisons for Renovation Planning
- Hardwood: Warm and continuous in open layouts; can dent and doesn’t love standing water.
- Engineered wood: More stable than solid wood; good for busy kitchens.
- Luxury vinyl plank (LVP): Budget-friendly, water-resistant; quality varies widely.
- Porcelain tile: Extremely durable; choose a matte, slip-resistant finish.
Cost range (installed):
- LVP: $3–$8/sq ft
- Engineered wood: $7–$15/sq ft
- Porcelain tile: $10–$25/sq ft
- Hardwood: $10–$20+/sq ft
Measurement tip: If you’re choosing tile, larger formats like 12"x24" or 24"x24" reduce grout lines and visually expand small kitchens.
Layout-Driven Material Choices: Match Performance to How You Cook
Kitchen design isn’t just about finishes—it’s how materials support your workflow. These pairings help homeowners planning kitchen renovations make smarter decisions:
For Busy Family Kitchens
- Countertops: Quartz or sealed granite (easy cleanup)
- Cabinet finish: Satin paint or textured wood (hides wear)
- Backsplash: Larger tile or slab (less grout scrubbing)
- Flooring: Porcelain or quality LVP
For Frequent Entertainers
- Island statement: Waterfall edge in quartz/porcelain or a contrasting wood island
- Lighting layer: Dimmable pendants + under-cabinet lighting
- Counter overhang: 15 inches for comfortable seating
- Bar zone: Add a beverage fridge (15" or 24" wide) to reduce traffic near the sink
For Serious Home Cooks
- Heat zone: Consider stainless or porcelain behind the range
- Backsplash height: Full-height behind the range for easier degreasing
- Sink: Deep single bowl (9–10" depth) for large pans
Organization Layers That Support the Look
Beautiful finishes can’t compensate for clutter. Layer organization into the design plan:
- Drawer over doors: More accessible storage; aim for wide drawers (30–36") for pots and pans.
- Pull-out trash/recycling: 15" or 18" cabinet is common; place near prep area.
- Tray dividers: 9" wide vertical cabinet near oven for sheets and cutting boards.
- Pantry strategy: If space allows, a 24" deep pantry cabinet with roll-outs reduces lost items.
Lighting layer recommendation: Combine ambient (ceiling), task (under-cabinet), and accent (in-cabinet or toe-kick) lighting. Under-cabinet LED strips at 2700K–3000K create a warm, high-end feel while improving visibility.
Maintenance Advice by Material
- Quartz: Mild soap + water; avoid placing hot pans directly (use trivets).
- Marble/quartzite/granite: Use pH-neutral stone cleaner; seal as recommended (often every 1–3 years depending on stone and use).
- Butcher block: Oil regularly (monthly at first, then as needed); wipe spills quickly to prevent staining.
- Tile + grout: Choose a stain-resistant grout if possible; seal cementitious grout.
- Matte cabinets: Use gentle cleaners; avoid abrasive sponges that can burnish the finish.
- Brass finishes: Satin brass is more forgiving than polished; avoid harsh cleaners to protect coatings.
Budget Planning: Where to Spend vs. Save
If you want layered materials without overspending, prioritize surfaces that are expensive to change later.
Spend More On
- Cabinet boxes and hardware quality (soft-close hinges, full-extension slides)
- Countertop durability in primary prep zones
- Flooring if you need water resistance and longevity
Save On
- Backsplash by using a standout tile only behind the range and simpler tile elsewhere
- Lighting by mixing investment pendants with budget recessed fixtures
- Open shelving (a small run) instead of additional uppers in a tight budget
Realistic renovation ranges (very general):
- Cosmetic refresh (paint, hardware, lighting, backsplash): $2,500–$12,000
- Mid-range kitchen renovation (semi-custom cabinets, quartz, new appliances): $25,000–$60,000
- High-end renovation (custom cabinetry, premium stone, layout changes): $75,000–$150,000+
Common Mistakes to Avoid
- Too many competing patterns: If your countertop has bold veining, choose a quieter backsplash and floor.
- Ignoring undertones: Warm whites, cool grays, and red-toned woods can clash. Compare samples in your kitchen lighting morning and night.
- Choosing trendy finishes everywhere: Keep large surfaces timeless; add trends through paint color, stools, or lighting that’s easier to swap.
- Underestimating grout: Tiny mosaic tile looks great but can be a maintenance burden. Use it in small doses.
- Not planning transitions: Make sure countertop edges, backsplash termination, and flooring meets look clean with proper trim.
- Skipping functional clearances: A beautiful island is frustrating if walkways are tight.
Clearance guidelines homeowners often miss:
- Main walkways: 42 inches minimum; 48 inches is comfortable for two cooks.
- Space behind seated stools: allow 36 inches for pass-through.
- Distance from countertop to bottom of uppers: typically 18 inches.
FAQ: Kitchen Layered Materials
How many materials should be in a layered kitchen?
For most kitchens, aim for 4–6 core materials (cabinet finish, countertop, backsplash, flooring, plus 1–2 metals). More than that can look busy unless the palette is very controlled.
Is mixing countertop materials a good idea?
Yes, when it’s purposeful. Pair a durable, low-maintenance surface (like quartz) in heavy-use zones with a warmer or more character-rich material (like butcher block) on an island or coffee bar.
What’s the easiest way to update a kitchen with layered materials without a full renovation?
Swap hardware, add a new backsplash, update lighting, and introduce a runner or stools in a contrasting texture. These changes create visible layers with minimal demolition.
Are slab backsplashes worth the cost?
If you dislike cleaning grout or want a high-end look, slab backsplashes can be a smart investment—especially behind the range. For budget control, use slab only in the focal area and tile elsewhere.
Which materials are best for low-maintenance kitchens?
Quartz countertops, porcelain tile backsplashes, satin cabinet finishes, and brushed metal hardware tend to be the most forgiving for everyday life.
How do I keep mixed metals from looking mismatched?
Choose a primary metal and a secondary metal, then repeat each at least twice (for example: faucet + pendants in one finish; cabinet hardware + bar stools footrest in another).
Next Steps: Build Your Layered Materials Plan
- Photograph your kitchen in natural daylight and at night so you can evaluate undertones and glare.
- Choose your anchor (cabinet finish, countertop, or flooring) and stick to it as the guiding material.
- Collect 5–7 physical samples (cabinet door, counter sample, tile, flooring, hardware) and review them together.
- Confirm clearances (42–48" walkways, 12–15" seating overhang) before committing to island size or cabinet layout.
- Spend strategically on hard-to-change items and use accent layers for trend-forward personality.
A layered materials approach gives you a kitchen that feels designed, organized, and resilient—one that supports real life while still delivering that “new kitchen” excitement every day.
Explore more kitchen design, renovation, and organization ideas on thedecormag.com.
More Articles
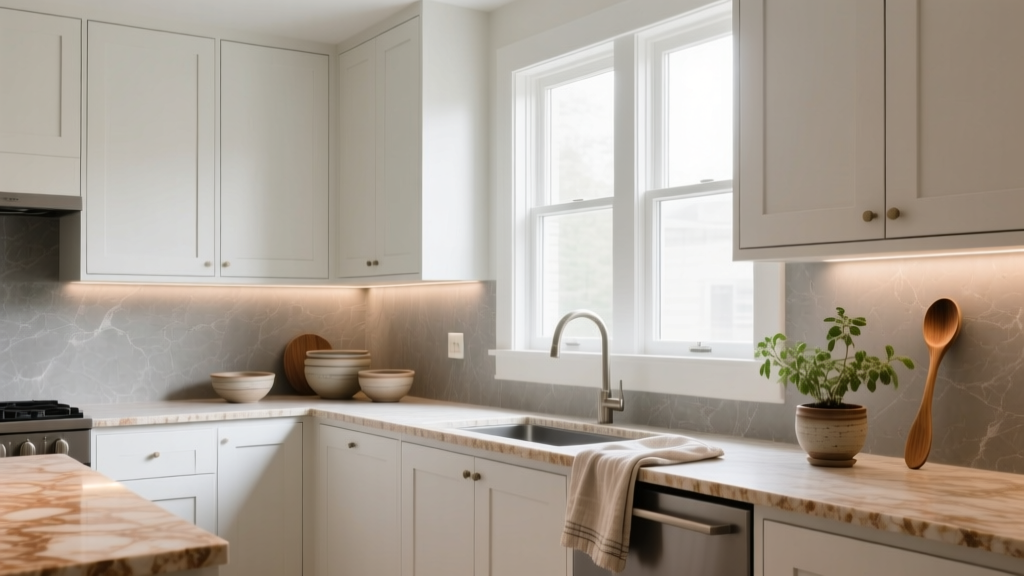 Kitchen Shaker Cabinet Timeless Appeal - The Decor Mag
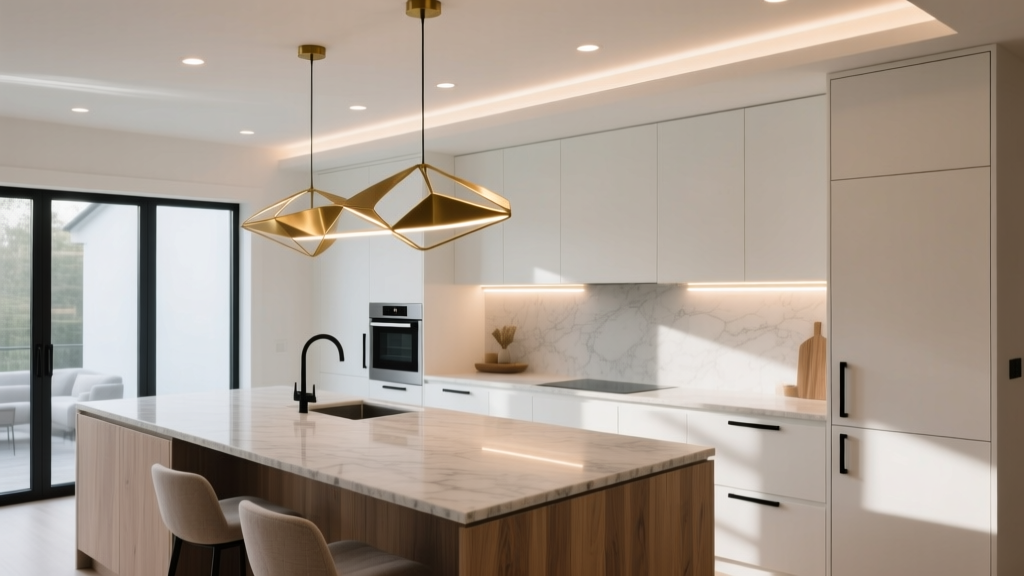 Best Kitchen Lighting for Function & Style (2026)
 Small Alternatives to Spaces: Smart, Space-Saving Kitchen Solutions That Actually Work
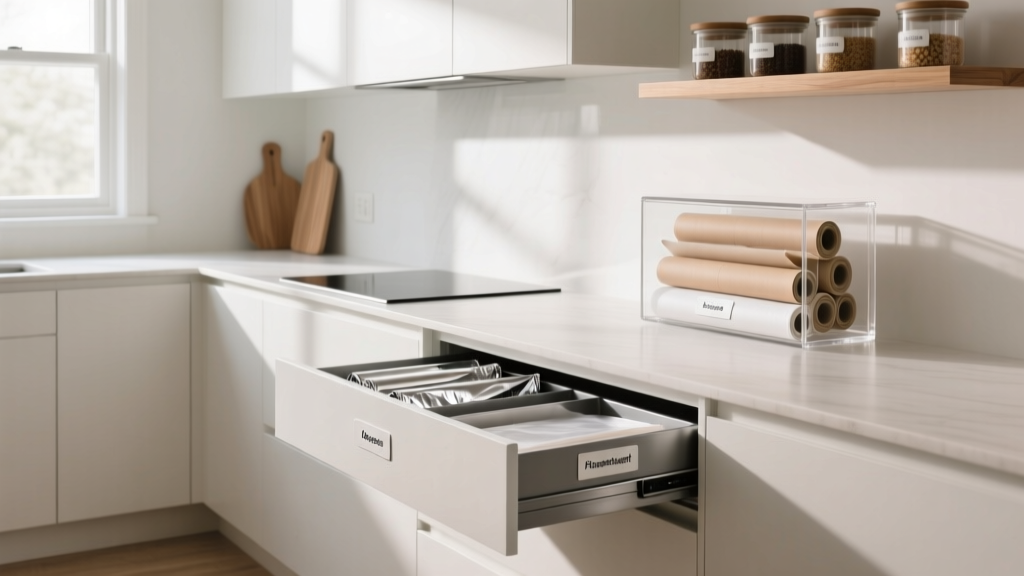 Best Kitchen Wrap Storage Solutions - The Decor Mag
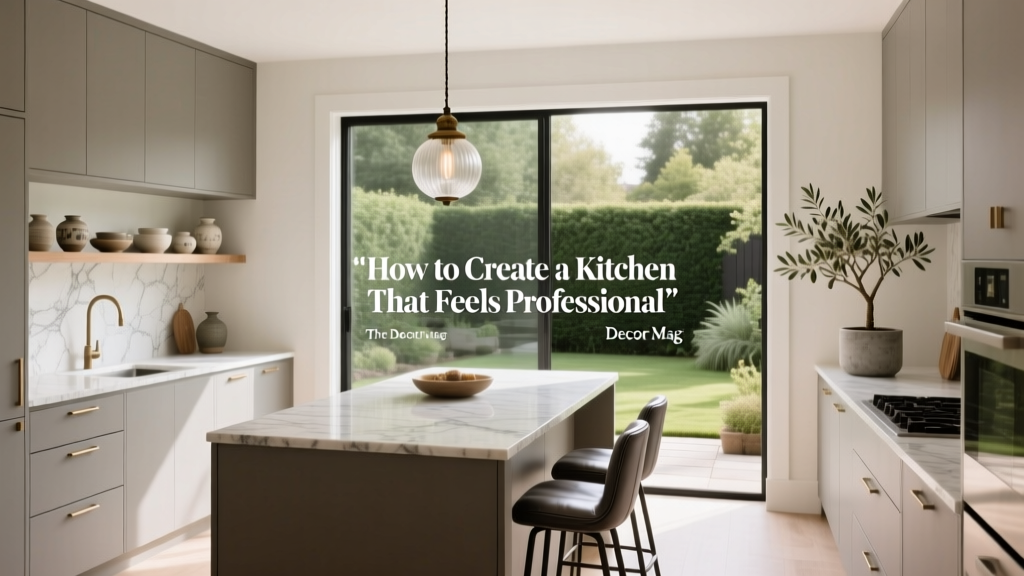 Professional Kitchen Design: Tips for 2026
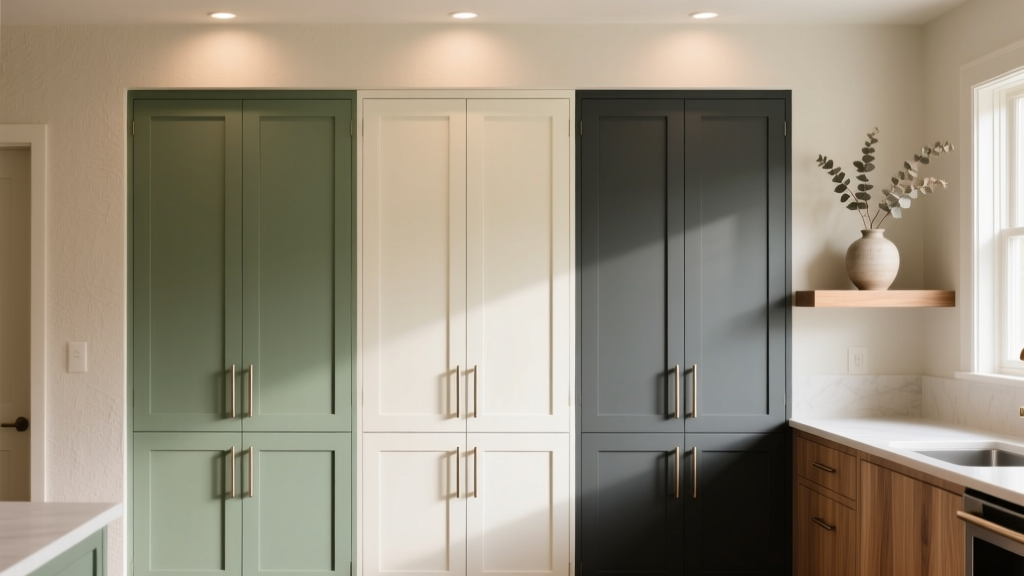 Kitchen Cabinet Color Trends - The Decor Mag
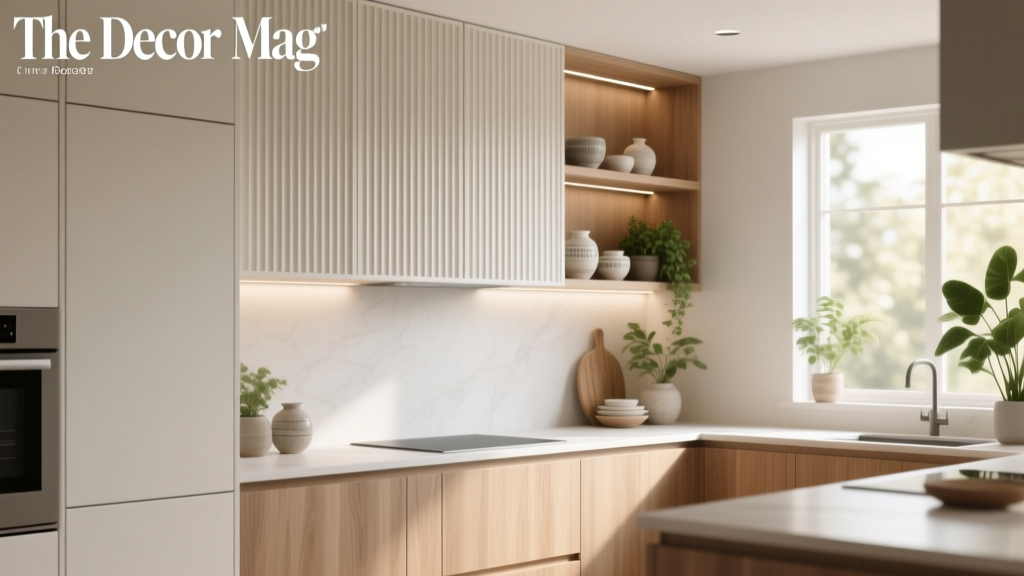 Kitchen Fluted Cabinet Door Trends - The Decor Mag
 Best Kitchen Cookware Organization: Cabinet Solutions (2026)
 Best Kitchen Dutch Oven Storage Ideas - The Decor Mag
 Kitchen Terrazzo Countertop Trends - The Decor Mag