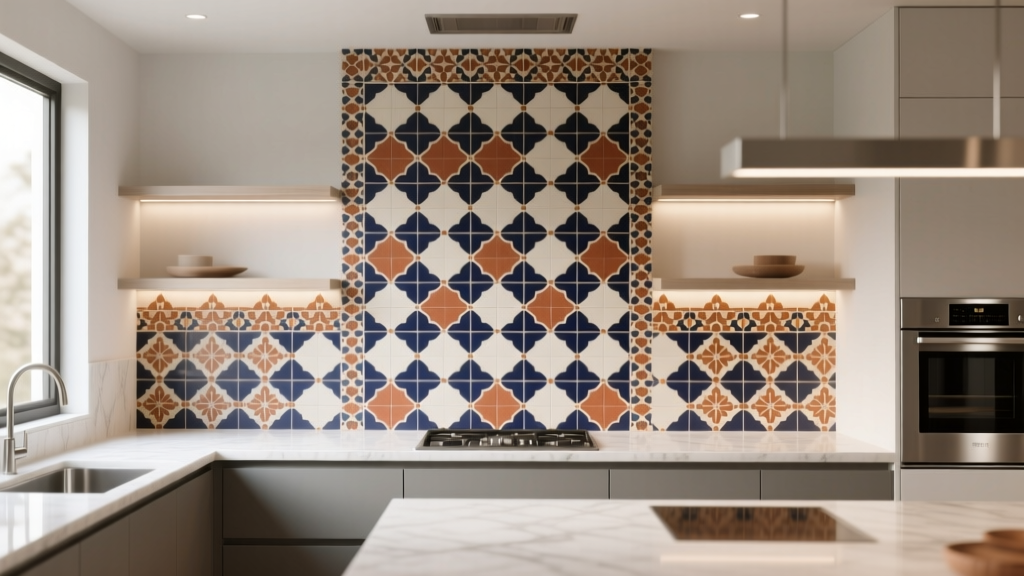
Kitchen Zellige Tile Backsplash Guide - The Decor Mag
A backsplash does more than protect drywall from splatters. It anchors the kitchen’s style, links cabinets to countertops, and—when chosen well—makes everyday cooking feel a little more special. Zellige tile has become a favorite in kitchen renovations because it delivers handmade character without requiring a full-room overhaul.
Unlike perfectly uniform ceramic, zellige’s signature look comes from subtle surface ripples, tonal variation, and reflective glaze. That imperfect perfection works in both current kitchen design trends (warm minimalism, natural textures, mixed metals) and timeless layouts (white kitchens, classic shaker cabinets, stone countertops). If you’re deciding whether zellige belongs in your home, this guide breaks down materials, layouts, costs, installation realities, and maintenance—so you can plan with confidence.
What Is Zellige Tile (and Why It Works So Well in Kitchens)?
Traditional zellige (also spelled “zellij”) is a hand-formed, kiln-fired clay tile that originated in Morocco. It’s typically glazed, then cut into small pieces. In today’s kitchen design market, “zellige” often refers to both authentic Moroccan tiles and zellige-style tiles manufactured elsewhere with a similar handcrafted look.
Why homeowners love zellige backsplashes
- Light play and depth: The slightly uneven surface bounces light—especially beautiful under under-cabinet lighting.
- Color complexity: Zellige delivers a layered, tonal glaze that feels richer than flat subway tile.
- Timeless + trend-friendly: Works with modern organic kitchens, transitional kitchens, and even classic cottage styles.
- High visual impact per square foot: A backsplash is a smaller surface, so you can splurge here without remodeling everything.
Zellige vs. lookalikes: what’s the difference?
- Authentic Moroccan zellige: More variation, often more irregular edges, and may require more sorting and a highly skilled installer.
- Zellige-style ceramic/porcelain: More consistent sizing (easier installation), with a printed or molded “handmade” texture; typically lower waste and fewer surprises.
Choosing the Right Zellige: Materials, Finishes, and Performance
Material comparison: clay zellige vs. ceramic vs. porcelain
- Clay zellige (traditional): Highest character and variation. Can be more porous depending on glaze and manufacturing; sealing requirements vary by product. Best for homeowners who love a truly artisanal look.
- Ceramic zellige-style: Great balance of handmade aesthetic and predictability. Generally easier to cut and install than authentic zellige.
- Porcelain zellige-style: Very durable and low-porosity; excellent for busy kitchens. Can be harder to cut but performs well long-term.
Glossy vs. matte: what’s best for a kitchen backsplash?
- Glossy glaze: Most iconic zellige look; reflects light and wipes clean easily. Shows grout haze during installation if not cleaned meticulously.
- Matte or satin: Softer, more modern and calm. Can be slightly less forgiving with grease spots depending on texture; choose a quality sealer if recommended.
Color selection that won’t feel dated
For long-term kitchen renovation value, pick a color that complements fixed elements: countertops, flooring, and cabinet tone. Current trends lean toward warm whites, layered neutrals, and nature-inspired shades.
- Warm white / creamy ivory: Timeless with brass, chrome, or black hardware.
- Soft greige or sand: A modern neutral that hides minor splashes.
- Sage, olive, or deep green: Popular in 2025 kitchen design trends; pairs well with white oak and honed stone.
- Inky blue or charcoal: Dramatic with light countertops; consider lighter grout for definition or matching grout for a seamless field.
Layouts and Patterns: How to Make Zellige Look Intentional
Zellige’s variation is the point—so the layout should support that character rather than fight it. Before you commit, consider how much movement you want and how your kitchen is organized (ranges, windows, open shelving, and hood design all influence the visual field).
Most popular zellige backsplash layouts
- Classic stacked (straight set): Clean and contemporary; lets the tile texture do the talking.
- Running bond (subway offset): A familiar, timeless pattern; great for transitional kitchens.
- Vertical stack: Feels taller and modern; works well behind a range or under a slim hood.
- Herringbone (use with care): High-energy pattern; best in one focused area to avoid visual noise with zellige variation.
Recommended backsplash heights (practical measurements)
- Standard countertop to cabinet: Typically 18 inches of backsplash height (measure your actual gap).
- Behind the range: 30–36 inches high is common; many homeowners take tile to the hood or ceiling for a focal point.
- Full-height backsplash: Counter to ceiling (or counter to upper cabinet tops) for a modern, seamless look—especially effective with slab-look countertops.
Where zellige shines most
- Behind a statement range hood: The glaze catches light and frames the cooking zone.
- Wet zones: Behind the sink with a window—zellige’s sheen looks great in natural light.
- Open-shelf kitchens: Adds depth without needing extra decor or clutter.
Grout, Trim, and Edge Details (The Unsexy Choices That Make the Result)
Grout color: match, contrast, or split the difference
- Color-matched grout: Smoother, more “wash of color” look; ideal if you want the tile to read as a calm surface.
- Light contrasting grout: Highlights each tile; can look busy with highly varied zellige.
- Mid-tone grout: Often the most forgiving for cooking mess and daily kitchen use.
Practical tip: Ask your installer to create a small mock-up board (about 12" x 12") using your exact tile and grout. Zellige and grout color can look dramatically different once dry.
Grout type recommendations
- High-performance cement grout: Good for most backsplashes; choose stain-resistant versions for easier maintenance.
- Epoxy grout: Most stain-resistant and low-maintenance; higher cost and faster working time, so installer skill matters.
Edges and transitions
- Metal profiles (e.g., brushed brass, stainless, matte black): Clean, modern finish; consistent lines next to imperfect tile edges.
- Stone pencil trim: Traditional look that pairs with natural stone countertops.
- Return to the wall: If your tile ends at a doorway or open run, plan the termination point so it looks intentional (not chopped).
Product and Design Approach Recommendations
Best design approaches for different kitchen styles
- Modern organic: Warm white or sand zellige, full-height behind the range, minimal or no accent trim, brushed brass or brushed nickel hardware.
- Classic shaker: Ivory zellige in running bond, mid-tone grout, simple metal edging, light quartz or marble-look counters.
- Moody contemporary: Deep green or charcoal zellige, stacked vertical layout, matching grout, dramatic under-cabinet lighting.
- Coastal or airy: Pale blue/sea glass tones, straight stack, bright white grout (only if you’re okay with more visible maintenance).
What to look for when shopping (quality checklist)
- Shade variation rating: Higher variation means more movement—beautiful, but requires thoughtful layout planning.
- Thickness variation: True zellige can vary; ask if your installer is experienced with leveling and lippage management.
- Lead-free glaze certifications: Especially if you’re sourcing authentic tiles—confirm compliance for residential interiors.
- Sealing guidance in writing: Follow the manufacturer’s instructions; not all glazed tiles need sealing, but grout often benefits.
Cost Ranges and Budget Planning
Backsplash costs depend on tile type, coverage area, edge details, and labor complexity. Zellige is usually more labor-intensive than standard subway tile because of variation, sorting, and careful grouting/cleaning.
Typical price ranges (USD)
- Tile material:
- Zellige-style ceramic: $8–$18 per sq. ft.
- Zellige-style porcelain: $10–$25 per sq. ft.
- Authentic Moroccan zellige: $18–$40+ per sq. ft.
- Installation labor: $15–$40+ per sq. ft. (higher for true zellige, herringbone, full-height, or complex cuts around outlets/windows)
- Additional materials: Thinset, grout, sealers, edging: often $2–$8 per sq. ft.
Realistic total project ranges
- Small backsplash (25–35 sq. ft.): roughly $900–$2,500+
- Medium backsplash (40–70 sq. ft.): roughly $1,500–$4,500+
- Full-height or large kitchen (80–120+ sq. ft.): roughly $3,000–$8,000+
Budget tip: If you love the zellige look but need to control costs, use it as a feature behind the range (or sink wall) and choose a more budget-friendly tile elsewhere.
Installation Notes: Planning for Outlets, Lighting, and Tile Variation
Before tile goes up
- Map outlets and switches: Plan for outlet extenders to sit flush with the finished tile thickness. Zellige can vary, so confirm thickness range.
- Decide on under-cabinet lighting: Zellige looks best with warm LEDs (2700K–3000K). Cooler 4000K lighting can make glazes feel harsh.
- Order extra tile: Plan for 15–25% overage (more for authentic zellige or complex layouts).
- Dry layout and sort tiles: Mix boxes and distribute tones to avoid “patchy” areas of dark or light tiles.
Handling lippage (uneven tile edges)
A little variation is part of the charm. The goal is to avoid sharp, catch-your-sleeve edges and heavy shadow lines.
- Use an installer who has worked with handmade tile.
- Choose a grout joint that suits the tile—often 1/8" to 3/16" works well for zellige-style squares; true zellige may need slightly more depending on edge variation.
- Don’t expect a perfectly flat plane; expect a handcrafted surface that still feels intentional and comfortable to clean.
Maintenance and Cleaning: Keeping Zellige Beautiful
Daily/weekly care
- Wipe with a soft microfiber cloth and warm water.
- Use a pH-neutral cleaner for grease (avoid harsh acids or abrasives).
- Clean splatters sooner in cooking zones to reduce staining risk in grout lines.
Sealing guidance (tile vs. grout)
- Glazed tile: Often does not require sealing, but follow the manufacturer’s recommendation—some handmade tiles benefit from a penetrating sealer to reduce staining on unglazed edges.
- Grout: Consider sealing cement grout after curing for stain resistance, especially behind the range and near the coffee station.
What to avoid
- Vinegar or acidic cleaners (can degrade grout and etch some finishes over time).
- Abrasive scrub pads that can dull certain glazes.
- Steam cleaning directly on grout lines without confirming grout type and sealer compatibility.
Common Mistakes to Avoid
- Choosing zellige without seeing it in person: Photos can’t fully show variation and sheen. Always view a sample under your kitchen lighting.
- Under-ordering tile: Handmade variation, breakage, and cutting waste add up. That 15–25% overage prevents costly delays.
- Picking bright white grout for a heavy-cook kitchen: It can look crisp at first but shows stains faster in real life.
- Ignoring edge planning: Unfinished ends near doorways or open walls can make the backsplash look like an afterthought.
- Hiring an installer unfamiliar with handmade tile: Zellige rewards skill—layout blending and careful cleanup are everything.
- Skipping a mock-up: A 12" x 12" test board can save you from grout regret.
FAQ: Kitchen Zellige Tile Backsplash
Is zellige tile hard to clean in a kitchen?
Glazed zellige is generally easy to wipe down. The bigger factor is grout choice: stain-resistant grout (or epoxy grout) and routine wipe-downs keep maintenance simple, especially behind the range.
Do I need to seal zellige tile?
Many glazed tiles don’t require sealing, but some handmade tiles may benefit from a penetrating sealer—especially on unglazed edges or if the glaze has crackle. Always follow the manufacturer’s written guidance. Sealing grout is often the most helpful step.
What’s the best grout color for zellige?
A matching or mid-tone grout is the most forgiving and helps the tile read as a cohesive surface. High-contrast grout can look busy with zellige’s natural variation.
Can zellige go behind a range?
Yes. Use a quality setting material, choose a grout that resists stains, and clean grease splatter regularly. If you cook frequently at high heat, discuss grout type and sealing with your installer for the cooking zone.
How much tile should I order for a zellige backsplash?
Plan for 15–25% extra to cover cuts, breakage, and sorting for color variation. Order on the higher end for authentic zellige, herringbone patterns, or full-height installations.
Will zellige look too “busy” in my kitchen?
It depends on color, layout, and surrounding finishes. If your countertops are heavily veined or your cabinet color is bold, choose a calmer zellige color (warm white, sand, soft greige) and a simple stacked layout with matching grout.
Next Steps: Plan Your Zellige Backsplash Like a Pro
- Measure your backsplash area (include behind the range and note any full-height sections).
- Choose your tile type (authentic zellige vs. zellige-style ceramic/porcelain) based on budget, tolerance for variation, and maintenance preferences.
- Order samples and view them under your kitchen lighting (daylight and evening task lighting).
- Select grout and edge details before installation day—these choices shape the final look as much as the tile color.
- Hire an installer experienced with handmade tile and request a small mock-up board to confirm grout and layout.
If you’re ready to refine the rest of your kitchen renovation—from cabinet colors to storage organization and lighting—explore more kitchen ideas, design guides, and practical planning tips on thedecormag.com.
More Articles
 Kitchen Stainless Steel Appliance Guide - The Decor Mag
 Kitchen Brass Hardware Renaissance - The Decor Mag
 Statement Kitchen Lighting Design (2026)
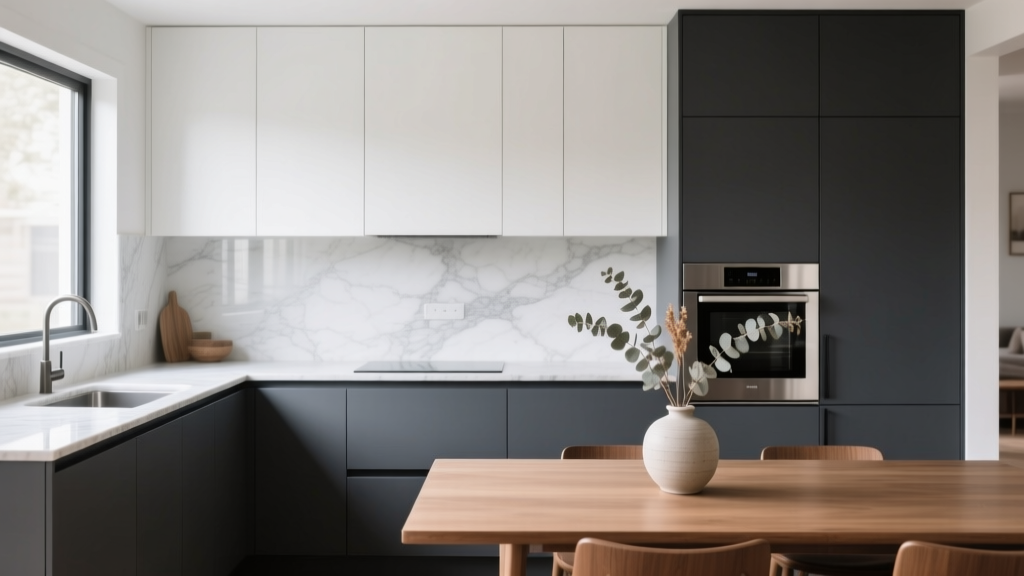 Kitchen Two-Tone Cabinet Ideas - The Decor Mag
 Open Kitchen Safety Tips: Practical, Evidence-Based Strategies for Modern Home Cooks
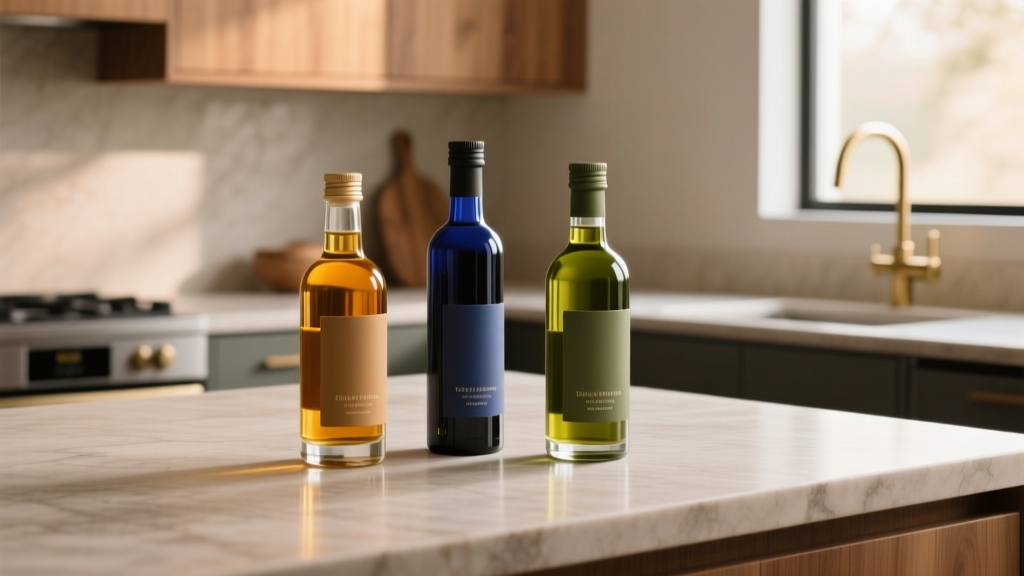 Best Kitchen Specialty Cooking Oil Storage - The Decor Mag
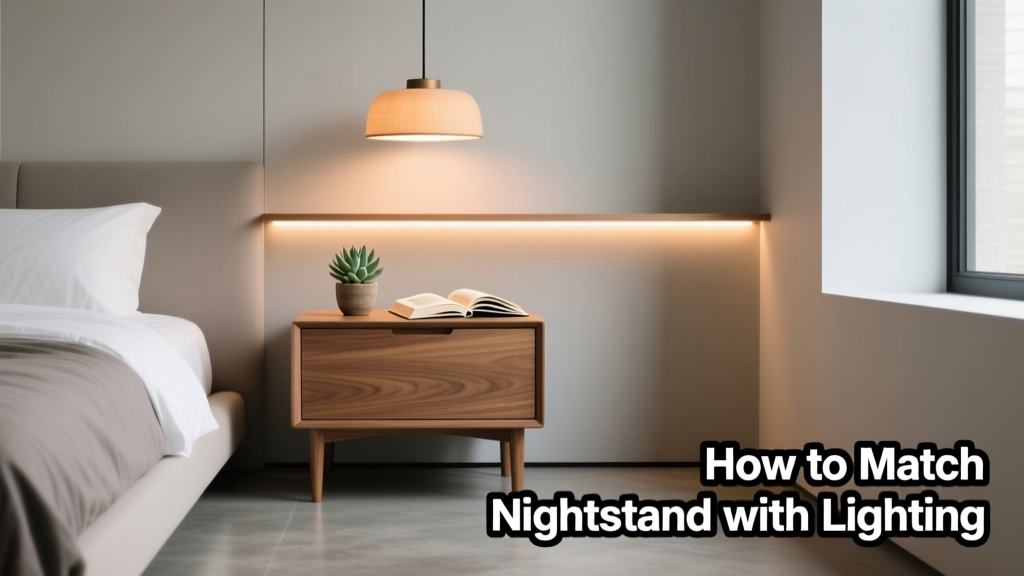 How To Match Nightstand With Lighting: A Practical, Design-Forward Guide
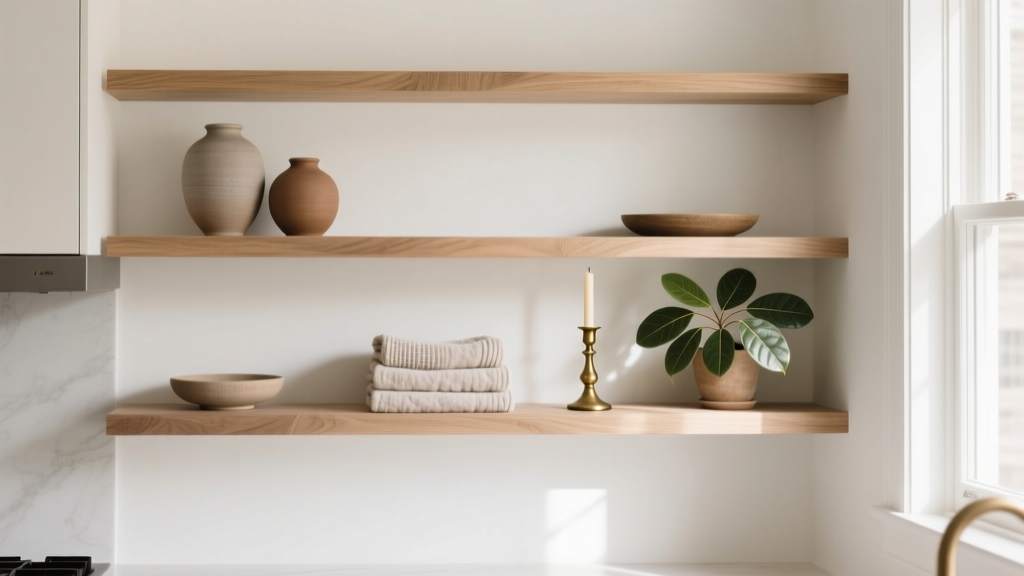 How to Style a Kitchen Open Shelf Display - The Decor Mag
 Baking Station Ideas for Kitchens (2026)
 Kitchen Natural Light Design Tips (2026)