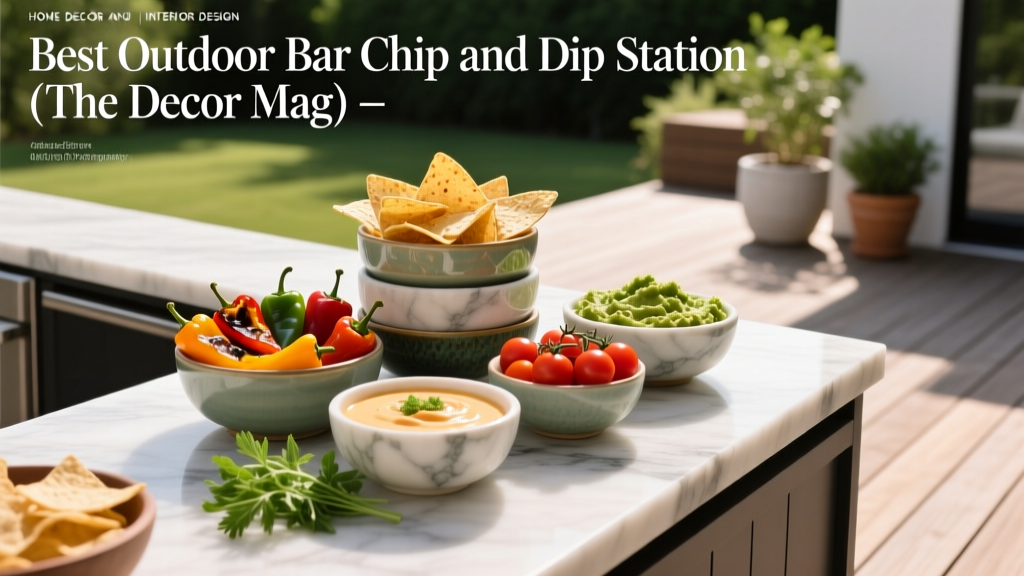
Best Outdoor Bar Chip and Dip Station - The Decor Mag
Outdoor living has a way of turning “just another weekend” into a memorable moment—especially when food and drinks feel effortless. A dedicated outdoor bar chip and dip station is one of those small upgrades that makes your patio, deck, or garden entertaining feel polished, welcoming, and surprisingly functional. It keeps the crowd out of your kitchen, encourages mingling, and gives snacks a designated home so they don’t end up scattered across side tables and patio chairs.
More than a cute party setup, a well-designed chip and dip station becomes a year-round outdoor living asset. In summer, it’s your poolside snack hub. In fall, it pairs perfectly with hot cider or a fire pit lounge. Even in winter (in mild climates or covered patios), it becomes a cozy appetizer spot under patio heaters. With the right materials, smart layout, and a few landscaping touches, your snack station can look like it was always meant to be part of the landscape design.
What Makes a Great Outdoor Chip and Dip Station?
The best outdoor bar chip and dip station is equal parts style and logistics. It should feel intentional—like an outdoor kitchen accessory—while staying easy to maintain and quick to set up.
The Essentials: Function First
- Stable surface: No wobbly bistro table balancing bowls and drinks.
- Shade strategy: Keeps dips safe and chips crisp (and prevents flies from taking over).
- Traffic flow: Enough clearance so guests aren’t bumping elbows.
- Storage: A spot for napkins, serving utensils, and backup chips.
- Easy cleaning: Outdoor messes happen—choose materials that forgive spills.
The “Wow” Factor: Design and Atmosphere
- Layered height: Trays, risers, or tiered stands for a styled look.
- Lighting: Soft, warm light makes the snack zone feel inviting after sunset.
- Greenery and texture: Plants and natural materials make it feel integrated with the patio or landscape.
Layout Ideas That Work in Real Backyards
Your station doesn’t need a full outdoor kitchen. The best layouts match the way people move through your outdoor space.
1) The “Drink + Snack” Combo Bar (Best for Parties)
Place a chip and dip setup on one side and beverages on the other. This prevents crowding and keeps the bar feeling like a destination.
- Ideal placement: Near the patio seating edge, not in the center of conversation areas.
- Clearance goal: 36–42 inches of walking space behind stools or in high-traffic paths.
- Pro tip: Keep the dips closer to the host side for quick refills.
2) The Poolside Snack Station (Best for Families)
If you have a pool, create a “wet-friendly” snack area away from the main lounge upholstery.
- Best surfaces: Powder-coated aluminum, teak, concrete, or stone.
- Add-ons: Towel hooks, a small trash can, and a lidded container for chips to reduce sogginess.
3) The Fire Pit Appetizer Table (Best for Fall/Winter Entertaining)
For cool nights, a low coffee table with a central tray keeps snacks within reach and encourages cozy seating.
- Heat-safe rule: Keep the station at least 3 feet from open flames.
- Cold-weather upgrade: Use insulated bowls or a small “dip on ice” insert (yes, even in winter—heaters can warm food faster than you think).
4) The Garden Edge Snack Console (Best for Small Patios)
A slim console table against a fence or hedge creates a snack “wall” that doesn’t eat up floor space.
- Space-saver tip: Choose a console 12–16 inches deep and use tiered trays to increase serving area vertically.
- Bonus: Add a trellis with fragrant climbers for a lush backdrop.
Furniture and Station Options (With Budget Ranges)
The right outdoor furniture makes your chip and dip station feel permanent and effortless. Choose based on your entertaining style and how much weather exposure you get.
Option A: Bar Cart (Flexible and Stylish)
- Best for: Renters, smaller patios, hosts who rearrange often
- Recommended materials: Powder-coated steel, marine-grade polymer, teak
- Look for: Locking wheels, raised edges, removable tray top
- Budget range: $80–$400 (midrange has noticeably better hardware and finishes)
Option B: Outdoor Console or Buffet Table (The “Built-In” Look Without Construction)
- Best for: Decks and patios with wall or fence space
- Recommended materials: Teak, acacia (covered use), HDPE/poly lumber, powder-coated aluminum
- Smart features: Slatted shelves for airflow, doors to hide clutter
- Budget range: $200–$1,200
Option C: Compact Outdoor Bar or Counter-Height Table (For a True Bar Feel)
- Best for: Frequent entertainers, patios with dedicated zones
- Recommended materials: Concrete top, stainless steel accents, stone-look sintered surface, teak base
- Size guidance: 48–60 inches wide for 4–6 guests to circulate comfortably
- Budget range: $300–$2,000+
Option D: Built-In Counter (High-End, Most Seamless)
- Best for: Outdoor kitchen plans, long-term home value
- Recommended materials: Concrete countertop, granite (sealed), porcelain/sintered slab, stainless steel
- Base materials: CMU block with stone veneer, steel framing, or weatherproof cabinetry
- Budget range: $2,500–$10,000+ (depending on finishes and utilities)
Materials That Hold Up Outdoors (And Look Great Doing It)
Outdoor design is only as good as the materials you choose. Snacks bring oils, salt, and spills—so your station surface needs to be both durable and easy to wipe down.
Countertops and Surfaces
- Sintered stone / porcelain slab: Highly stain-resistant, UV-stable, sleek modern look.
- Sealed concrete: Bold and customizable; re-seal as recommended for stain resistance.
- Granite (sealed): Excellent durability; choose a honed finish for a softer, contemporary vibe.
- Stainless steel: Professional outdoor kitchen feel; wipe often to minimize fingerprints.
- Teak: Warm and classic; let it silver naturally or maintain with teak cleaner/oil.
Serving Pieces That Make Outdoor Hosting Easier
- Melamine bowls and platters: Looks like ceramic, handles outdoor drops better.
- Double-wall insulated dip bowls: Helps keep dips cool in summer heat.
- Lidded acrylic containers: Keeps chips crisp and reduces pest issues.
- Stone or marble serving board (covered areas): Adds a high-end look; avoid freeze/thaw exposure.
Design Styling: Make It Feel Like Part of Your Outdoor Living Space
A snack station should look like it belongs—especially if it’s visible from your patio seating or outdoor dining area.
Color and Texture Tips
- Match one major finish: Echo your patio furniture (black metal, natural wood, or light stone).
- Add contrast: Pair a teak cart with matte black bowls, or a concrete counter with warm woven trays.
- Use a “containment tray”: A large tray corrals mess and instantly looks styled.
Lighting for Nighttime Entertaining
- Warm LED string lights: Great for pergolas and fences behind the station.
- Solar lanterns: Fast upgrade, no wiring—choose models with warm color temperature.
- Under-shelf puck lights: Perfect for console stations; keeps dips visible after dark.
Planting Ideas: Frame the Station With Landscaping
Thoughtful landscaping turns a simple patio bar setup into a cohesive outdoor entertaining zone. Choose plants that look good, smell great, and won’t constantly drop debris into the chips.
Best Plants Near a Snack Station (Low-Litter, High-Impact)
- Lavender: Drought-tolerant, fragrant, pollinator-friendly; keep trimmed for a tidy look.
- Rosemary: Hardy in many climates, smells amazing, and doubles as a garnish station.
- Dwarf boxwood or inkberry holly: Clean evergreen structure; great for year-round outdoor living.
- Ornamental grasses (like fountain grass or blue fescue): Adds movement; choose non-invasive varieties in your region.
- Alliums: Bold shape, seasonal interest, generally tidy.
Container Planting for Patios and Decks
- Herb pots: Basil, thyme, mint (keep mint in its own pot—spreads aggressively).
- Citrus in pots (warm climates or overwinter indoors): Adds resort energy near a bar.
- Shade containers: Ferns and caladiums for covered patios.
Placement tip: Keep tall planters behind or beside the station to create a “backdrop,” and avoid positioning pollen-heavy bloomers directly over food.
Climate and Maintenance Considerations
Hot, Sunny Climates
- Prioritize UV-resistant materials: Powder-coated aluminum, HDPE/poly lumber, sintered stone.
- Add shade: Umbrella, pergola, or sail shade to protect dips and prevent warped surfaces.
- Food-safety upgrade: Use nested bowls with ice beneath dips during peak heat.
Humid or Rainy Regions
- Choose rust-resistant frames: Aluminum beats steel in constant humidity.
- Ventilated storage: Slatted shelves reduce mildew in napkins and linens.
- Keep covers handy: A fitted cover extends furniture life dramatically.
Freeze/Thaw Winters
- Avoid porous stone outdoors unless sealed: Freeze/thaw can crack unsealed surfaces.
- Store serving ware: Bring ceramics and stone boards inside to prevent chipping.
- Winter entertaining tip: Create a “hot snack” version with pretzels, warm queso in a small slow cooker (used safely outdoors on a protected surface), and covered seating.
Quick Maintenance Routine
- Wipe surfaces after each use with mild soap and water.
- Empty crumbs and rinse trays before they attract pests.
- Monthly: check hardware (tighten screws on carts and consoles).
- Seasonally: deep clean and refresh sealant if using concrete or natural stone.
Common Mistakes to Avoid
- Choosing style over stability: A gorgeous, narrow pedestal table is a spill waiting to happen.
- No shade plan: Direct sun turns guacamole brown fast and warms creamy dips into the unsafe zone.
- Forgetting trash and towels: A small lidded bin and a stack of napkins keep the patio tidy.
- Placing it in a bottleneck: Don’t block the path between the grill and seating or the door and dining table.
- Using indoor-only materials outdoors: Untreated wood, low-grade steel, and delicate ceramics won’t survive weather.
- Planting messy trees overhead: Avoid positioning under heavy droppers like some pines, seed pods, or fruiting trees unless you’re fine with constant debris.
Recommended Setup: A Foolproof Chip and Dip Station Checklist
If you want a station that feels “magazine-ready” but still practical, follow this simple formula.
The Core Setup
- 1 large tray (20–24 inches) to corral bowls
- 2–3 dip bowls (one insulated if it’s hot)
- 2 chip containers (one lidded for refills)
- Small plate stack or appetizer boats
- Serving spoons + one “clean swap” set
- Napkin holder (weighted for breezes)
- Lidded trash can nearby
The Designer Touches
- A small vase of hardy greenery (rosemary stems, olive branches, eucalyptus)
- A lantern or rechargeable table lamp for soft evening light
- A textured runner or outdoor-safe mat under the tray for contrast
FAQ: Outdoor Bar Chip and Dip Stations
What’s the best surface material for an outdoor chip and dip station?
Sintered stone/porcelain and sealed concrete are top performers for outdoor design because they resist heat, sun, and stains. For a warmer look, teak is excellent—just plan for periodic cleaning and optional sealing.
How do I keep bugs away from chips and dips outside?
Use lidded containers for chips, cover dips between servings, and avoid sweet, sticky spills. Place the station away from standing water and consider a small fan nearby—light airflow discourages flying insects.
Where should I place a snack station on my patio layout?
Put it on the edge of your main seating area with at least 36 inches of clearance for foot traffic. If you grill often, keep it out of the grill-to-table pathway so guests aren’t crossing cooking zones.
Can I create a chip and dip station without an outdoor kitchen?
Absolutely. A bar cart, console table, or counter-height table can deliver the same “outdoor bar” feel with far less cost and no construction—perfect for patios, decks, and small yards.
What plants work best near an outdoor snack station?
Low-litter, fragrant choices like lavender, rosemary, dwarf boxwood, and many ornamental grasses look great and won’t rain petals and debris into your serving bowls.
What’s a realistic budget for a great-looking setup?
Plan on $150–$500 for a strong starter setup (cart or console + serving pieces + lighting). A more permanent, elevated look typically runs $600–$2,000. Built-in outdoor bar counters often start around $2,500 and can climb depending on materials and site work.
Next Steps: Build Your Station This Weekend
Start by picking the right “home base” (bar cart, console, or counter-height table), then upgrade your setup with durable serving pieces, a shade strategy, and lighting that supports year-round outdoor living. Finish it off with a simple planting backdrop—rosemary and lavender can make the whole corner smell incredible and look intentionally designed.
For more patio living ideas, outdoor bar inspiration, and landscaping upgrades that make entertaining easier, explore the outdoor living guides at thedecormag.com.
More Articles
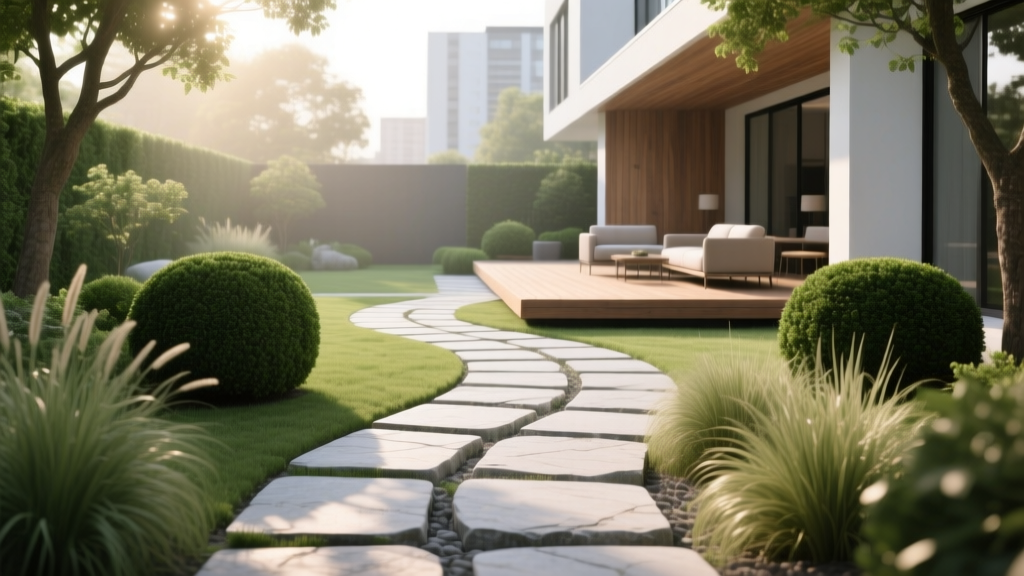 How to Design a Garden Pathway - The Decor Mag
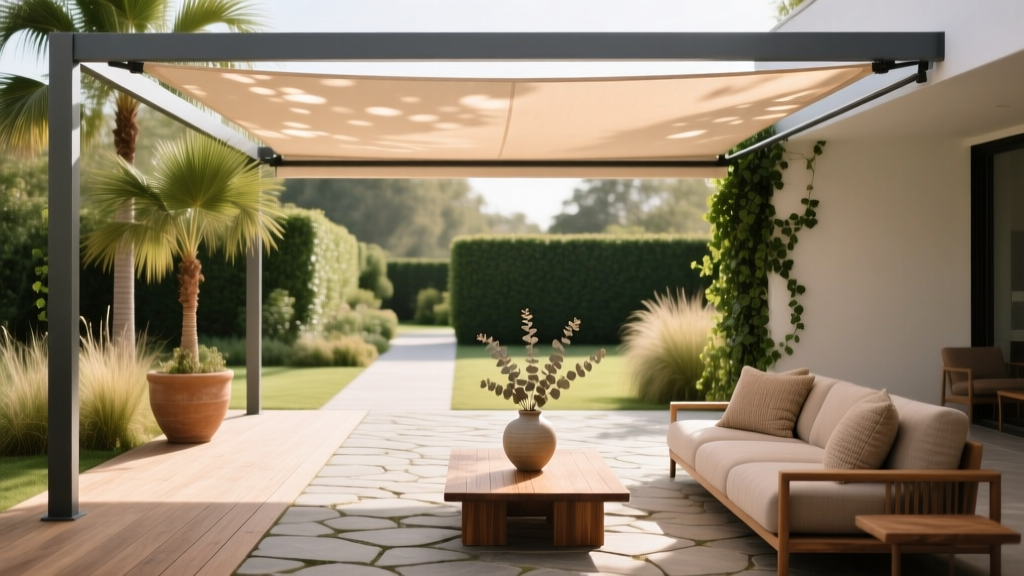 Outdoor Pergola with Retractable Canopy - The Decor Mag
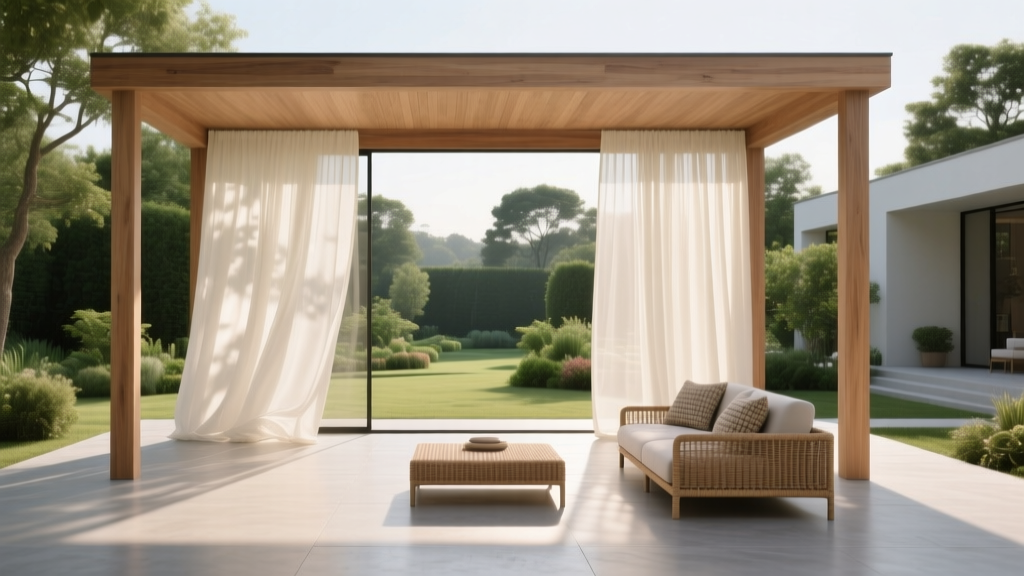 Outdoor Gazebo with Screen Curtains - The Decor Mag
 Outdoor Kitchen Electrical Planning Guide - The Decor Mag
 Outdoor Kitchen Trash Pull Out Drawer - The Decor Mag
 How to Create a Bat Friendly Garden - The Decor Mag
 Pergola vs Awning vs Sail Shade: Best Patio Shade (2026)
 Best Outdoor Adirondack Chair Styles - The Decor Mag
 Best Outdoor Bar Lemon Wedge Bowl - The Decor Mag
 Outdoor Pizza Oven Installation Guide - The Decor Mag