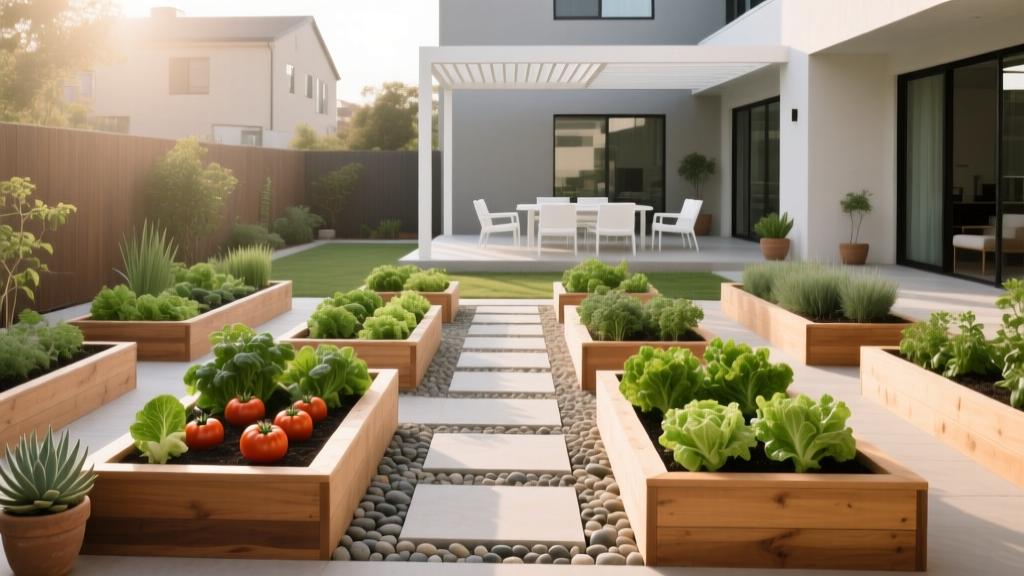
How to Create a Vegetable Garden Layout - The Decor Mag
A vegetable garden can be more than a place to grow tomatoes—it can be the most satisfying “room” in your outdoor living space. When the layout is thoughtfully planned, your garden becomes an extension of your patio, deck, or backyard landscaping: welcoming to walk through, beautiful to look at year-round, and efficient to maintain. You’ll harvest fresh produce, but you’ll also gain a calm routine and a functional focal point that upgrades how you use your yard.
Homeowners often jump straight to planting and end up with crowded beds, hard-to-reach corners, and pathways that turn to mud. A smart vegetable garden layout solves those problems before they start. It considers sun, water, soil, access, and style—so your edible garden complements the rest of your outdoor design instead of feeling like an afterthought.
Whether you’re tucking raised beds beside a patio lounge area or turning a side yard into a productive kitchen garden, this guide walks you through layout options, materials, plant groupings, and maintenance planning—plus common mistakes to avoid.
Start with the Site: Sun, Water, Wind, and Access
1) Track sunlight like a designer
Most vegetables need 6–8+ hours of direct sun. Spend a day observing sun patterns, especially if your yard has trees, fences, or a two-story home that casts shadows.
- Full sun zone: tomatoes, peppers, cucumbers, squash, beans, basil
- Partial sun zone (4–6 hours): leafy greens, kale, chard, parsley, radishes
- Edge/shade zone: tool storage, compost, potting bench, seating
2) Place water where it saves you steps
Water access shapes how enjoyable your garden feels. If dragging a hose is a hassle, maintenance drops fast.
- Position beds within 25–50 feet of a spigot if possible.
- Plan for drip irrigation or soaker hoses to reduce water waste and keep foliage dry.
- Include a hose reel or simple hose pot near the garden for a clean patio-living look.
3) Use microclimates to your advantage
- South-facing walls add warmth—great for heat lovers like eggplant and peppers.
- Windy corners can stunt plants; add a trellis, hedge, or slatted screen as a windbreak.
- Low spots collect frost; keep tender crops higher and reserve low areas for cold-hardy greens.
4) Design for easy daily access
A vegetable garden layout should feel like a natural destination from your kitchen and patio.
- Connect it with a clear path from the back door or outdoor dining area.
- Leave space for a small landing area: a bench, potting shelf, or harvest basket hook.
Choose Your Garden Layout Style (with Pros, Cons, and Best Uses)
Raised bed grid: the homeowner favorite
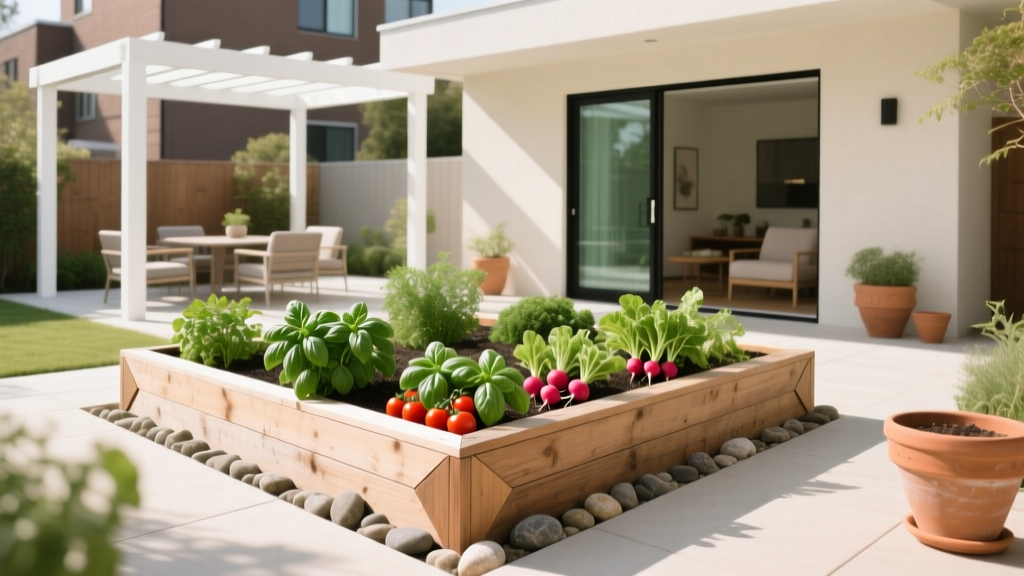
A raised bed layout looks polished, stays tidy, and makes soil quality easier to control—ideal for upgrading overall backyard landscaping.
- Best for: patios, suburban yards, beginners, accessibility
- Typical bed size: 4' x 8' or 4' x 4'
- Recommended height: 12–18" (comfortable) or 24–30" (more accessible)
Kitchen garden (potager): edible + ornamental
A potager layout blends vegetables, herbs, and flowers in a symmetrical or cottage-inspired design. It’s perfect when you want your vegetable garden to feel like a showpiece from the patio seating area.
- Best for: front-yard gardens, courtyard patios, formal outdoor design
- Key elements: defined paths, edging, repeating shapes, focal point (urn, fountain, obelisk)
Row garden: maximum production for larger yards
Rows work well when you have space and want bulk harvests. They’re practical, but less “outdoor living” friendly unless you cleanly define edges and paths.
- Best for: large backyards, rural properties
- Upgrade tip: frame rows with gravel paths and simple border edging for a finished look
Container + vertical garden: perfect for patios and small spaces
If you’re designing a patio living space or balcony, containers and trellises can deliver surprising harvests without sacrificing square footage.
- Best for: decks, paved patios, renters (with permission)
- Great crops: herbs, lettuce, peppers, cherry tomatoes, strawberries
- Vertical options: wall planters, cattle-panel arches, A-frame trellises
Layout Measurements That Make the Garden Effortless
Bed and pathway sizing
- Max reach: 24" from each side (so a 4' wide bed is ideal if accessible on both sides)
- Primary paths: 36–48" wide (wheelbarrow-friendly; also feels generous and “garden room” worthy)
- Secondary paths: 24–30" wide
- Spacing between beds: 30–36" minimum for comfortable circulation
Orientation for sunlight and airflow
- Align long beds north–south when possible for even sun exposure.
- Place tall crops (corn, trellised beans, tomatoes) on the north side so they don’t shade shorter plants.
Design your “work triangle” outdoors
Borrow a classic kitchen principle: keep the three most-used stations close.
- Water source (spigot or rain barrel)
- Tool storage (small shed, cabinet, or weatherproof bench box)
- Harvest/processing zone (potting bench, outdoor counter, or table near the patio)
Materials and Edging That Look Great in a Landscape Design
Best raised bed materials
- Cedar (premium, long-lasting, naturally rot-resistant): clean look, great for patio-adjacent beds
- Redwood (premium): excellent durability, beautiful finish
- Galvanized steel beds (modern outdoor design): sleek, long life, warms soil earlier in spring
- Composite kits (low maintenance): consistent appearance, good for contemporary landscaping
Avoid: railroad ties and unknown treated lumber near edible crops.
Path materials for year-round outdoor living
- Decomposed granite (natural, compacted, excellent drainage): ideal for a refined garden path
- Pea gravel (budget-friendly): add edging to prevent migration
- Pavers or brick (classic patio look): best near seating and outdoor dining areas
- Wood chips (soft underfoot): great for informal gardens, refresh annually
Edging that keeps the garden crisp
- Steel edging: minimal, modern, durable
- Brick edging: timeless, pairs well with patios
- Stone edging: organic, high-end landscape feel
Planting Plan: What Goes Where (and Why)
Group plants by needs for easier care
Instead of scattering crops, group by water and fertility requirements to streamline irrigation and fertilizing.
- Heavy feeders: tomatoes, peppers, squash, cabbage (place where you can amend soil easily)
- Light feeders: carrots, herbs, beans (less frequent fertilizing)
- Consistent moisture lovers: leafy greens, cucumbers (ideal near irrigation lines)
Reliable plants for beginner-friendly success
- Spring: lettuce mixes, spinach, peas, radishes, cilantro
- Summer: cherry tomatoes, basil, zucchini (1–2 plants), bush beans, cucumbers on a trellis
- Fall: kale, chard, carrots, beets, broccoli
- Winter (mild climates): arugula, hardy lettuces, garlic, onions
Add flowers for pollinators and patio-worthy color
Edible gardens look better—and yield more—when pollinators feel welcome.
- Best companion blooms: marigolds, nasturtiums, calendula, zinnias, borage
- Placement idea: plant flowers at bed corners and along main paths for a designed look
Furniture and Garden Features That Upgrade Outdoor Living
Seating that makes you linger
- Small bench (wood or powder-coated metal) at the garden entry: great for boots, baskets, and breaks
- Compact bistro set near raised beds: morning coffee + harvest routine
- Weather-resistant cushions in neutral tones: tie the garden into the patio aesthetic
Functional add-ons that feel intentional
- Potting bench (cedar or stainless top): doubles as a seasonal décor station
- Trellis panels or an arched cattle panel tunnel: supports cucumbers/beans and creates a beautiful garden moment
- Outdoor lighting: low-voltage path lights or solar stakes for evening ambiance and safer footing
- Rain barrel: smart for sustainability; place on a stable base near the beds
Budget Ranges: What a Vegetable Garden Layout Typically Costs
- Budget-friendly ($150–$500): 1–2 simple beds (DIY cedar or kit), wood-chip paths, basic hose watering, starter plants
- Mid-range ($600–$2,000): 3–6 raised beds, gravel or decomposed granite paths with edging, trellises, drip irrigation, potting bench
- High-end ($2,500–$10,000+): steel or custom hardwood beds, pavers/brick paths, integrated lighting, built-in seating, irrigation zones, custom fencing and gate
Climate and Seasonal Planning for Year-Round Success
Match the layout to your climate realities
- Hot/sunny climates: include shade cloth anchors, mulch heavily, plan wider paths to reduce heat reflection from walls
- Humid climates: prioritize airflow—wider spacing, trellising, and morning sun exposure to dry leaves
- Cold climates: place beds where snow melts earlier; consider cold frames or low tunnels for extending the season
- Windy regions: add a fence, hedge, or slatted screen; anchor trellises securely
Seasonal rotation that keeps beds productive
- Spring: greens + peas
- Summer: swap in tomatoes/peppers/cukes after last frost
- Fall: replant greens and brassicas as summer crops fade
- Winter: cover crops (in colder zones) or hardy greens (in mild zones)
Low-maintenance strategies
- Add 2–3 inches of mulch (straw, shredded leaves, or bark-free mulch) to reduce weeds and conserve moisture.
- Install drip irrigation with a timer for consistent watering.
- Use succession planting: sow small batches every 2–3 weeks for steady harvests.
Common Vegetable Garden Layout Mistakes to Avoid
- Underestimating path space: cramped paths feel messy and make maintenance frustrating.
- Placing beds too far from the house: convenience drives consistency; keep it close to your patio or kitchen door when possible.
- Ignoring mature plant size: one zucchini can sprawl aggressively; plan trellises and spacing upfront.
- Skipping soil planning: great layout can’t overcome poor soil—use quality compost and avoid compacting beds.
- Not planning for storage: give tools, soil bags, and hoses a dedicated home for a clean outdoor design.
- Overbuilding too soon: start with a layout that can expand; learn what you love growing before installing ten beds.
FAQ: Vegetable Garden Layout Questions Homeowners Ask
How big should a beginner vegetable garden be?
Start with 1–2 raised beds (like two 4' x 8' beds) or a cluster of containers. It’s enough to learn watering, pests, and harvest timing without feeling like a chore.
What’s the best layout for a small backyard or patio?
Use a container + vertical layout: large pots for tomatoes/peppers, railing or wall planters for herbs, and a trellis for cucumbers or beans. Keep a 36" clear walking lane to maintain a comfortable patio living flow.
Should raised beds be in sun all day?
Aim for 6–8 hours of sun. If you only have partial sun, grow leafy greens, herbs, and root crops, and use reflective light surfaces (like pale gravel paths) to brighten the space.
How far apart should raised beds be?
Plan 30–36 inches between beds for comfortable movement. If you’ll use a wheelbarrow often, go 42–48 inches for main paths.
What’s the easiest irrigation for a vegetable garden?
Drip irrigation on a timer is the most reliable and water-wise. It supports healthy plants and reduces disease compared to overhead sprinklers.
How do I keep my garden looking good in the off-season?
Maintain structure with evergreen herbs (like rosemary in mild climates), tidy borders, and winter-friendly features: clean gravel paths, attractive trellises, and a small seating spot. In colder areas, add cold frames and keep beds mulched for a neat winter landscape.
Your Next Steps: Turn a Garden Idea into a Beautiful, Functional Layout
Start with a quick sketch of your yard, mark the sunniest zone, and choose a layout style that matches how you live outdoors—raised beds near the patio for convenience, a potager for beauty, or containers and trellises for small-space patio design. Measure your paths, pick durable materials that complement your existing landscaping, and plan a few “anchor” features—like a bench, trellis arch, or gravel walkway—to make the vegetable garden feel like a true outdoor room.
When you’re ready, build one section first, plant what your household loves to eat, and expand as your confidence grows. For more outdoor living ideas, patio inspiration, and landscape design guidance, explore the latest articles on thedecormag.com.
More Articles
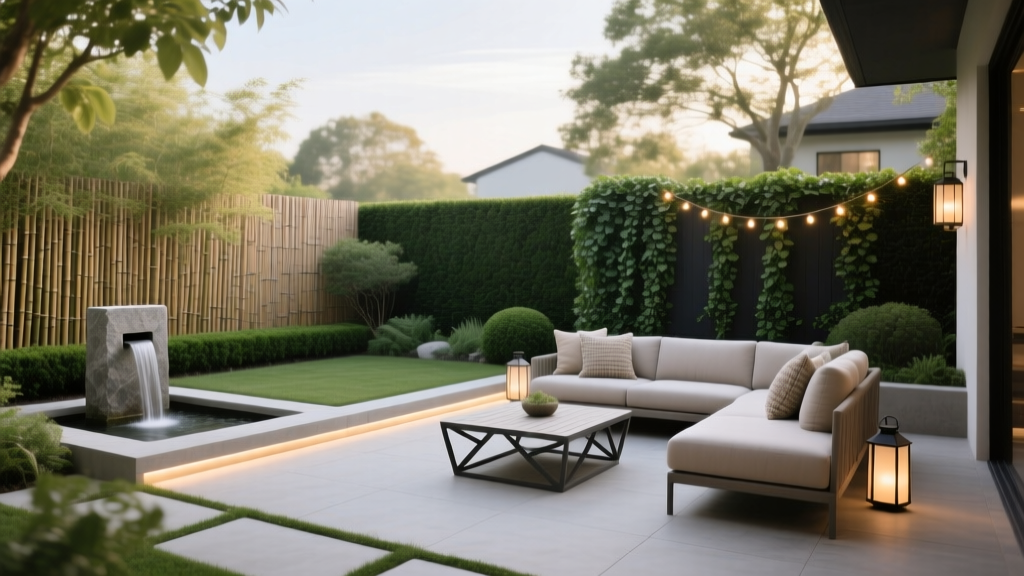 How to Create Privacy in Your Yard - The Decor Mag
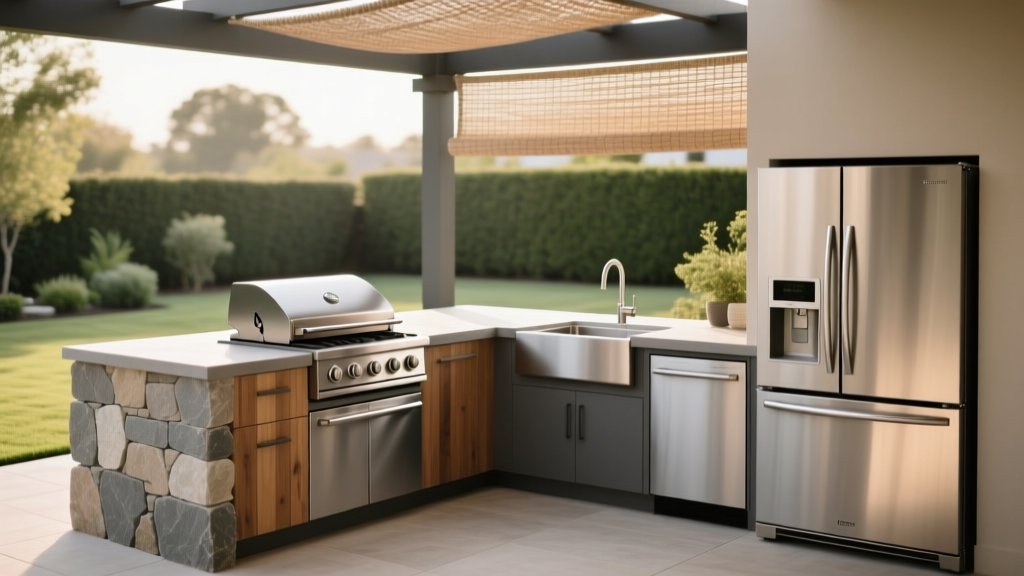 Outdoor Kitchen Appliance Weather Protection - The Decor Mag
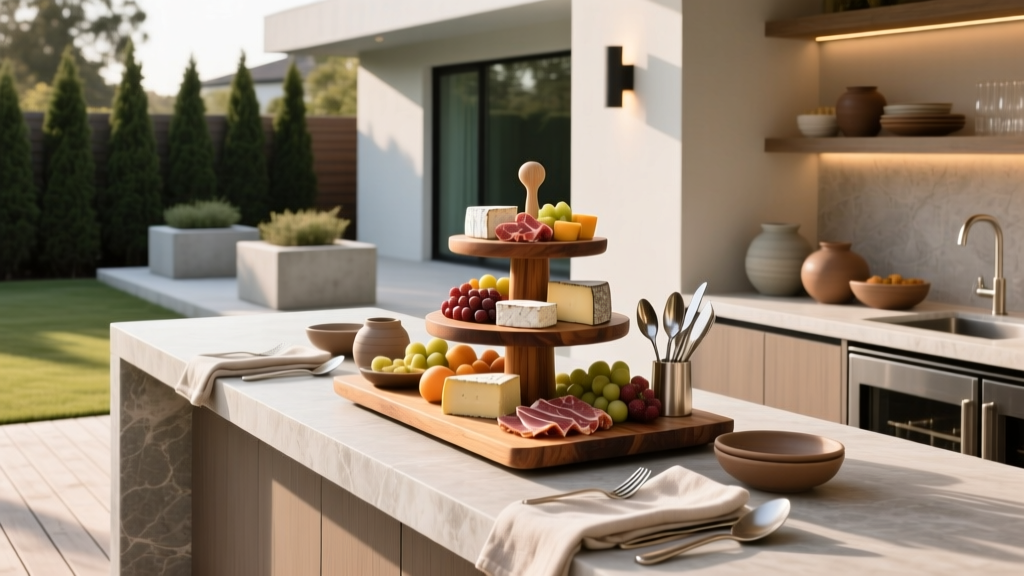 Best Outdoor Bar Charcuterie Station - The Decor Mag
 How to Create a Square Foot Garden - The Decor Mag
 Kid-Safe Outdoor Furniture: Materials That Survive Play
 Materials vs Science: How Engineering Precision and Material Innovation Are Redefining Outdoor Living
 How to Design a Fragrant Garden Path - The Decor Mag
 Styling Styleguides Essentials: A Practical Framework for Outdoor Living Brand Consistency
 Best Outdoor Bar Menu Board Display - The Decor Mag
 Best Color Guides for Summer: Science-Backed Palettes for Outdoor Living Spaces