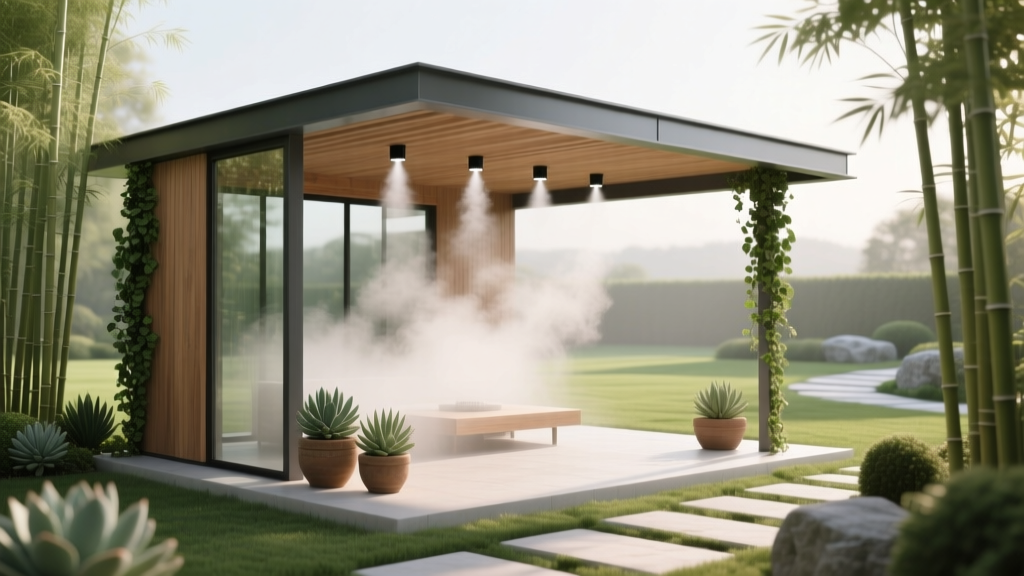
Outdoor Pavilion Misting System Setup - The Decor Mag
A pavilion is already one of the smartest upgrades for outdoor living: it creates shade, defines a destination in the yard, and gives you a “room” that feels intentional rather than improvised. But when summer heat and humidity hit, even the prettiest outdoor pavilion can sit unused during the hours you actually want to relax—late mornings, afternoons, and warm evenings.
That’s where an outdoor misting system changes everything. The right setup can lower the perceived temperature, keep air moving, and make patio living genuinely comfortable. Done well, it also looks seamless—no dangling hoses, no wet furniture, no annoying drips—just a refreshed microclimate that invites you to linger with a book, host friends, or enjoy dinner outdoors without sweating through it.
This guide breaks down pavilion misting system design, installation planning, and styling tips—plus practical material recommendations, plant pairings, maintenance routines, and budget ranges. If you’re building a new pavilion or upgrading an existing one, you’ll find a clear path to a cool, polished, year-round outdoor living space.
Why a Pavilion Misting System Is Worth It
Outdoor comfort is the foundation of great landscape design. When it’s too hot, you’re less likely to use your patio, outdoor kitchen, or garden seating areas—no matter how gorgeous they look. A misting system adds function without sacrificing aesthetics.
- Comfortable patio living: Fine mist evaporates quickly, helping you feel cooler without soaking everything.
- Better entertaining: Guests stay longer when they’re comfortable, especially during summer gatherings.
- Design flexibility: You can place furniture more freely when the pavilion becomes a cooler zone.
- Plant support (in some climates): Nearby container plants may benefit from slightly higher humidity—especially tropicals—when mist drift is controlled.
Plan First: Assess Your Pavilion and Outdoor Layout
Before buying components, take 30 minutes to map your pavilion. The best outdoor misting setups start with a layout plan that considers airflow, sun angle, furniture zones, and the direction of prevailing breezes.
Measure and Identify Comfort Zones
- Perimeter length: Most pavilion misting lines run along the inside perimeter beam. Measure all sides.
- Ceiling height: Higher ceilings may need more strategic nozzle spacing to avoid losing mist to air movement.
- Seating and dining areas: Mark where people sit and where food will be served.
- Wind direction: If breezes blow through one side, you may want more nozzles on that edge or add wind screens.
Check Your Structure and Utilities
- Mounting surface: Wood beams are easy for clips; metal requires appropriate clamps or self-tapping fasteners.
- Water source: Hose bib, dedicated cold-water line, or tie-in near an outdoor kitchen.
- Electrical access: Needed for high-pressure pumps, timers, and smart controls.
- Drainage: Confirm water won’t pool around footings or on patio surfaces.
Choose the Right Type of Misting System
Not all misting systems are created equal. The big decision is low-pressure versus high-pressure. Your climate, pavilion exposure, and expectations should drive the choice.
Low-Pressure Misting (Hose-Bib Systems)
Best for: Mild to moderate heat, smaller pavilions, budget-friendly upgrades, DIY patios.
- Pros: Lower cost, simpler setup, easy seasonal removal.
- Cons: Larger droplets can dampen floors and furniture, less effective in high humidity.
- Typical feel: Noticeable “spritz,” more like cooling spray than fog.
High-Pressure Misting (Pump-Driven Systems)
Best for: Hot climates, larger pavilions, outdoor kitchens, serious entertaining spaces, year-round outdoor living.
- Pros: Ultra-fine fog that evaporates quickly, better cooling, less wetness.
- Cons: Higher upfront cost, requires pump placement and filtration, more installation planning.
- Typical feel: A crisp, cooled air pocket with minimal surface moisture.
Budget Ranges (Realistic Expectations)
- Basic low-pressure DIY kit: $50–$250 (small pavilion or pergola edge)
- Mid-range low-pressure with better hardware: $250–$600
- High-pressure residential system: $900–$2,500 (pump, lines, nozzles, filtration)
- Premium/high-end integrated setup: $2,500–$6,000+ (zoned controls, smart automation, professional install)
Designing Nozzle Placement for Comfort (Not Wet Floors)
Nozzle spacing and placement determine whether your pavilion feels like a luxury resort—or a damp waiting area. A clean design keeps mist at the edge, lets it drift inward, and avoids blasting directly onto seating.
Placement Guidelines
- Run the line on the inside perimeter of the pavilion beam, typically 8–10 feet high (or as high as your structure allows).
- Aim nozzles outward or slightly downward to create a cooling curtain around the perimeter rather than a rain effect over the center.
- Keep nozzles away from ceiling fans (or position carefully). Fans can help evaporate mist but can also push droplets onto surfaces if aimed poorly.
- Create zones: Place more nozzles near high-heat edges (west-facing sides) and fewer above dining tables.
Recommended Spacing (General)
- Low-pressure: 18–24 inches apart (to compensate for larger droplet size and uneven coverage)
- High-pressure: 24–36 inches apart (fine fog disperses more evenly)
If your pavilion is extremely exposed (full sun, wind corridor), tighter spacing and a higher-pressure system will usually feel better than adding more low-pressure nozzles.
Material Recommendations: Lines, Nozzles, and Hardware That Last
Your outdoor pavilion is a design feature—your misting hardware shouldn’t look like an afterthought. These material choices blend durability with a clean architectural finish.
Tubing and Lines
- Stainless steel tubing: Best for high-end pavilions, longevity, and a refined look. Great in intense sun and heat.
- UV-resistant nylon tubing: Common in high-pressure systems; flexible and discreet when routed cleanly.
- Poly tubing (basic kits): Works, but can look casual and may degrade faster in harsh sun.
Nozzles
- Stainless steel nozzles: Strong corrosion resistance; ideal for coastal or humid climates.
- Brass nozzles: Durable, but can mineral-stain if water is hard and maintenance is neglected.
- Anti-drip nozzles: A must-have for patios and outdoor dining areas to prevent drip lines when the system turns off.
Filtration and Water Quality
If you have hard water, filtration isn’t optional—it’s how you prevent clogged nozzles and white mineral dust settling on dark furniture.
- Sediment filter: Captures grit that clogs nozzles.
- Inline scale filter or softening approach: Helps reduce mineral buildup.
- Consider professional water testing if you’re investing in a high-pressure system.
Where the Pump Goes (and How to Keep the Pavilion Beautiful)
For high-pressure setups, pump placement is both a performance and design decision. You want easy access for service, a protected location, and minimal noise near seating.
Best Pump Locations
- Adjacent utility wall: Mount on the exterior of a garage or storage wall near the pavilion.
- Bench cabinet or outdoor kitchen enclosure: Works beautifully if ventilated and serviceable.
- Weatherproof equipment cabinet: Ideal for a freestanding pavilion with no nearby structures.
Design Tips to Hide Equipment
- Build a low slatted screen (cedar or composite) that matches pavilion posts.
- Use a planter wall with tall, structured plants (clumping bamboo in appropriate climates, podocarpus, or ornamental grasses) to visually soften the equipment zone.
- Coordinate finishes: matte black clips and lines disappear against dark beams; bronze blends with warm cedar.
Furniture, Layout, and Patio Styling for Misted Comfort
A pavilion misting system works best when paired with outdoor furniture and surfaces that handle humidity and occasional moisture gracefully. This is where patio design meets real-life performance.
Furniture Recommendations
- Frames: Powder-coated aluminum (rust-resistant), teak (naturally weather-resistant), or high-quality resin wicker.
- Cushions: Solution-dyed acrylic fabrics (look for outdoor-rated performance textiles) with quick-dry foam.
- Dining: Slatted teak or aluminum-top tables wipe down easily; avoid porous untreated stone tops directly under heavy mist.
Surface and Flooring Choices
- Slip-resistant porcelain pavers: Excellent for wet traction and modern outdoor living spaces.
- Textured concrete: Durable and cost-effective; seal it to reduce staining.
- Natural stone: Beautiful, but choose a finish that’s not slick when damp (avoid highly polished surfaces outdoors).
Layout That Feels Intentional
- Perimeter cooling + center gathering: Run mist on the edges and keep the center for seating/dining.
- Float lounge seating inward: Place sofas and chairs 12–24 inches away from the mist perimeter to reduce direct dampness.
- Add layered lighting: Warm LEDs, sconces on posts, and a pendant over dining make the pavilion feel like a true outdoor room after sunset.
Plant Suggestions That Pair Beautifully with a Pavilion Misting System
The right plants reinforce that resort-like atmosphere. Think structure, fragrance, and foliage that reads lush in summer but still looks tidy the rest of the year.
Great Plant Options (By Effect)
- Tropical feel (best in warm climates or containers): Bird of paradise, elephant ear (Colocasia), philodendron, areca palm.
- Mediterranean patio vibe: Olive tree (container-friendly), rosemary, lavender, bay laurel.
- Modern, architectural: Agave (keep out of walkways), yucca, flax (Phormium), boxwood spheres in pots.
- Soft screening: Clumping ornamental grasses (miscanthus, panicum), podocarpus (warm climates), viburnum (many regions).
Design pro tip: Use large, weighted containers (18–24 inches wide) at pavilion corners to anchor the structure visually and help direct airflow.
Climate and Seasonal Considerations (Year-Round Outdoor Living)
Misting systems shine in summer, but smart planning keeps your pavilion functional across seasons and climates.
Hot-Dry Climates
- Misting is highly effective; you’ll feel the cooling quickly.
- Add ceiling fans to circulate cooled air without pushing mist directly onto seating.
- Consider shade curtains or UV-rated roller shades on the harshest sun side.
Hot-Humid Climates
- High-pressure systems perform better because droplets are finer and evaporate faster.
- Prioritize air movement (fans) and strategic zoning to avoid a damp feel.
- Choose mildew-resistant cushion fabrics and plan for faster drying.
Coastal Areas
- Use stainless steel nozzles and hardware to reduce corrosion.
- Rinse outdoor furniture periodically to prevent salt buildup.
Cold Winters / Freeze Risk
- Plan a winterization routine: drain lines, remove nozzles if recommended, and protect pumps.
- Add shoulder-season comfort: infrared heaters, a gas fire table, or a wood-burning fireplace nearby for fall evenings.
Maintenance Checklist: Keep Your Misting System Running Smoothly
A well-maintained misting setup is nearly invisible—quiet, clean, and consistent.
Weekly (During Peak Use)
- Wipe down nearby furniture if you notice mineral spotting.
- Do a quick visual check for leaks at fittings.
Monthly
- Clean or replace filters as needed (more often with hard water).
- Inspect nozzles for uneven spray patterns (a sign of clogging).
Seasonal
- Spring start-up: Flush lines before installing nozzles to clear debris.
- Fall shut-down: Drain and store components if freezing temperatures are expected.
Common Mistakes to Avoid
- Placing nozzles directly over seating or dining: This leads to damp cushions and slippery floors.
- Skipping filtration: Mineral buildup clogs nozzles and leaves white dust on dark patio furniture.
- Over-misting in humid weather: More mist isn’t always better; use zones and timers.
- Ignoring wind: A windy corner can blow mist away (wasting water) or onto walls and windows.
- Messy routing: Visible tubing draped along beams cheapens the entire pavilion design—use proper clips and plan clean runs.
- Forgetting drainage and slip resistance: Choose patio materials that stay safe when slightly damp.
FAQ: Outdoor Pavilion Misting Systems
Do misting systems actually cool a pavilion?
Yes—especially high-pressure systems that create a fine fog. Cooling is strongest in hot-dry climates because evaporation happens quickly. In humid regions, pair misting with ceiling fans and use shorter run cycles for comfort without dampness.
Will a misting system make my pavilion furniture wet?
It can if nozzles are placed over seating, if pressure is too low (larger droplets), or if wind pushes mist inward. Use anti-drip nozzles, keep the mist line around the perimeter, and float furniture slightly inward.
Is a high-pressure misting system worth the cost for homeowners?
If you regularly avoid your patio during summer heat—or you entertain often—high-pressure is usually worth it. It feels more like a cooled outdoor room and less like a spray line, with better evaporation and fewer wet surfaces.
How many nozzles do I need for my pavilion?
It depends on your perimeter length, climate, and system type. As a starting point, many homeowners use spacing around 24–36 inches for high-pressure and 18–24 inches for low-pressure, adjusting for wind exposure and the hottest sides of the pavilion.
Can I install a misting system on a wood or metal pavilion?
Both work well. Wood beams are easiest for mounting clips. Metal pavilions may need specialty clamps or fasteners designed for exterior metal. In coastal climates, choose stainless steel hardware to prevent corrosion.
What’s the best way to control a pavilion misting system?
Start with a simple timer for scheduled cooling, then consider zoning and smart controls if you want more precision. Short cycles (for example, a few minutes on, a few minutes off) often feel better and reduce moisture buildup.
Next Steps: Build a Pavilion Setup You’ll Use Every Day
Start by measuring your pavilion perimeter and identifying your seating and dining zones. Choose low-pressure if you want a simple, budget-friendly boost—or go high-pressure for a true resort-level outdoor living upgrade. Then refine the experience with performance patio furniture, slip-resistant flooring, and lush container planting that frames the space.
Once your layout is planned, your ideal checklist looks like this:
- Confirm water and power access (and drainage).
- Select system type (low vs. high pressure) based on climate and use.
- Choose anti-drip nozzles, UV-stable lines, and filtration.
- Plan clean routing and zones to avoid wet dining/seating areas.
- Style the pavilion with durable outdoor furniture, layered lighting, and plant-forward screening.
Ready for more patio living inspiration, pavilion design ideas, and landscaping upgrades that elevate everyday outdoor moments? Explore more outdoor guides and design-forward how-tos on thedecormag.com.
More Articles
 Outdoor Pavilion Infrared Heater Mount - The Decor Mag
 Outdoor Kitchen Sink Apron Front Ideas - The Decor Mag
 Outdoor Pavilion Ceiling Fan Wiring - The Decor Mag
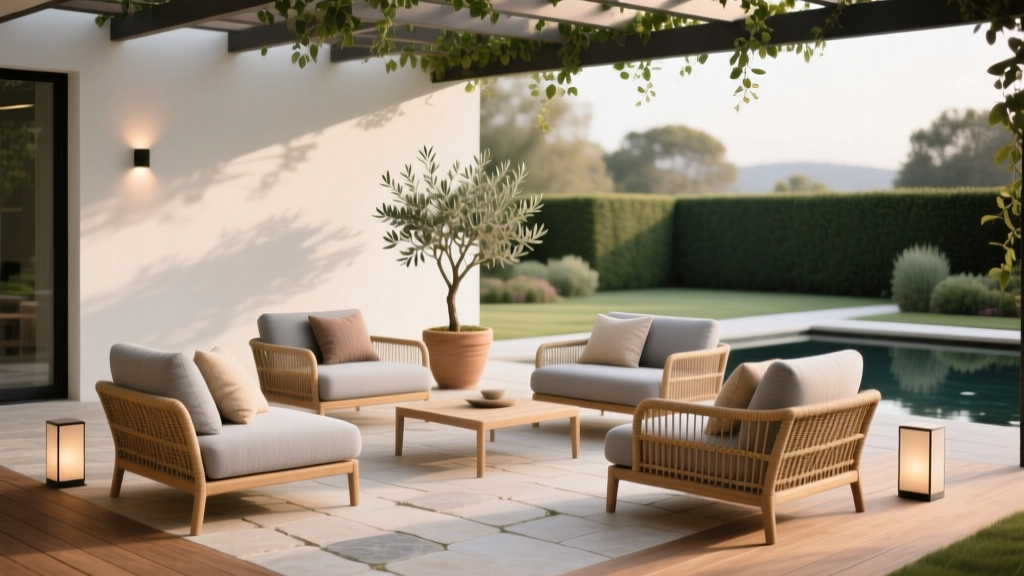 Best Outdoor Conversation Set Choices - The Decor Mag
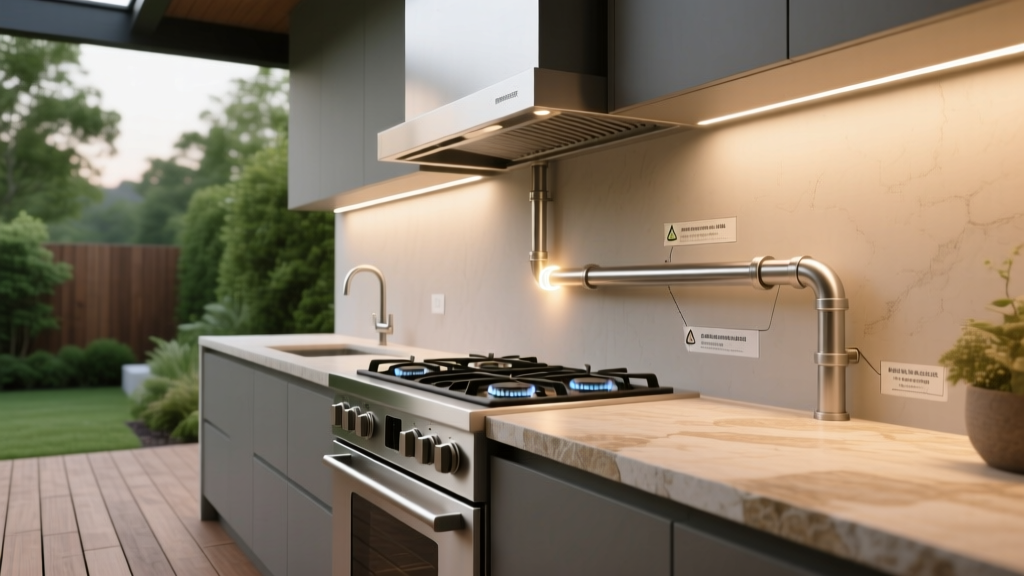 Outdoor Kitchen Gas Line Planning - The Decor Mag
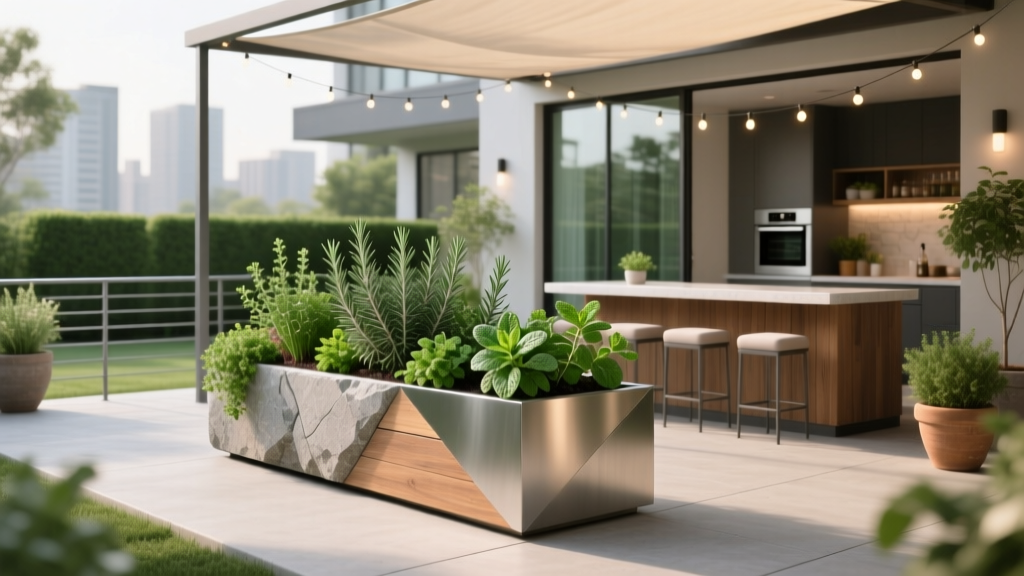 Best Outdoor Bar Herb Garden Planter - The Decor Mag
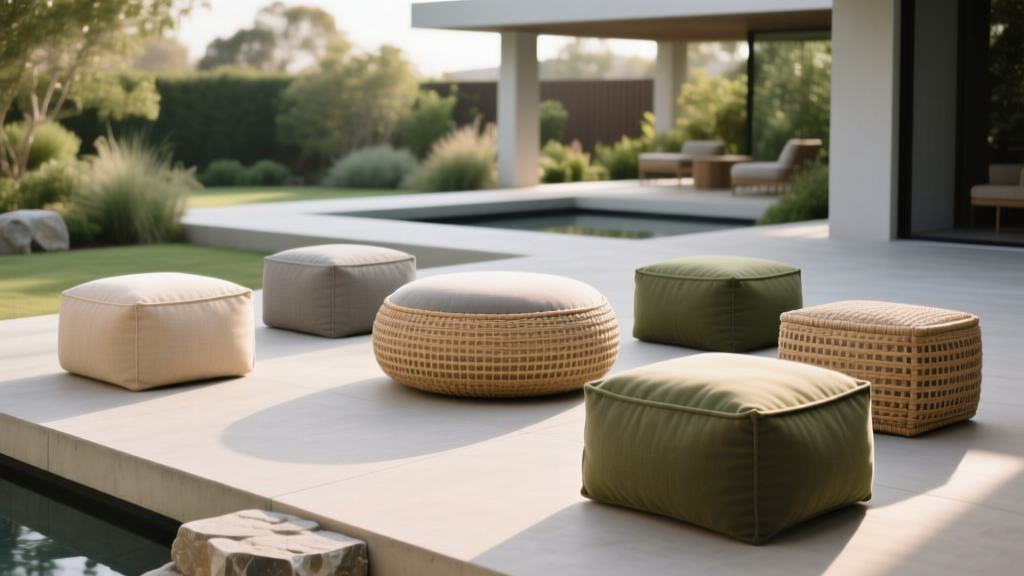 Best Outdoor Pouf and Ottoman Choices - The Decor Mag
 Best Outdoor Ice Bucket Station Ideas - The Decor Mag
 How to Design a Tropical Garden Oasis - The Decor Mag
 Best Outdoor Bar Olive and Pickle Station - The Decor Mag